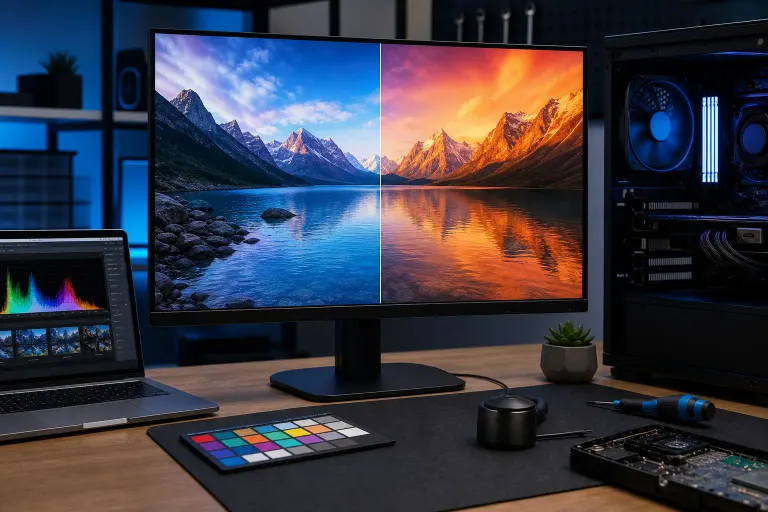
Why Is My Monitor Showing the Wrong Colors? Fix It Step by Step
TL;DR: Wrong monitor colors almost always trace back to one of three things: a loose or damaged cable, the wrong color profile selected in your OS, or monitor settings that have drifted from their defaults. Work through the steps below in order and you will find the cause before reaching step 5 in most cases.
What You Need
- Access to your monitor's on-screen display (OSD) buttons
- A spare display cable if you have one (HDMI, DisplayPort, or DVI)
- Windows Display Settings or macOS Display Preferences
- About 15 minutes
Step 1: Check the Cable and Connections
A partially seated or damaged cable is the most common cause of color problems, and it costs nothing to rule out.
- Power off the monitor and PC.
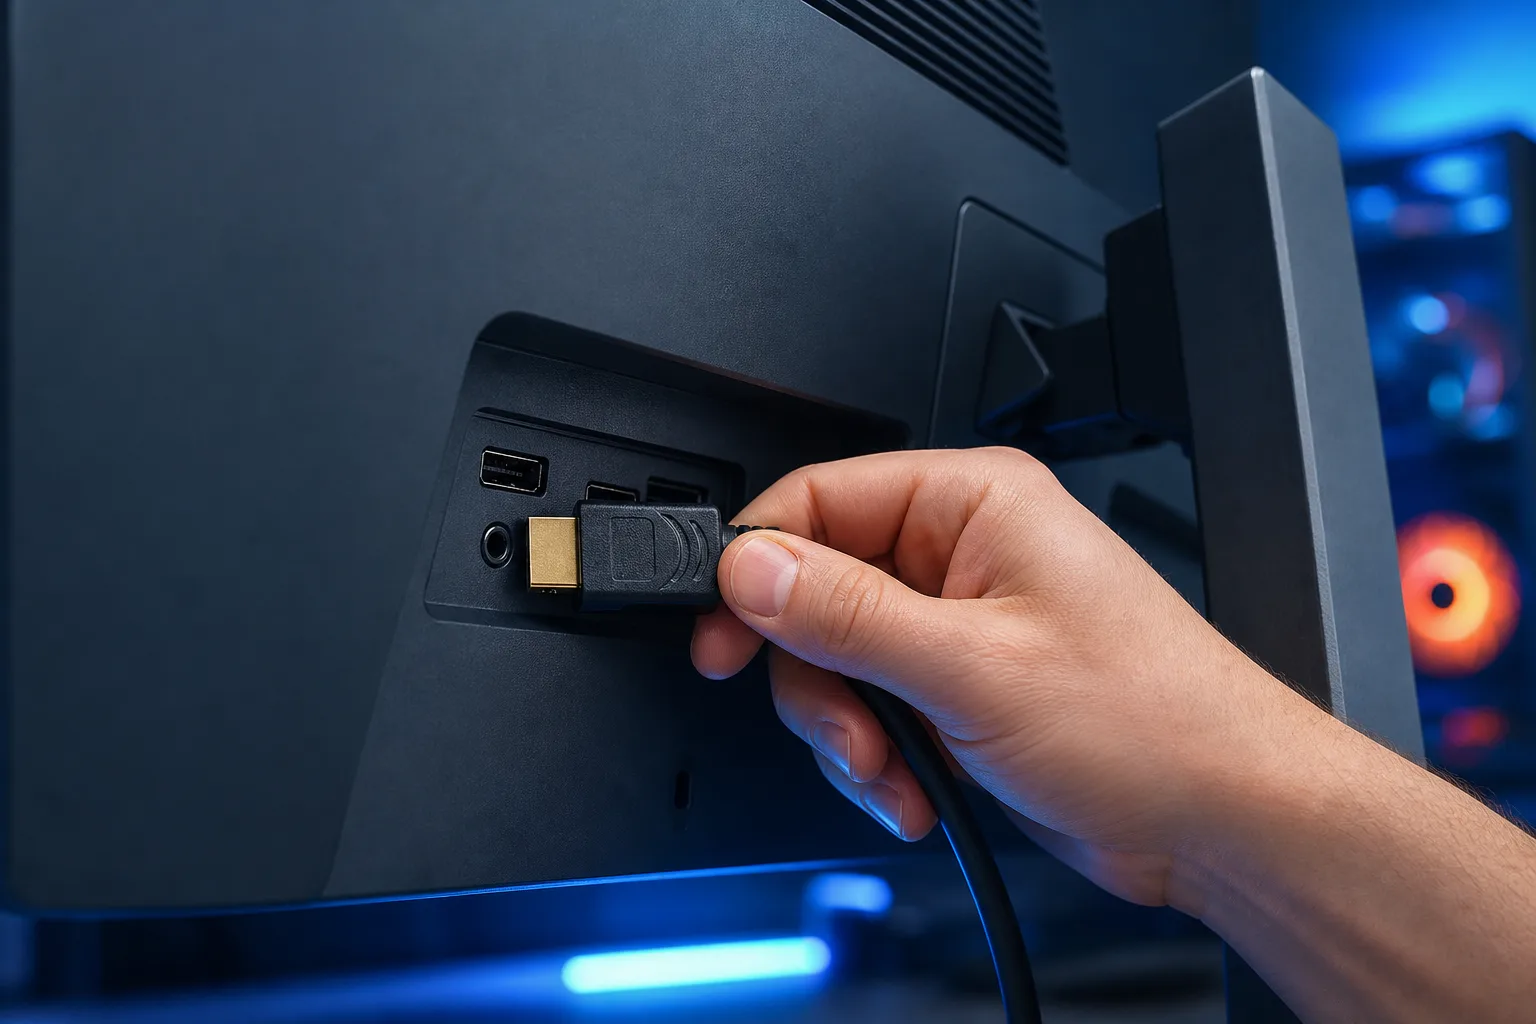
- Unplug both ends of the cable (at the monitor and at the GPU or motherboard output).
- Inspect the connector for bent pins or corrosion.
- Reseat firmly and power back on.
If you have a spare cable, swap it in before moving on. A failing HDMI or DisplayPort cable can cause a green or magenta tint, washed-out whites, or color banding, all of which disappear the moment you replace it.
Also worth checking: Make sure you are using the cable type the monitor prefers. Some monitors produce incorrect colors when driven over DVI at high refresh rates, or when an adapter (e.g., HDMI-to-VGA) is in the chain.
Step 2: Reset the Monitor's OSD to Factory Defaults
Monitor OSD settings like brightness, contrast, color temperature, and color preset can be adjusted accidentally, or they shift over time.
- Press the physical buttons on the monitor bezel to open the OSD menu.
- Navigate to a section labeled Reset, Factory Reset, or Default Settings.
- Confirm the reset.
- Recheck colors.
Common OSD presets that cause issues:
- Warm/Cool color temperature set to the wrong end of the scale
- Night mode or Eye Care mode left enabled during the day
- Color Vivid or sRGB mode forcing a narrow gamut on a wide-gamut display
Step 3: Fix the Color Profile in Windows
Windows assigns a color profile (ICC profile) to each display. If the wrong profile is selected, every color the monitor shows will be systematically off.
How to check and correct it:
- Open Settings > System > Display > Advanced Display.
- Click Display adapter properties, then open the Color Management tab.
- Click Color Management... to open the Color Management tool.
- Select your monitor from the Device dropdown.
- If no profile is listed, click Add and choose sRGB IEC61966-2.1 as a safe default.
- Set it as the default profile.
If a wrong third-party profile is listed (common after driver updates), remove it and retest.
Windows calibration tool: Search for Calibrate display color in the Start menu. The built-in wizard walks you through gamma, brightness, contrast, and color balance adjustments and saves the result as a new profile.
Computer acting up? Get a real diagnosis. Book a diagnostic
Step 4: Fix the Color Profile on macOS
- Open System Settings > Displays (macOS Ventura or later) or System Preferences > Displays.
- Click Color Profile or the Color tab.
- Select the profile that matches your monitor's make and model if listed, or choose sRGB IEC61966-2.1 as a reliable fallback.
- Uncheck Show profiles for this display only to see all available profiles.
macOS also has a built-in calibrator. Hold Option and click Calibrate... to access the expert mode, which gives you more granular control over white point and gamma.
Step 5: Update or Roll Back the GPU Driver
A recent graphics driver update can change color output settings without warning. This is especially common with NVIDIA and AMD drivers that reset per-display color settings on install.
NVIDIA:
- Open NVIDIA Control Panel > Display > Adjust Desktop Color Settings.
- Set Digital Vibrance to 50% and Hue to 0.
- Under Output color format, choose RGB; set Output dynamic range to Full.
AMD:
- Open AMD Software > Display > Color.
- Reset all sliders to default.
Intel integrated graphics:
- Right-click desktop > Intel Graphics Settings (if present).
- Navigate to Display > Color Enhancement and reset.
If the problem started after a specific driver update, roll back via Device Manager > Display Adapters > Properties > Driver > Roll Back Driver.
Step 6: Test with a Second Monitor or Second PC
By this point you have ruled out software. Testing with different hardware tells you whether the fault is in the cable, the GPU, or the monitor panel itself.
| Test | What it tells you |
|---|---|
| Same monitor, different PC | Rules out your GPU and OS settings |
| Different monitor, same PC | Rules out the monitor |
| Same monitor, same PC, different cable | Rules out the cable |
| Same monitor, same PC, different GPU port | Rules out a single output on the GPU |
If the monitor shows wrong colors on every PC you connect it to, the panel or internal monitor hardware is the likely culprit.
Common Mistakes
- Calibrating before resetting the OSD. Software calibration on top of a misconfigured OSD produces compounding errors. Always reset the monitor hardware first.
- Using a non-native resolution. Running a monitor at anything other than its native resolution changes how colors and sharpness are rendered. Confirm your resolution matches the panel spec.
- Overlooking HDR mode. Windows HDR mode, if enabled for an SDR monitor, washes out colors dramatically. Check Settings > System > Display > Windows HD Color and toggle HDR off.
- Blaming the monitor when the GPU port is the issue. A failing GPU output can cause tinting on one port while another port on the same card works fine. Try a different output port before assuming the monitor is broken.
- Ignoring ambient lighting changes. Some monitors have automatic brightness sensors that shift color temperature based on room light. If colors change throughout the day, check whether an Auto Brightness or Ambient Light setting is active in the OSD.
Bottom Line
Wrong monitor colors are almost always preventable or fixable without replacing any hardware. Work cable first, then OSD defaults, then OS color profiles, then GPU driver settings. If the monitor fails the same way on multiple PCs, the panel itself may need service.
If you have worked through every step and the problem persists, a hardware fault in the monitor or GPU is the likely cause. The team at Fix My PC Store in West Palm Beach can diagnose display and GPU issues, and remote support is available if you want a second set of eyes on your display settings before bringing anything in.
Computer acting up? Get a real diagnosis.
Fix My PC Store has repaired thousands of machines across West Palm Beach. Honest pricing, no upsell games, and a free diagnostic for new customers with our email coupon.