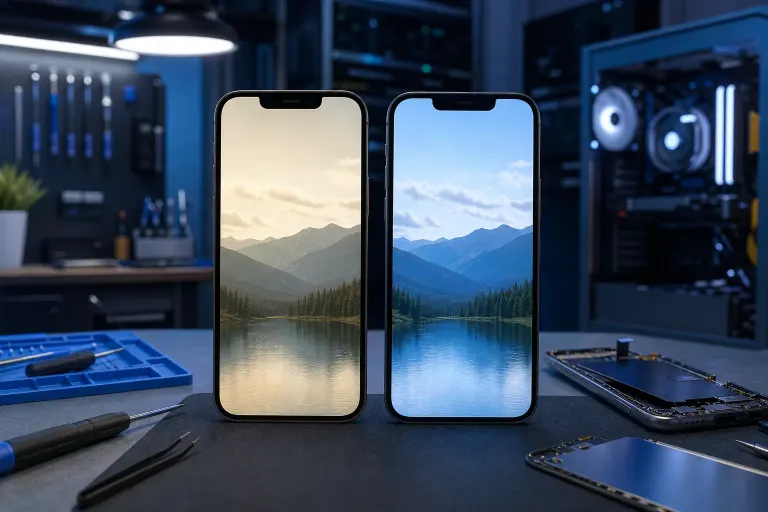
Phone Screen Replaced but Brightness Looks Different: Why?
TL;DR: After a screen replacement, different brightness usually means the new panel is a different type or grade than the original, auto-brightness hasn't recalibrated, or a connector isn't fully seated. Most causes are diagnosable in minutes, and some are fixable yourself.
What you need
- Your phone with the replaced screen
- A consistent light source for comparison (a lamp or window, same spot each test)
- A known-good reference, ideally the same phone model with its original screen (a friend's phone works)
- Access to your phone's display settings
Step 1: Rule out auto-brightness first
Auto-brightness (called Adaptive Display, True Tone, or similar depending on your phone) reads ambient light and adjusts the screen. A new screen can confuse the ambient light sensor, especially if the sensor film or adhesive was disturbed during repair.
Try this:
- Go to Settings and turn auto-brightness completely off.
- Set brightness manually to 50% using the slider.
- Compare your phone to a reference device or to how it looked before repair.
If the brightness now looks normal at a fixed setting, auto-brightness calibration is the issue. Toggle it back on and give it 24 to 48 hours to relearn your environment. If it never settles, a recalibration reset can help: on iPhone, go to Settings > Accessibility > Display & Text Size and toggle "Auto-Brightness" off and on. Android steps vary by manufacturer.
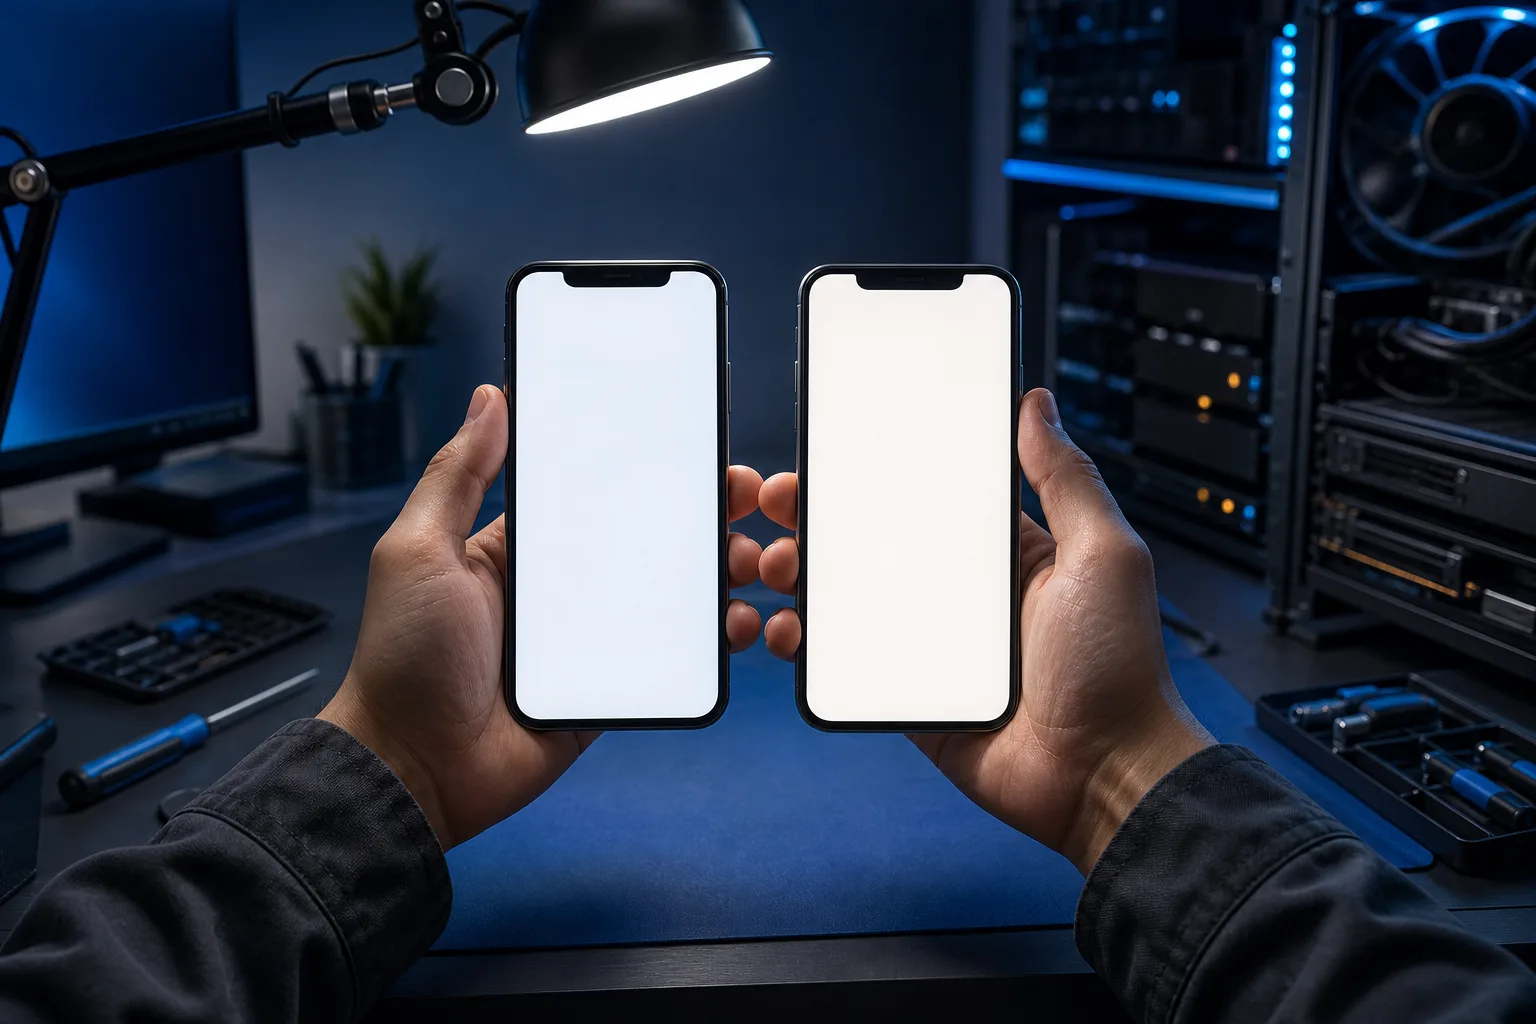
Step 2: Check for an uneven or flickering panel
Look at a plain white image (open a blank note or white webpage) and hold the phone at arm's length.
- Uneven patches or blotches: The digitizer or backlight layer may not be fully bonded.
- Flickering at lower brightness: Common with LCD replacements on phones that originally shipped with OLED. The two technologies dim differently. LCDs use PWM (pulse-width modulation) at low brightness, which some people see as flicker. OLEDs dim by reducing power directly.
- One side dimmer than the other: A backlight cable may be partially disconnected.
Uneven patches and flickering usually require reopening the phone to reseat or replace the panel.
Step 3: Identify the panel type you received
This is the most common root cause. Replacement screens come in several grades:
| Panel grade | What it means | Brightness trade-off |
|---|---|---|
| OEM (original manufacturer part) | Identical spec to what shipped with the phone | None. Matches original exactly |
| OEM-equivalent (aftermarket, same spec) | Same brightness and color standard | Minimal, usually unnoticeable |
| Standard aftermarket LCD | Lower peak brightness, different white point | Noticeably dimmer or cooler in tone |
| Refurbished OEM | Original panel, repaired or reused | Generally close to original |
If your original phone had an OLED screen and the replacement is an LCD, the brightness range, black levels, and color temperature will all be different. This is not a defect; it is a panel mismatch. The fix is a like-for-like replacement.
Ask your repair shop what panel type was used. A good shop will tell you before the repair begins.
Cracked screen or a phone that won't hold a charge? Get a repair quote
Step 4: Test the ambient light sensor
The ambient light sensor sits behind or beside the front camera cluster. If a small piece of adhesive, a misaligned bracket, or the screen bezel is blocking it, auto-brightness will behave erratically.
- Cover the top of your phone completely with your palm for five seconds.
- Remove your hand and watch whether the screen reacts by dimming.
- Point the phone at a bright lamp and watch for it to brighten.
If the sensor doesn't react, it may be blocked or the connector to the sensor may have been dislodged during repair. This needs a technician to open and inspect.
Step 5: Confirm with a hard reset
Before concluding hardware is the problem, do a soft reset (hold power and volume down until the phone restarts, or the equivalent for your model). Display driver glitches sometimes survive a normal restart but clear on a hard reset.
If brightness is still wrong after the reset, the issue is hardware or panel-grade, not software.
Common mistakes
- Comparing indoors to outdoors. Outdoor sunlight reveals peak brightness differences far more dramatically. Test in a consistent environment.
- Assuming dimmer means defective. A dimmer aftermarket panel is often a grade difference, not a broken part.
- Adjusting blue-light filters and forgetting. Night mode or a blue-light filter left on after the repair can make the whole screen look warm and dim. Check that these are off before diagnosing.
- Skipping the sensor block test. A tiny sliver of adhesive over the sensor causes wildly inconsistent behavior that looks like a panel fault.
Bottom line
Different brightness after a screen replacement almost always traces to one of four things: auto-brightness needing time to recalibrate, a lower-grade aftermarket panel, a blocked ambient light sensor, or a partially seated connector. The first three you can diagnose yourself in under ten minutes using the steps above.
If the panel is the wrong grade or a connector needs reseating, that's a job for whoever did the original repair. If they used a mismatched panel without telling you, ask them to swap it for a like-for-like part.
For repairs in the West Palm Beach area, Fix My PC Store on Okeechobee Blvd offers screen replacements with upfront explanation of which panel type is being used. Initial checks are free for most standard in-store repairs. You can also schedule a repair online or call 561-819-9999 before bringing the phone in.
Cracked screen or a phone that won't hold a charge?
Bring it in. Most phone and tablet repairs are same-day, with parts that actually last.