Why Is My PC Turning On but Not Posting? How to Diagnose It
TL;DR: A PC that powers on but never POSTs (Power-On Self-Test) is stuck before the operating system even tries to load. The most common causes are unseated RAM, a loose GPU, a failed CMOS battery, or a power-delivery problem. Work through the steps below in order and you will isolate the cause without guessing.
What you need
- A Phillips-head screwdriver
- An anti-static wrist strap (recommended) or a habit of touching the metal PC case before touching components
- A known-good monitor and display cable (to rule out a dead cable)
- Your PC manual or motherboard manual (check the manufacturer's site if you do not have it)
- About 30 to 60 minutes
Step 1: Confirm the display is not the problem
Before opening the case, swap the monitor cable. Try a different HDMI or DisplayPort cable, then try a different monitor if you have one. This takes two minutes and rules out the most embarrassing possible answer.
If your motherboard has integrated graphics and your GPU is installed, also try plugging into the motherboard's video output instead of the card. Some motherboards disable onboard video when a discrete GPU is detected, so this test is not always valid, but it takes ten seconds to try.
Step 2: Listen and look for POST codes
Most motherboards communicate POST failures through beep codes or LED POST code displays.
- Beep codes: Count the beeps and check your motherboard manual. One long beep followed by two short beeps often means a display problem. Three short beeps often means a RAM error. The pattern is manufacturer-specific, so look it up for your exact board.
- LED debug display: Many modern motherboards have a two-character hex display on the edge. A code like
00,d6, or55points to a specific failed component. Search your board's manual for the code. - No beeps at all: If the system has a speaker connected and makes no sound, the POST is not even starting. That usually points to power, CPU, or a completely dead board.
Step 3: Reseat the RAM
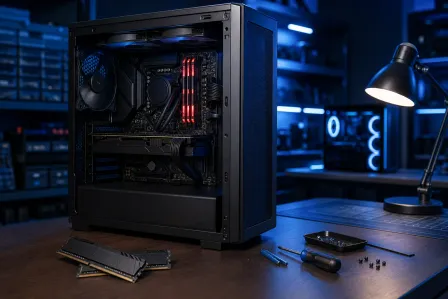
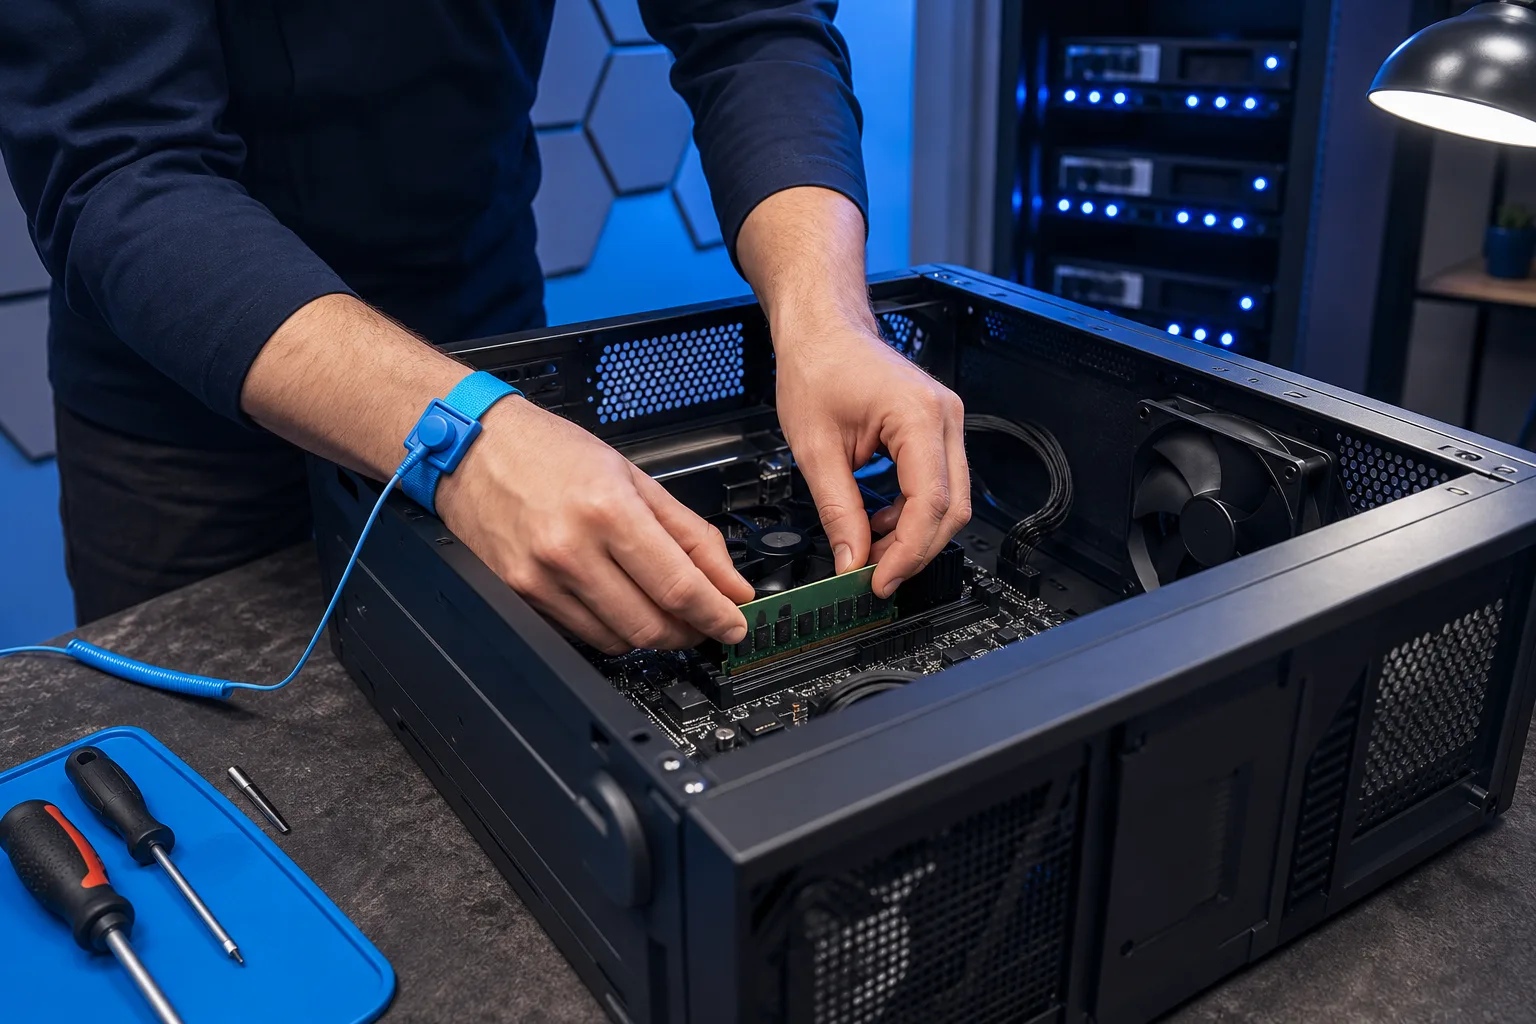
RAM is the single most common cause of a no-POST condition. Thermal cycling, vibration, and even a gentle nudge can unseat a stick just enough to cause a failure.
- Power off and unplug the PC from the wall.
- Press the retention clips on both ends of each RAM stick and lift the stick straight out.
- Inspect the gold contacts for corrosion or debris. You can gently clean them with a pencil eraser, then blow off any residue.
- Reseat the sticks firmly until both clips click.
- If you have two sticks, try booting with only one stick installed in the slot your manual recommends for single-channel operation (usually slot A2 or slot 2, not slot 1).
- Try the other stick alone if the first does not work.
If the system POSTs with one stick but not both, the other stick or slot is likely faulty.
Step 4: Reseat the GPU
A discrete GPU that has shifted in its PCIe slot will cause a no-POST or a black screen after POST.
- Unplug the PC.
- Press the PCIe retention clip at the end of the slot and pull the card straight out.
- Inspect the gold edge connector for debris.
- Firmly reseat the card until the clip clicks.
- Reconnect the PCIe power cables from the power supply. A GPU missing its power connector will cause a no-POST on many boards.
Computer acting up? Get a real diagnosis. Book a free diagnostic
Step 5: Clear the CMOS
A corrupted BIOS setting, a failed overclock, or a dead CMOS battery can prevent POST entirely.
Option A, CMOS jumper: Most motherboards have a three-pin CMOS jumper near the battery. Move it from pins 1-2 to pins 2-3 for about ten seconds, then move it back. Consult your manual for the exact location and procedure.
Option B, remove the battery: Pull the CR2032 coin cell battery from the motherboard, wait 60 seconds, and reinsert it. This resets BIOS settings to factory defaults.
After clearing CMOS, you will need to re-enter your date, time, and any custom settings like XMP/EXPO memory profiles.
Step 6: Test power delivery
A failing power supply (PSU) may supply enough power to spin fans and light LEDs but not enough stable voltage to POST.
- Check that all motherboard power connectors are fully seated: the 24-pin ATX connector and the 4-pin or 8-pin CPU power connector near the top of the board. A missing CPU power connector is a surprisingly common cause of no-POST after a build or move.
- If you have a PSU tester or a multimeter, you can check rail voltages. Otherwise, swapping in a known-good PSU of adequate wattage is the most reliable test.
Step 7: Isolate further with a bare-bones boot
If none of the above works, strip the system down to the minimum needed to POST.
| Keep installed | Remove |
|---|---|
| CPU and CPU cooler | Discrete GPU (use onboard video) |
| One RAM stick (slot per manual) | All storage drives |
| PSU | Extra case fans, RGB controllers |
| Motherboard speaker | All USB expansion cards |
If the bare-bones system POSTs, add components back one at a time and reboot after each addition. The system will fail to POST again when you add the bad component.
Common mistakes
- Skipping the cable swap. Many people spend an hour troubleshooting the PC when the display cable is the actual problem.
- Not consulting the motherboard manual for RAM slots. Putting one stick in the wrong slot can prevent POST even with good RAM.
- Forgetting the CPU power connector. The 8-pin connector near the top of the board is separate from the 24-pin connector and is easy to miss after a build or component swap.
- Clearing CMOS without noting existing settings. If you had XMP enabled for faster RAM, you will need to re-enable it after clearing, or the RAM will run at its default (slower) speed.
- Assuming the CPU is bad. CPUs rarely fail without a clear cause like overheating or a physical accident. Exhaust the other steps before concluding the CPU is the issue.
Bottom line
A no-POST failure looks alarming but is usually caused by something simple: a loose stick of RAM, an unseated GPU, or a missing power connector. Work through the steps above in order, smallest and cheapest checks first, and you will almost always find the culprit before reaching the hard stuff.
If you have worked through every step and the system still will not POST, the fault is likely a failed motherboard, CPU, or PSU, and those require hardware testing tools to confirm. The team at Fix My PC Store in West Palm Beach offers free initial checks on most in-store repairs, so you can bring your build in and get a straight answer without committing to a repair upfront. You can also book an appointment or ask a question before you come in.
For remote guidance on software-side boot issues (BIOS settings, corrupted boot records), remote support is an option worth considering if you are comfortable working inside the case yourself.
Computer acting up? Get a real diagnosis.
Fix My PC Store has repaired thousands of machines across West Palm Beach. Free diagnostics, honest pricing, no upsell games.