Why Is My PC Monitor Flickering Only at Certain Brightness Levels?
TL;DR: Flickering tied to specific brightness levels usually points to PWM (pulse-width modulation) backlight dimming, a loose or failing cable, or a driver conflict. Run through the steps below in order. Most causes are cheap or free to fix, but a failing backlight or internal panel fault may need professional hands.
What you need
- A known-good DisplayPort or HDMI cable (for swap testing)
- A second monitor or TV (optional but helpful)
- Access to your GPU driver settings and Windows Display Settings
- About 20-30 minutes
Step 1: Understand why brightness level matters
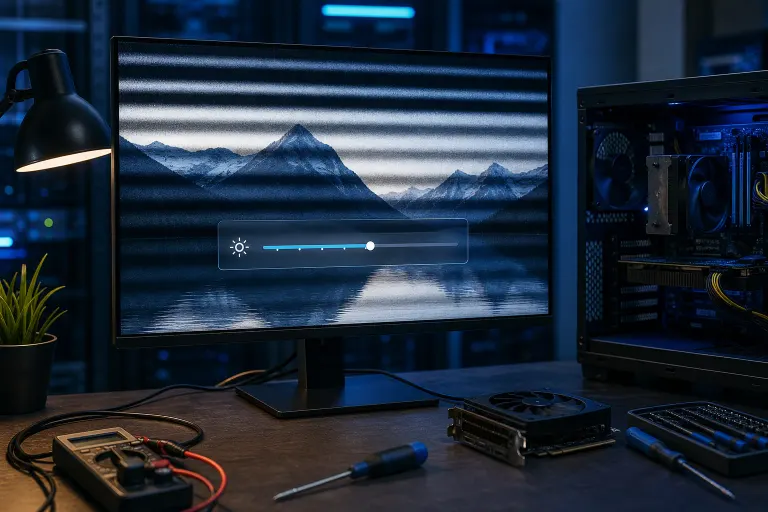
Most monitors control backlight brightness with PWM. The backlight flickers on and off very rapidly, and the ratio of on-time to off-time controls perceived brightness. At certain duty cycles, the flicker frequency can fall into a visible range or interfere with the electronics, causing a flicker you can actually see.
Some monitors use DC dimming instead, which avoids this entirely. If yours uses PWM, the flicker is often worst at low-to-mid brightness, not at 100%.
A quick sanity check: set brightness to 100%. Does the flicker stop? If yes, PWM dimming is very likely the root cause.
Step 2: Swap the cable
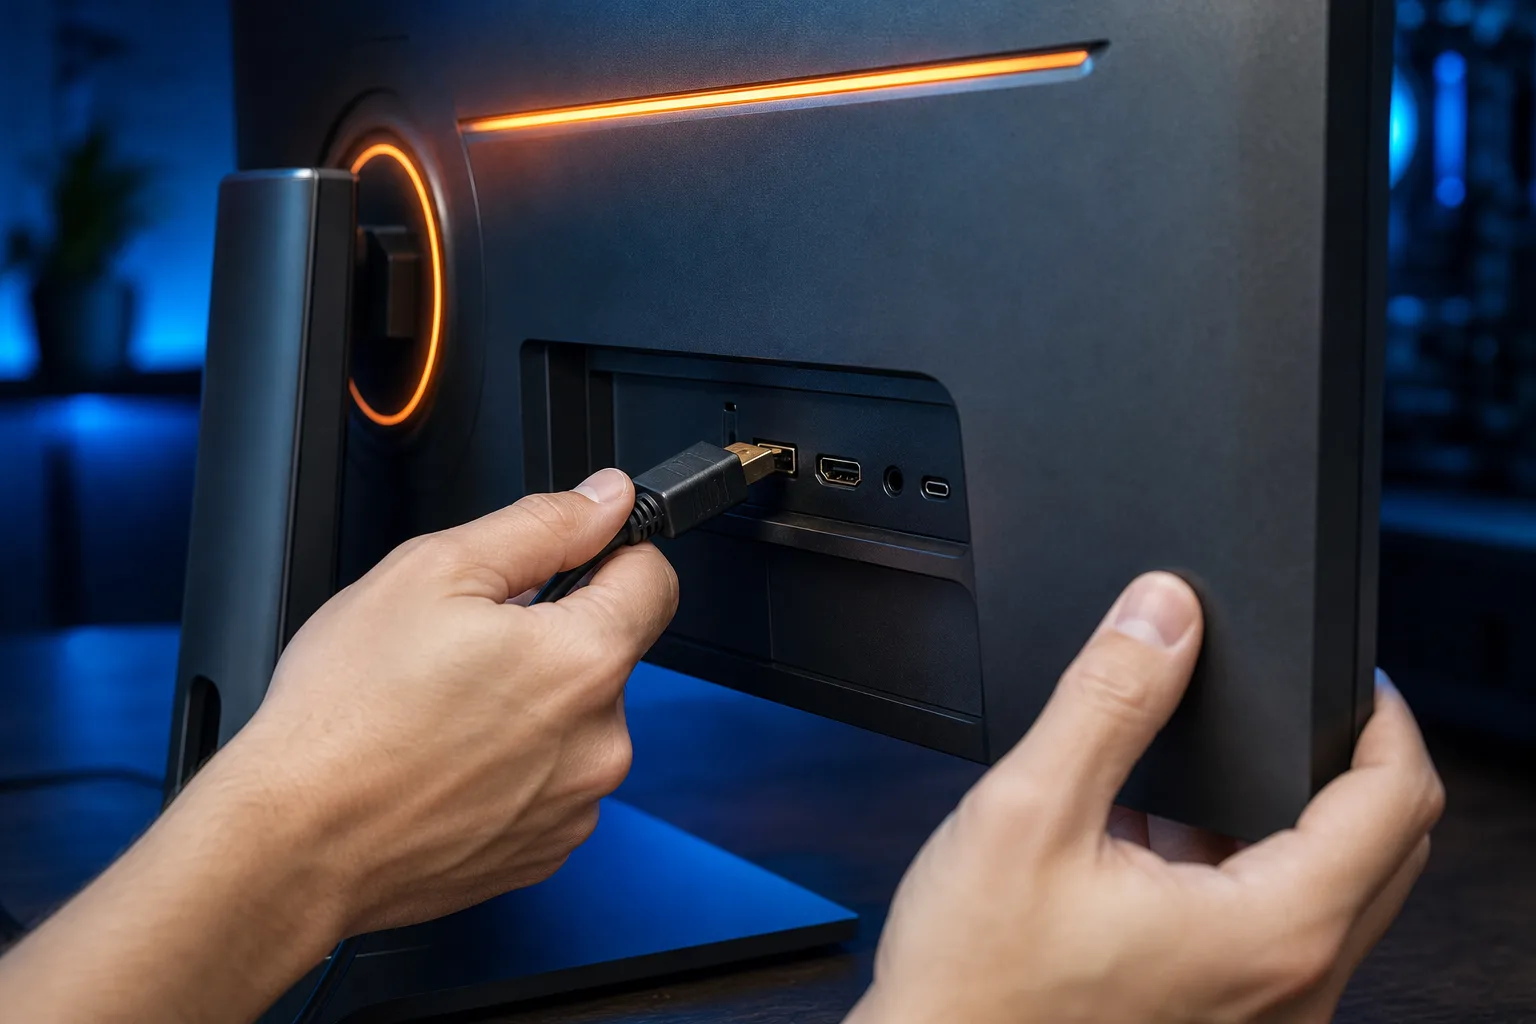
A failing or poorly seated cable can cause flickering that looks brightness-dependent because the signal degrades under certain panel draw conditions.
- Power off the monitor and PC.
- Unplug the cable at both ends and reseat it firmly.
- Power back on and test across brightness levels.
- If flickering continues, swap in a different cable of the same type (HDMI or DisplayPort).
If a new cable stops the flicker, you found your fix. Cable costs are usually under $15.
Step 3: Test with a different port and connection type
If swapping the cable doesn't help, try a different output port on your GPU, or switch from HDMI to DisplayPort (or vice versa). Some GPU ports share bandwidth or have minor faults that only show under specific loads.
Also check: is the cable plugged into your GPU, not the motherboard's video output? Using the motherboard port bypasses the dedicated GPU and can cause unexpected behavior.
Step 4: Check refresh rate and resolution settings
A mismatch between the monitor's native refresh rate and what Windows is sending can produce flicker that looks tied to brightness.
- Right-click the desktop and choose Display settings.
- Scroll to Advanced display settings.
- Confirm refresh rate matches the monitor's spec (60 Hz, 144 Hz, etc.).
- Confirm resolution matches the monitor's native resolution.
An incorrect refresh rate can cause the panel's electronics to behave unpredictably, which sometimes only shows at certain backlight levels.
Computer acting up? Get a real diagnosis. Book a free diagnostic
Step 5: Update or roll back the GPU driver
A buggy GPU driver can affect how brightness signals are sent to the monitor.
- Open Device Manager (search it in the Start menu).
- Expand Display adapters and right-click your GPU.
- Choose Update driver and search automatically.
- If the flicker started after a recent driver update, choose Properties > Driver > Roll Back Driver instead.
NVIDIA and AMD both publish driver release notes. Check whether your current version has known display issues.
Step 6: Test the monitor on a different PC
This step separates a monitor hardware fault from a PC-side issue.
- Connect your monitor to a laptop, a different desktop, or even a game console via HDMI.
- Set brightness to the level that usually causes flickering.
- If it flickers on the second device too, the fault is inside the monitor itself (backlight driver board or panel).
- If it does not flicker, the problem is on your PC side (GPU, driver, or port).
Step 7: Adjust or work around PWM dimming
If PWM is confirmed as the cause and the monitor has no DC dimming option, you have a few practical paths.
| Option | What it does | Tradeoff |
|---|---|---|
| Keep brightness at 100% | Avoids low-duty-cycle PWM | Screen may be too bright |
| Use software brightness tools (e.g., f.lux, Windows Night Light) | Reduces perceived brightness without changing backlight level | Slightly affects color accuracy |
| Enable any built-in flicker-free or DC dimming mode | Switches dimming method | Only available on some monitors |
| Replace the monitor | Eliminates PWM entirely with a DC dimming panel | Cost of new monitor |
Check your monitor's OSD (on-screen display) menu. Some models label the option "Flicker-Free" or "DC Dimming."
Common mistakes
- Assuming it's always the GPU. Brightness-specific flicker is more often the monitor's backlight or its cable than the graphics card.
- Ignoring the cable. A cable that passes a basic picture still transmits data. A marginal cable can cause intermittent flicker that's easy to overlook.
- Updating drivers without checking release notes. Sometimes the newest driver introduces a bug. Rolling back is a legitimate fix, not a last resort.
- Skipping the second-device test. Without it, you may spend time and money fixing the wrong side of the chain.
Bottom line
Brightness-specific monitor flicker almost always comes down to PWM dimming behavior, a cable or port issue, or a driver mismatch. Work through the steps in order: cable swap, port test, settings check, driver update or rollback, and second-device test. Most of these cost nothing but time.
If the flicker follows the monitor to a second PC, the backlight driver board or panel may need physical repair or replacement. That's where a professional diagnosis makes sense. If you're in West Palm Beach or the surrounding area, Fix My PC Store offers free initial checks on most in-store repairs, so you can find out what you're dealing with before committing to anything. You can also reach out to book a diagnostic if you'd rather not guess.
Computer acting up? Get a real diagnosis.
Fix My PC Store has repaired thousands of machines across West Palm Beach. Free diagnostics, honest pricing, no upsell games.