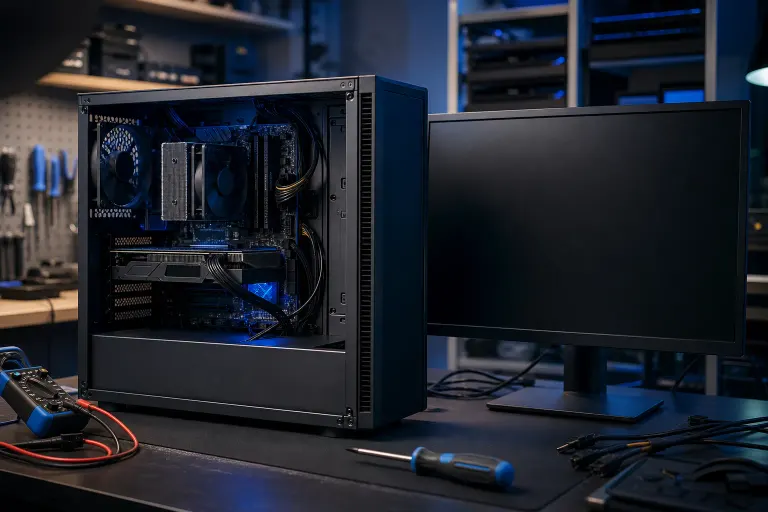
PC Has Power but No Display? Diagnose the No Signal Problem
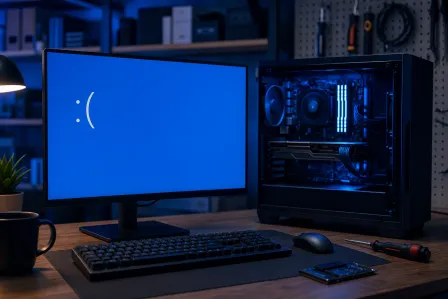
A PC that powers up but shows no image usually has a short list of likely causes: the monitor input or cable, the graphics connection, memory that is not training correctly, or a component preventing POST. Do not start by taking the whole computer apart. Start outside the case and narrow the fault in a sensible order.
If the fans spin and lights come on but the monitor reports No Signal, this guide will help you determine whether the display path is at fault or whether the PC is failing before Windows ever gets a chance to load. The distinction matters. So does not replacing parts based on a hunch.
What you need
Before you begin, gather a few simple items:
- A known-working monitor, TV, or second display if one is available.
- A known-good HDMI, DisplayPort, or other appropriate video cable.
- A small Phillips screwdriver for desktop PCs.
- A flashlight, especially for checking ports and cable seating.
- Your motherboard manual, if you can access it on another device.
- A stable work surface and enough time to test one change at a time.
For any internal work, shut the PC down, switch off the power supply if it has a rear switch, unplug it, and hold the front power button for about 10 seconds. This helps discharge residual power. Avoid working on carpet when possible, and do not force connectors. Computer hardware is robust right up until it is not.
1. Confirm the monitor is actually receiving the right input
Start with the display, not the PC. A powered monitor can still be set to the wrong input, have a failed cable, or be awake but unable to see the PC.
Check the monitor’s power indicator. Then open its on-screen menu. If you can see the monitor menu, the panel itself is at least functioning. Select the input manually, such as HDMI 1, HDMI 2, or DisplayPort. Do not rely solely on Auto Select, especially with older displays and some DisplayPort setups.
Next, inspect both ends of the video cable:
- Disconnect and firmly reconnect the cable at the monitor and PC.
- Check for bent pins, damaged plugs, loose adapters, or a cable that pulls out too easily.
- Try another port on the monitor if it has one.
- Try another cable of the same type.
- If practical, connect the monitor to another computer, game console, or streaming device.
A monitor that works with another source shifts attention back to the PC. A monitor that cannot display its own menu or another known-good source may be the actual problem.
Avoid stacking multiple adapters, such as DisplayPort to HDMI plus HDMI to DVI. Every adapter adds another failure point and some combinations do not support the resolution or refresh rate being requested. A direct cable is preferable for diagnosis.
2. Make sure the cable is connected to the correct video port
This is the most common desktop mistake after a PC is moved, cleaned, or upgraded.
If your computer has a separate graphics card, connect the monitor to the ports on that graphics card, not the video ports near the USB and network connectors on the motherboard. The graphics card ports are typically lower on the rear of a tower case and arranged horizontally. Motherboard video ports are usually grouped higher up with other rear I/O ports.
Why this matters: once a dedicated graphics card is installed, many PCs send video through that card. The motherboard HDMI or DisplayPort connection may provide no output at all, even though the computer is otherwise healthy.
If you are unsure, test both locations one at a time. Let the PC fully start after each change. Some systems need a restart to initialize a different output path.
For a desktop without a graphics card, use the motherboard video ports. For laptops, do not confuse this issue with a failed external display connection. A laptop’s internal screen and an external monitor have additional variables. If the laptop itself has no image, our laptop repair service can identify whether the issue is the panel, display cable, graphics circuitry, or mainboard.
3. Reduce the setup to one monitor and one direct cable
Multiple monitors can conceal what is happening during startup. A PC may be sending its startup screen to a different display, or it may be stumbling over a dock, KVM switch, receiver, or adapter.
Disconnect everything except:
- One monitor.
- One direct video cable.
- A wired keyboard, if available.
- Power for the PC.
Remove docking stations, USB display adapters, capture devices, KVM switches, AV receivers, and monitor daisy chains for now. Connect the single monitor directly to the PC.
Use the display’s native input where possible. For example, use DisplayPort to DisplayPort or HDMI to HDMI rather than converting between standards. If the monitor has both HDMI and DisplayPort, test each with known-good cables. This is not glamorous troubleshooting, but it is faster than blaming the motherboard because a $12 cable had a bad day.
If you get an image after simplifying the setup, add devices back one at a time. The last item added before the failure returns is your prime suspect.
4. Watch for signs the PC is passing POST
Before Windows loads, the motherboard performs a Power-On Self-Test, usually called POST. A no-signal message can mean the PC is failing at this early stage, or it can mean the PC has started normally but video is not reaching the display.
Look and listen for clues:
- Does the keyboard light up after a short delay?
- Do drive activity lights blink briefly?
- Do Caps Lock or Num Lock keys respond when pressed?
- Does the PC restart itself repeatedly?
- Are there beep codes from a small motherboard speaker?
- Does the motherboard show diagnostic LEDs or a two-character debug code?
Many modern boards include LEDs labeled CPU, DRAM, VGA, and BOOT. Note which light remains lit after startup. A DRAM light points toward memory. A VGA light suggests the graphics card or display initialization. A CPU light can indicate processor power, seating, or motherboard issues. Check the motherboard manual because labels and behavior vary.
Do not assume fans prove the PC is booting. Fans only prove that some power is present. A system can illuminate every RGB strip in Palm Beach County and still fail POST.
If the computer appears to reach Windows, perhaps you hear the login sound or can respond to keyboard commands, the problem is more likely the monitor, cable, graphics output, or display configuration. If it never reaches a stable startup state, continue with the internal checks below.
Computer acting up? Get a real diagnosis. Book a free diagnostic
5. Reseat the graphics card and its power connections
If the PC uses a dedicated graphics card and there is still no display, inspect it next. A graphics card can shift slightly during transport, especially in a heavy gaming build. It may look installed while making poor electrical contact.
With the PC fully unplugged:
- Remove the side panel.
- Locate the graphics card in the long PCIe slot.
- Check that its rear bracket is secured to the case.
- Confirm any PCIe power plugs are fully inserted into the card.
- Carefully remove the card if you are comfortable doing so.
- Inspect the PCIe slot and card edge for dust, debris, or visible damage.
- Reinstall the card straight and firmly until the slot retention tab engages.
- Reconnect each required power lead, then secure the card to the case.
Do not use a loose, partially seated connector. Modern graphics cards may require one or more dedicated PCIe power connections, and some use a compact high-current connector. If a connector is not fully seated or the cable is sharply bent right at the plug, the card may not initialize reliably.
If your CPU has integrated graphics, remove the dedicated graphics card only if you are confident doing so, then connect the monitor to the motherboard video output. This is a useful isolation test. It does not work on every processor because many CPUs do not include onboard graphics.
For a newly built or recently upgraded gaming PC, avoid random parts swapping. Compatibility, power delivery, BIOS support, and cooling all matter. Our custom gaming PC builder is available when you want a system designed as a complete, supportable build rather than a collection of hopeful boxes.
6. Test the RAM one module at a time
Memory problems are a frequent cause of a powered PC with no image. RAM can become unseated after moving a computer. New memory can also require training, especially after a hardware change or BIOS reset.
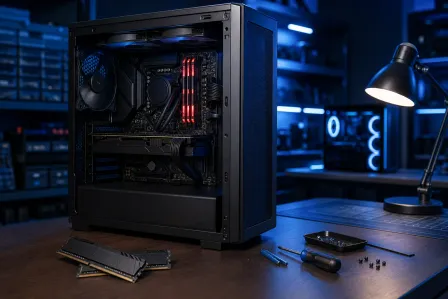
Turn off and unplug the PC before touching RAM. Find the memory modules near the CPU socket. Release the retaining clips, remove all modules, and then install one module in the slot recommended by the motherboard manual for single-stick operation. This is often labeled A2, but verify it for your board.
Then test methodically:
- Boot with one memory stick installed.
- If there is no display, power down and try that same stick in the other recommended slot.
- Repeat with each remaining stick, one at a time.
- If one module works and another does not, you have isolated a likely bad module or slot issue.
Seat RAM evenly by pressing down at both ends until the retaining clips lock. Do not touch the gold contacts. If the system uses DDR5, give it extra time after memory changes. Initial memory training can take longer than many people expect, and the system may restart during the process. Wait several minutes before declaring it dead.
If you recently enabled memory overclocking settings, such as XMP or EXPO, clear CMOS before further testing. Unstable memory settings can block POST. Follow the motherboard manual for the correct clear-CMOS procedure rather than improvising with a screwdriver near sensitive electronics.
7. Check core motherboard power and reset the firmware settings
A partial power connection can create confusing symptoms. The PC may spin fans and light up while the processor or graphics card lacks the power needed to initialize.
Inspect these connections inside the case:
- The 24-pin motherboard power connector.
- The CPU power connector near the top edge of the motherboard, often 4-pin, 8-pin, or a combination.
- All required graphics card power connectors.
- Any loose cables after a move, cleaning session, or component upgrade.
Press each connector straight into place. Do not yank on wires. If you recently replaced the power supply, verify that every modular cable belongs to that exact power supply model. Never reuse modular PSU cables from a different unit unless the manufacturer explicitly confirms compatibility. Similar plugs can be wired differently. That is a bad kind of surprise.
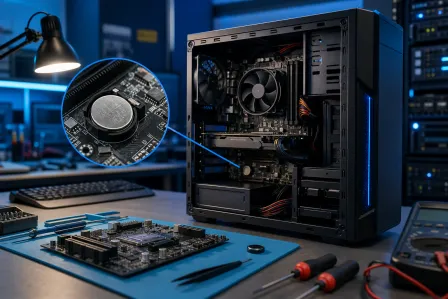
Next, clear the BIOS or UEFI settings if you suspect a failed overclock, unstable memory profile, or incorrect display initialization setting. Use the motherboard’s clear-CMOS button or jumper according to its manual. If it uses a coin-cell battery method, follow the documented process and ensure power is disconnected first.
After clearing settings, boot with minimum hardware: CPU and cooler, one RAM stick, graphics output, and the boot drive if needed. Disconnect nonessential USB devices and add-in cards. If video returns, reconnect devices one at a time.
8. Know when the problem requires a repair bench
Stop home troubleshooting and arrange professional diagnosis if you notice burning smells, scorch marks, liquid exposure, swollen components, broken connectors, or a power supply that clicks, shuts down, or behaves inconsistently. Do not repeatedly power on a system that may have an electrical fault.
You should also consider service when you have tested a known-good monitor and cable, reseated RAM and the graphics card, cleared firmware settings, and still cannot get POST or video. At that point, the remaining likely causes include a failed graphics card, motherboard, power supply, processor, damaged CPU socket pins, or firmware trouble. Those need controlled testing with known-good parts.
For desktops, laptops, and Macs in West Palm Beach and surrounding South Florida communities, our computer repair team can test the system without treating replacement parts as a diagnostic strategy. Mac hardware has its own display paths and board-level quirks, so use our Mac repair service for a Mac that powers on but will not show an image.
If this happened on a work computer, there is a second priority: protecting business continuity. A failed endpoint should not become an improvised outage. Businesses benefit from documented hardware standards, usable backups, and a support plan that does not depend on whoever last touched the cable. Our managed IT services help South Florida organizations make those failures more predictable and less disruptive.
Common mistakes
Assuming fan movement means the PC is working
It does not. Fan spin is only a basic sign of power. POST, graphics initialization, storage detection, and Windows startup are separate steps.
Plugging the monitor into the motherboard instead of the graphics card
On a desktop with a dedicated GPU, this is the first thing to verify. It happens often after rearranging a desk, moving offices, or installing a new monitor.
Changing several parts or settings at once
If you swap RAM, change cables, clear CMOS, and reseat the GPU all in one round, you may restore video without knowing why. Change one variable, test it, and write down the result.
Using a questionable adapter as the baseline test
Adapters and docks are useful, but they complicate diagnosis. Test with a direct, known-good cable first.
Forgetting monitor input selection
A monitor can be on, healthy, and pointed at HDMI 2 while the PC is connected to DisplayPort. The screen will then report no signal with complete confidence.
Reusing modular power supply cables
This can damage hardware. Cable compatibility is not determined by whether the plug physically fits. Use only the cables supplied with the installed power supply or explicitly approved replacements.
Opening a laptop or all-in-one without a plan
Compact systems can have fragile display cables, hidden screws, internal batteries, and components that are not designed for casual access. Basic external tests are sensible. Deep disassembly is often where a display problem gains a second problem.
Bottom line
A PC with power but no display is usually diagnosable without guesswork. Verify the monitor input and cable, use the correct output port, simplify to one display, check POST clues, then reseat the graphics card and test RAM methodically. Only after those steps should you suspect major components.
If the system still shows no signal after a controlled set of tests, stop cycling power and get a proper diagnosis. You can contact Fix My PC Store for local repair support in West Palm Beach and throughout Palm Beach and the Treasure Coast. Reliable computing is mostly prevention, plus knowing when not to turn a loose cable into an expensive experiment.
Computer acting up? Get a real diagnosis.
Fix My PC Store has repaired thousands of machines across West Palm Beach. Free diagnostics, honest pricing, no upsell games.