Why Is My Desktop PC Posting but Restarting Before Windows Loads?
TL;DR: A desktop that posts but loops back before Windows loads is almost always a corrupted boot environment, hardware instability (RAM, storage, or PSU), or a busted driver/update. POST passing means your CPU and basic memory init are fine. The problem lives between POST and the Windows kernel handoff. Use the diagnostic sequence below to find it without guessing.
What Happened
POST (Power-On Self-Test) is your motherboard doing a quick hardware sanity check. Beeps done, no error codes, everything signals green. Then your system hands off to the bootloader, Windows starts loading, and bam, instant reboot.
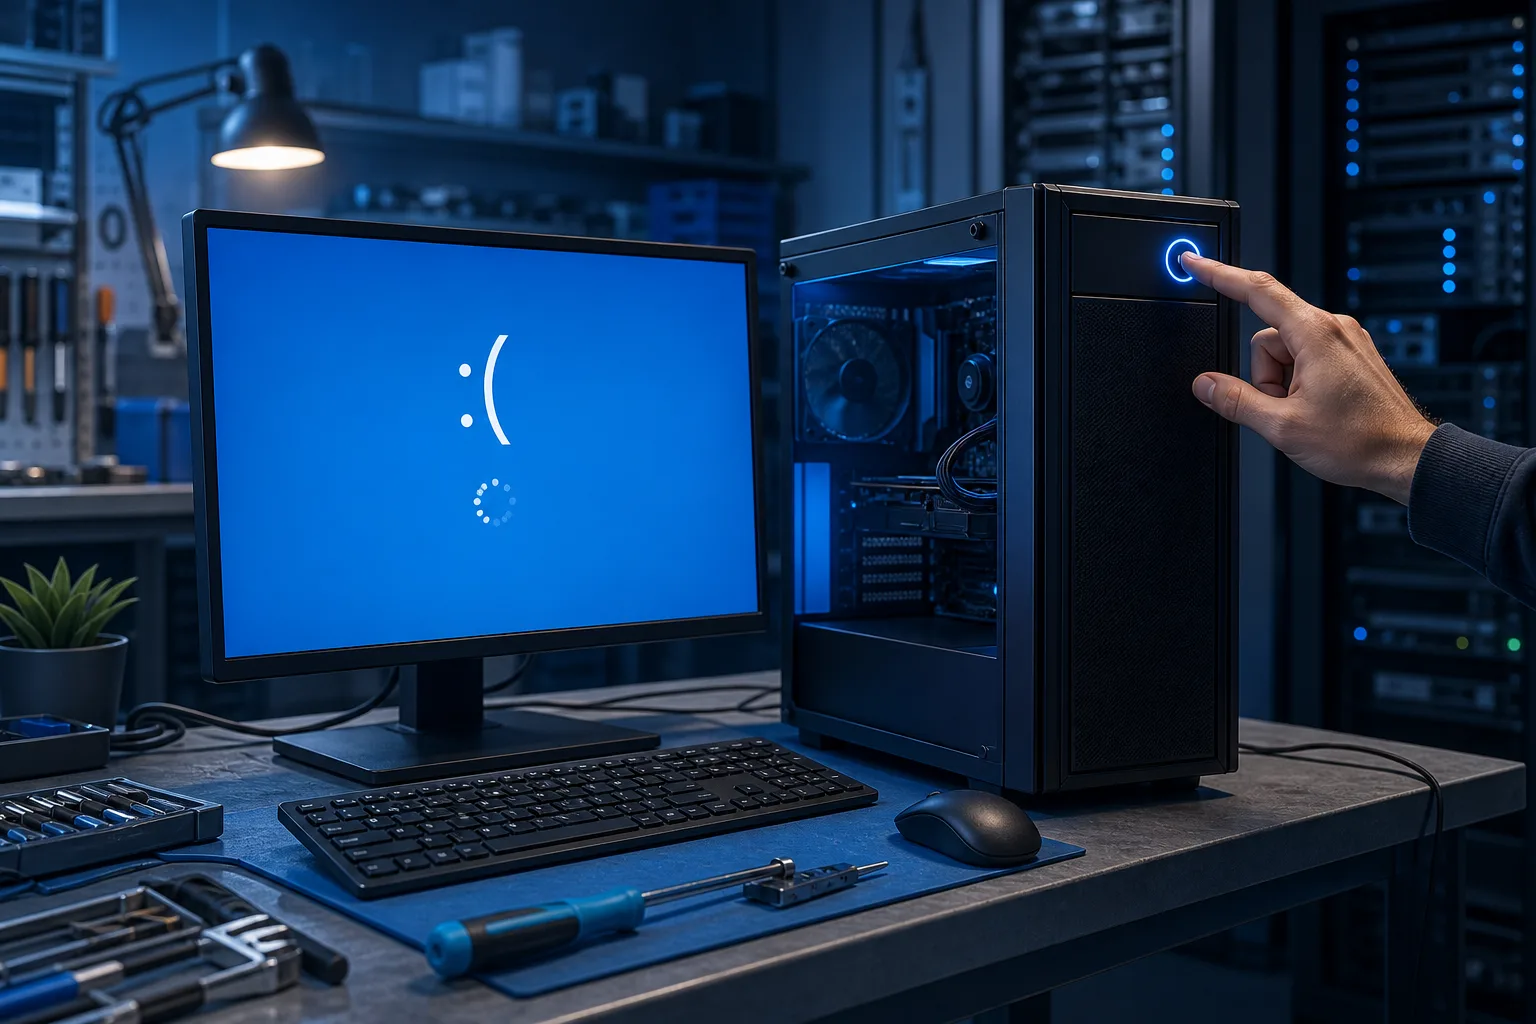
That reboot is Windows (or the hardware underneath it) hitting a fatal condition and bailing. By default, Windows is configured to restart automatically on a critical error, which is why you never see the blue screen. The system just loops.
Three broad buckets cover almost every case:
- Boot environment corruption - MBR, BCD (Boot Configuration Data), or system files are damaged, often from a bad update, improper shutdown, or a dying drive writing garbage.
- Hardware instability - RAM errors, a drive that's healthy enough to pass POST but fails under sustained reads, or a PSU that brownouts when load increases.
- Driver or software conflict - A recent Windows update or driver install left a file that crashes the kernel before the desktop appears.
Why It Matters
The reboot loop is your data at risk. If the drive is failing, every reboot cycle is more wear on a sick disk. If it's a corrupted BCD, that's recoverable. If it's RAM throwing errors, you could be corrupting files you haven't even opened yet. Getting the diagnosis right the first time saves your data and your build.
This is also different from a PC that won't POST at all. POST passing means your CPU, one stick of RAM in the right slot, and GPU output are functional. That narrows the suspect list significantly, which is actually good news.
Computer acting up? Get a real diagnosis. Book a diagnostic
Diagnostic Sequence: Work Through This in Order
Don't skip steps. Each one rules out a bucket before you move deeper.
Step 1: Disable Automatic Restart on Failure
You need to see the actual error code. If you can get into Windows Recovery Environment (WinRE), do it this way:
- Interrupt boot three times in a row (hold the power button during startup) to trigger the Automatic Repair screen.
- Go to Advanced Options > Startup Settings > Restart, then select Disable automatic restart on system failure.
- Now when it crashes, it will hold the blue screen so you can read the stop code.
That stop code tells you exactly which bucket you're in. Write it down or photograph it.
Step 2: Check the Stop Code
| Stop Code | Likely Cause |
|---|---|
| INACCESSIBLE_BOOT_DEVICE | Storage driver, failing drive, or corrupted BCD |
| CRITICAL_PROCESS_DIED | Corrupted system file or bad Windows update |
| MEMORY_MANAGEMENT | RAM errors |
| WHEA_UNCORRECTABLE_ERROR | Hardware fault, often CPU, RAM, or PSU under load |
| BAD_SYSTEM_CONFIG_INFO | Registry or BCD corruption |
Step 3: Try Startup Repair
From WinRE, run Startup Repair. This fixes most BCD and MBR corruption automatically. If it works, great. If it fails or the loop returns after a few reboots, keep going.
Step 4: Run SFC and DISM from a Working Windows Session or Safe Mode
If you can reach Safe Mode or a functioning Windows session, open an elevated command prompt and run:
sfc /scannow
DISM /Online /Cleanup-Image /RestoreHealth
These repair corrupted Windows system files. The DISM /Online switch targets the currently running Windows installation, so it must be run from within Windows (including Safe Mode), not from the WinRE command prompt. If you can only access a WinRE command prompt, you can run DISM against the offline Windows partition instead (for example, DISM /Image:C:\Windows /Cleanup-Image /RestoreHealth with an appropriate source), but this requires specifying the correct drive letter and a valid source image. DISM may also need an internet connection when run with /Online to pull replacement files.
Step 5: Test RAM
From WinRE you can launch Windows Memory Diagnostic. Better option: boot from a USB running MemTest86 and run at least two full passes. Any errors at all mean your RAM is a suspect. Try one stick at a time in the correct primary slot.
Step 6: Check Drive Health
Boot a live USB (like a Linux environment or a dedicated tool like CrystalDiskInfo on another machine) and pull the SMART data from your drive. Reallocated sectors, pending sectors, or uncorrectable errors are red flags. A drive can pass POST and still be dying.
Step 7: Suspect a Recent Driver or Update
If Step 2 pointed to CRITICAL_PROCESS_DIED or a similar code, and your drive and RAM check out, a recent update is likely guilty. From WinRE, go to Uninstall Updates and remove the most recent cumulative update. If you recently installed a GPU driver, roll it back via Safe Mode if you can get there.
Step 8: PSU and Power Stability
This one's harder to diagnose without a multimeter or a spare PSU. Symptoms that suggest PSU: the reboot happens at a consistent point in loading (when GPU or storage kicks in harder), the system is stable in BIOS but crashes during Windows load, or you notice the reboot correlates with high ambient temp. A PSU that's marginal will pass POST but collapse under sustained load.
What We Don't Know Yet
Without seeing the specific stop code or running diagnostics, it's impossible to say whether this is a quick BCD fix or a hardware replacement. Drive failures in particular can look identical to software corruption until you pull SMART data. And some PSU failures are intermittent enough that they'll pass every software test you throw at them.
If the loop started after a Windows Update, that's statistically the most common cause and the most recoverable. If it started after a power outage or the PC took a hit, weight your suspicion toward hardware.
What to Do About It
Work through the diagnostic sequence above in order. Most reboot loops are resolved by Step 3 or Step 4 (Startup Repair or SFC/DISM). RAM and drive tests are worth doing even if software fixes the boot, because a marginal drive caused the corruption in the first place.
If you're hitting WHEA errors or the PSU is suspect, those are harder to chase without hands-on hardware access. Same goes for a drive that's actively failing: the priority shifts from fixing to recovering your data first, then rebuilding.
If you're in West Palm Beach, Royal Palm Beach, or Wellington and the loop won't break, bring it into Fix My PC Store at 10140 Okeechobee Blvd. Initial checks are free for most standard in-store repairs, and they'll tell you what's going on before any work starts. You can also reach them at 561-819-9999 or book online. Remote diagnostics are available too at /remote-support if the machine can get online at all.
Computer acting up? Get a real diagnosis.
Fix My PC Store has repaired thousands of machines across West Palm Beach. Honest pricing, no upsell games, and a free diagnostic for new customers with our email coupon.