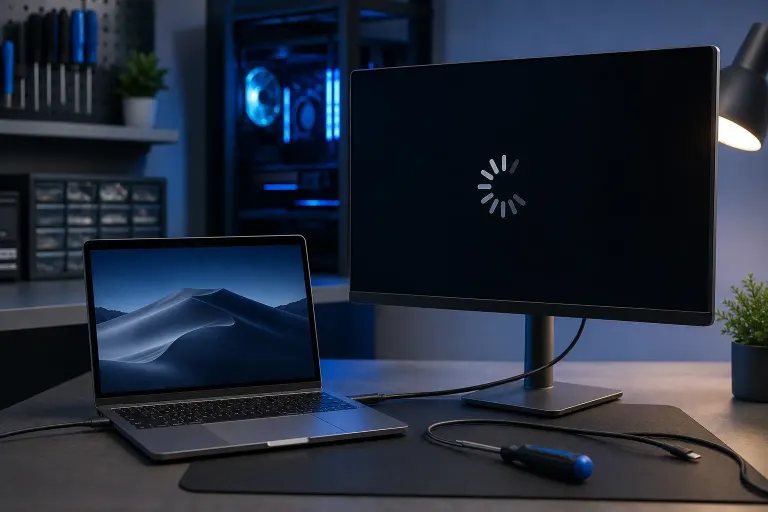
Mac External Display Not Working After an Update? Fixes That Help
TL;DR: A macOS update is the most common trigger for sudden external display failures. Start with the cable and adapter, reset display preferences, then work through the software fixes below. If the display works on another machine and the Mac still ignores it, the GPU or port hardware may need a closer look.
What You Need
- The Mac, powered on and updated
- Your external display and its cable
- Any adapter you use (USB-C to HDMI, Thunderbolt to DisplayPort, etc.)
- A spare cable or adapter if you have one (useful for ruling out hardware)
- About ten to fifteen minutes
Step 1: Eliminate the Obvious Hardware Suspects First
Before blaming the update, check the physical layer. Unplug and firmly reseat the cable at both ends. If you are using an adapter, try a different one. Apple Silicon Macs are picky about third-party USB-C hubs, and a cheap hub that worked fine before an update sometimes stops working after one because macOS tightened driver handling.
Test the display with a different computer if you can. If it shows a picture there, the display itself is fine. If it does not, the problem is the monitor, not the Mac.
Also confirm the display is set to the correct input source. (Sounds obvious. You would be amazed how often this is the culprit after someone accidentally hits a button.)
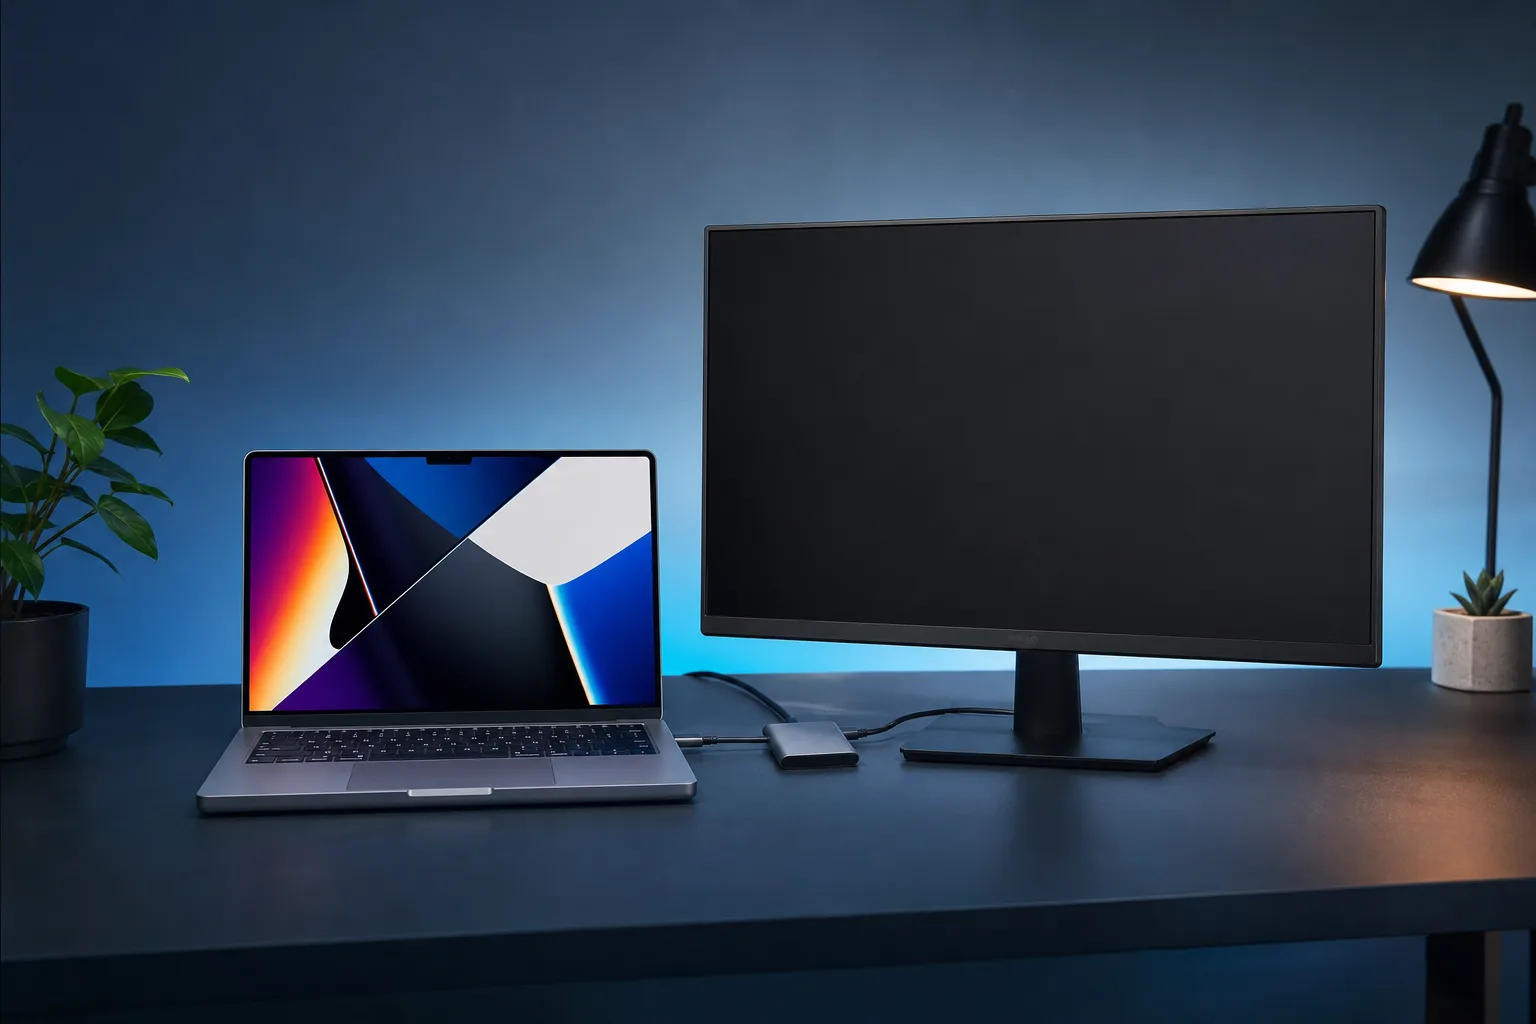
Step 2: Force macOS to Detect the Display
Open System Settings > Displays. Hold Option and click Detect Displays if that button appears. On older macOS versions (Monterey and below), it is in System Preferences > Displays.
If the display briefly flickers or shows a signal, macOS sees it but is having trouble holding the connection. That points to a driver or EDID handshake problem, not a dead port.
No button appears and nothing happens? Move to the next step.
Step 3: Delete the Display Preference File
This is the fix that clears up the majority of post-update display failures. macOS caches display configuration data and a system update can write new values that conflict with what is stored.
- Quit all open apps.
- Open Finder, then press Cmd + Shift + G and go to:
~/Library/Preferences/ByHost/ - Look for files that start with
com.apple.windowserverand end in.plist. - Move those files to your Desktop (do not delete them yet, just in case).
- Restart the Mac with the display connected.
macOS will generate fresh preference files on boot. If the display comes back, you are done. You can trash the old plist files.
Step 4: Reset NVRAM (Intel Macs Only)
NVRAM stores display-related settings including resolution and refresh rate. An update can leave bad values there.
- Shut the Mac down completely.
- Power it on and immediately hold Option + Cmd + P + R.
- Keep holding until you hear the startup chime twice, or until the Apple logo appears and disappears twice (on Macs without a chime).
- Release the keys and let the Mac boot normally.
Apple Silicon Macs (M1, M2, M3, M4) do not have NVRAM you can manually reset. The system handles that automatically. Skip this step if you have an M-series chip.
Computer acting up? Get a real diagnosis. Book a diagnostic
Step 5: Check and Reinstall the macOS Update
Sometimes an update installs incompletely, leaving GPU drivers in a broken state. Go to System Settings > General > Software Update and check whether a supplemental update or point release is available. Apple often pushes small patches within days of a major release specifically to fix display issues.
If you recently updated to a major macOS version (Sequoia, Sonoma, Ventura), search Apple's support forums or Apple's release notes page to see whether your display configuration is a known issue. Sometimes the answer is "wait for the next patch."
Step 6: Boot Into Safe Mode and Test
Safe Mode loads only essential kernel extensions. If the display works in Safe Mode, a third-party app or extension is interfering.
Intel Mac: Restart, hold Shift during boot until the login screen shows "Safe Boot" in the top-right corner.
Apple Silicon Mac: Shut down, then hold the power button until you see startup options. Click your startup disk, hold Shift, then click Continue in Safe Mode.
If the external display works in Safe Mode, boot normally and check System Settings > Privacy & Security > Login Items for anything that loads at startup that you do not recognize. Third-party GPU tools and display calibration utilities are common culprits.
Step 7: Create a New User Account
If Safe Mode works but normal boot does not, and you cannot identify the offending app, create a new admin user account under System Settings > Users & Groups. Log into that account and test the display.
If it works there, your main user profile has a corrupted preference or extension. You can migrate your files to the new account or spend time hunting the specific plist file, depending on how much patience you have left (not much, if you are anything like me).
Common Mistakes
Using a bargain-bin USB-C hub. After a macOS update, many of these stop passing the display signal correctly. They do not fail completely, they just refuse to carry the video channel. Plug the display cable directly into the Mac's port, bypassing the hub, to rule this out.
Assuming the adapter is fine because it worked before. macOS updates change how Thunderbolt and USB-C alternate modes are negotiated. An adapter that worked under the old OS may not work under the new one. Try a certified Apple or CalDigit adapter before writing off the port.
Restarting once and giving up. Some changes, especially NVRAM resets and plist deletions, need a full cold boot, not just a restart. Shut down, wait ten seconds, then power on.
Running an unsupported resolution or refresh rate. If you manually set a resolution before the update, the new OS may not support that exact setting with your adapter. Go to System Settings > Displays and switch to Default for Display to reset it.
Bottom Line
Nine times out of ten, a Mac external display failure after an update comes down to a stale preference file, an NVRAM remnant (on Intel), or an adapter that can no longer negotiate the signal under the new OS. Work through the steps in order and you will almost always find it before step 7.
If you have done all of this and the display still does not work, the port or GPU may have a hardware problem that the update just made visible. A dying Thunderbolt controller, for example, can limp along until the OS changes how it initializes the hardware. That is a bench diagnosis, not a settings fix.
For West Palm Beach and South Florida residents who want a second set of eyes on it, Mac repair at Fix My PC Store covers both hardware and software diagnosis. Remote support is also available if you want someone to walk through the software steps with you on a screen share.
Computer acting up? Get a real diagnosis.
Fix My PC Store has repaired thousands of machines across West Palm Beach. Honest pricing, no upsell games, and a free diagnostic for new customers with our email coupon.