Why Does My Laptop Charge Slowly? Causes and Fixes
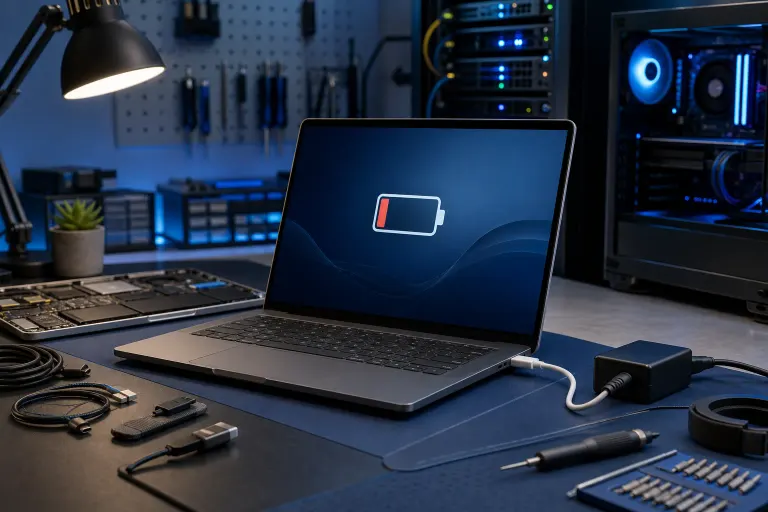
TL;DR: Slow charging almost always comes down to four suspects: a weak or wrong charger, a worn-out battery, background apps eating power while you charge, or a damaged charging port. Work through the checks below in order, and you'll usually know exactly what's wrong within ten minutes.
Hey, I get it. You plug in your laptop, walk away for an hour, and come back to find it's barely moved past 40%. That's frustrating, especially if you're heading out the door for a client meeting or trying to squeeze in gaming time before work. Let's figure out what's actually going on. No guessing, just a clear process.
What you need
- Your laptop's original charger (or the exact wattage replacement)
- A different wall outlet to test with
- 15-20 minutes with the laptop plugged in and screen on
- Access to your laptop's battery report (Windows) or Battery settings (Mac)
- Optionally, a USB power meter if you have one lying around
You don't need any tools for this. It's mostly observation and a little digging through settings. Ready? Let's go step by step.
Step 1: Check the charger itself, not just the cable
Start here because it's the most common cause and the easiest to rule out. Every laptop charger has a wattage rating, usually printed right on the brick. A laptop that needs 65 watts but is only getting 45 watts from a cheap replacement charger will charge painfully slowly, especially while you're using it.
This mismatch is incredibly common. When a laptop charger fails or gets left behind at a hotel, a lot of people grab a universal replacement or borrow a friend's charger without checking the specs. That charger might physically fit the port and even show a charging indicator, but it simply can't deliver enough power to keep up with the laptop's demands. The laptop ends up drawing from both the charger and the battery simultaneously, so the battery barely gains any charge at all.
For USB-C charging, the situation gets even trickier. Not all USB-C cables and chargers support the same power delivery standards. A cable rated for 60W won't cut it for a laptop that demands 100W, and plenty of budget USB-C chargers quietly cap out at 18W or 30W despite looking identical to a full-power model. If you're using a USB-C charger, look for one that explicitly says "USB Power Delivery" (USB-PD) and matches or exceeds your laptop's wattage requirement. Brands like Anker and Belkin print those specs clearly on the packaging, so it's easy to verify before you buy.
Here's a simple test: unplug everything, plug the charger directly into a wall outlet (skip power strips and surge protectors for this test), and watch the charging icon in your system tray or menu bar. If it says "Plugged in, not charging" or the percentage crawls up less than 1% every two to three minutes while the laptop is idle, the charger is the first thing to suspect. Try borrowing a verified, correctly-rated charger from someone with the same laptop model and see whether the problem disappears. If it does, you've found your culprit and the fix is just buying the right replacement.
Step 2: Rule out the wall outlet and power strip
This one sounds too simple, but don't skip it. Power strips and surge protectors can introduce resistance in the circuit, and older or overloaded strips sometimes can't deliver consistent voltage. Some surge protectors also have built-in circuit breakers that are partially tripped, which throttles the available current without shutting off power entirely.
Plug your charger directly into a wall outlet, preferably one on a different circuit from your usual setup. If you normally charge at your desk next to a space heater, a monitor, and a PC, try the outlet in your bedroom or kitchen. A wall outlet that's closer to your home's breaker panel will often deliver slightly cleaner, more stable voltage too.
If charging speed improves noticeably when you switch outlets, the issue is downstream of your laptop entirely. Retire that old power strip or have an electrician check the outlet you were using.
Step 3: Look at what your laptop is doing while it charges
Imagine trying to fill a bathtub while someone keeps pulling the drain plug partway out. That's essentially what happens when power-hungry apps are running while you charge. If your laptop is actively consuming 50 watts and your charger is only delivering 65 watts, the net charge rate is just 15 watts. It'll charge, but slowly.
On Windows, open Task Manager (Ctrl + Shift + Esc) and click the "CPU" column to sort by processor usage. Look for anything sitting above 10-15% consistently. Common offenders include antivirus scans that kick off automatically, Windows Update downloading and installing in the background, video editing or rendering software left running, and browser tabs with heavy JavaScript or video content. Chrome with 20 tabs open can quietly eat 20-30% CPU on its own.
On Mac, open Activity Monitor from Applications > Utilities and check both the CPU and Energy tabs. The Energy tab is particularly useful because it ranks apps by their direct impact on battery life, not just raw CPU usage. You might find that a single browser extension or a background sync process is responsible for a surprising amount of drain.
The fix here is straightforward: close what you don't need, let the laptop sit idle while it charges, and lower the screen brightness to reduce power consumption further. If you can afford to let it charge overnight or during a meeting where you're not using it, that's ideal. You'll often find it charges two to three times faster when it's just sitting there doing nothing.
Computer acting up? Get a real diagnosis. Book a free diagnostic
Step 4: Check the battery's health
Batteries wear out. Every charge cycle degrades them slightly, and after a few years, a battery that was once rated for 72 watt-hours might only hold 50 or 55. That reduced capacity means the charging process itself gets less efficient, and the battery management system often slows the charge rate to protect what's left of the battery's health.
On Windows, you can generate a detailed battery report by opening Command Prompt as an administrator and typing powercfg /batteryreport. This creates an HTML file, usually saved to your user folder, that shows your battery's original design capacity versus its current full charge capacity. If your battery was designed to hold 72,000 mWh but currently maxes out at 48,000 mWh, it's at roughly 67% health. Anything below 80% of design capacity means the battery is meaningfully degraded and worth replacing if slow charging is a consistent problem.
On Mac, hold the Option key and click the Apple menu, then go to System Information > Power. You'll see the cycle count and a Condition status. "Normal" is fine, but "Service Recommended" means the battery is worn and Apple itself is flagging it for replacement. MacBooks typically start showing that status around 500-1,000 cycles depending on the model.
Replacing a laptop battery usually costs $50-$120 for parts if you're comfortable doing it yourself, or $100-$200 at a repair shop. It's one of the most cost-effective upgrades you can make to an aging laptop, and it often transforms the charging experience completely.
Step 5: Inspect the charging port physically
This is the step people often skip because the charger seems to be connecting fine. But charging ports take a lot of mechanical abuse over the years, cables get yanked at odd angles, debris accumulates inside the port, and the internal pins can bend or corrode over time.
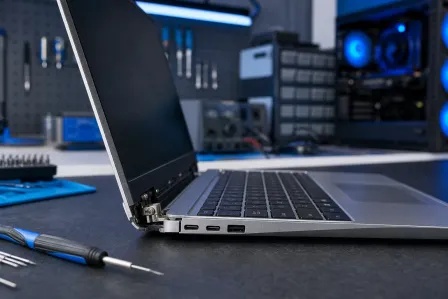
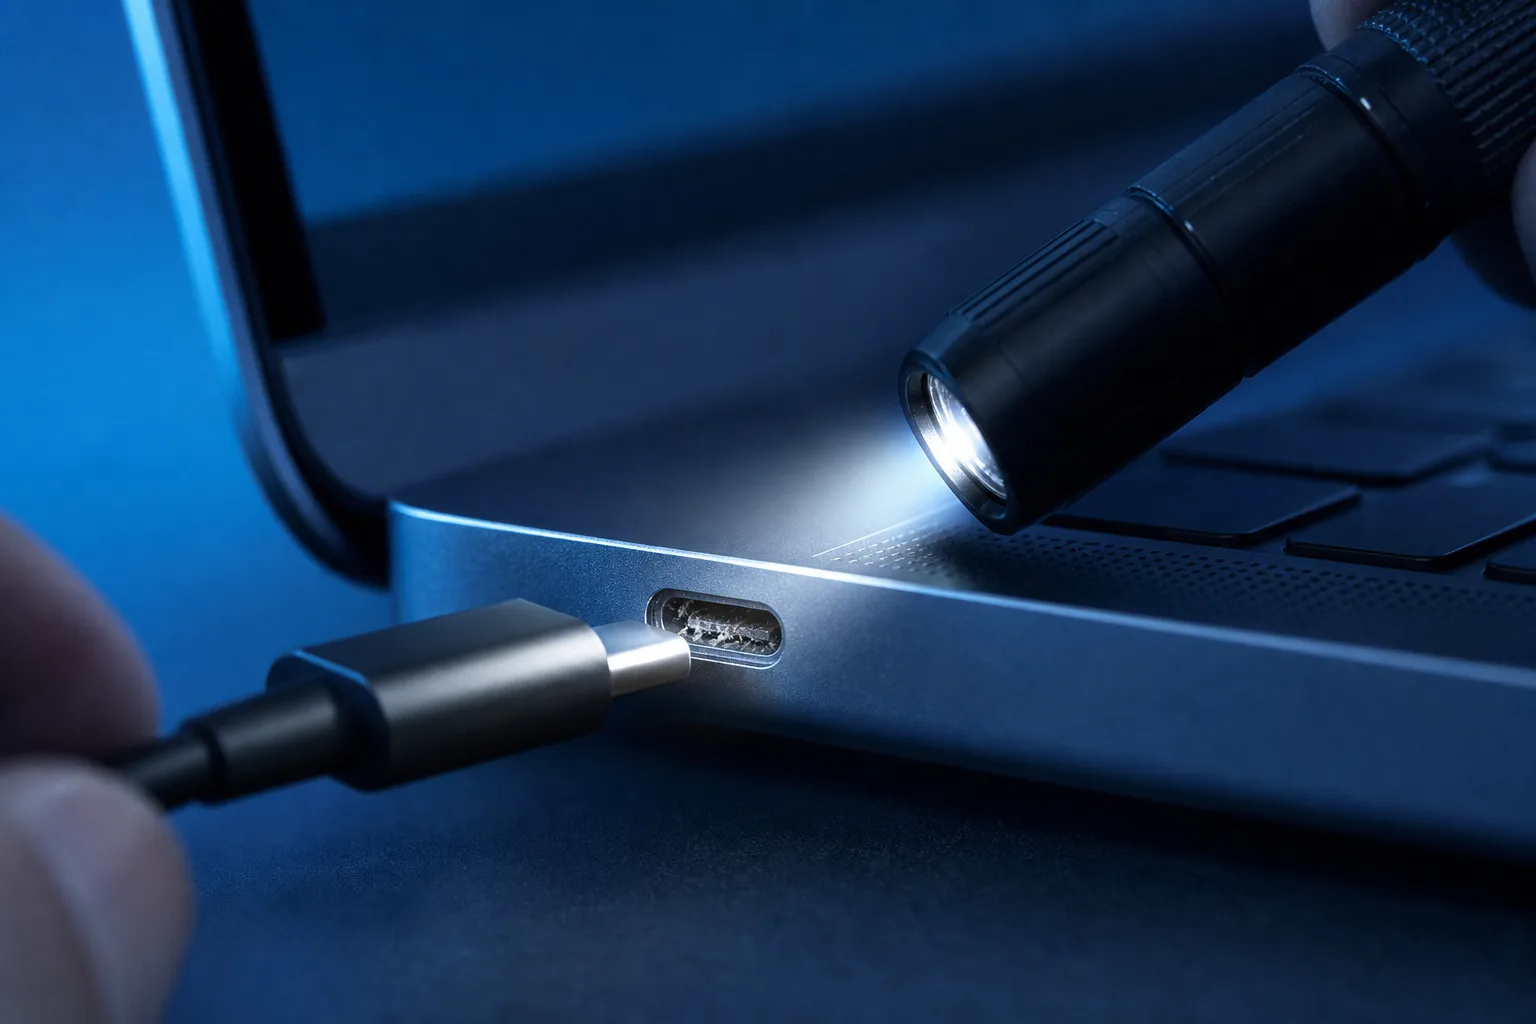
Grab a flashlight and peer into the charging port. On barrel-style connectors (the round plugs common on older Dell, HP, and Lenovo laptops), look for any bent center pin or dark discoloration from heat. On USB-C ports, look for lint or debris compacted at the back of the port, this is extremely common in laptops carried in bags or pockets, and a small amount of lint can actually prevent the connector from seating fully, reducing the contact quality and therefore the charge rate.
To clean a USB-C port safely, power off the laptop first, then use a wooden or plastic toothpick to gently loosen any debris, and follow up with a short burst of compressed air. Avoid metal tools, which can scratch the port contacts. After cleaning, plug the charger back in and see whether it seats more firmly than before.
If the port feels loose, wiggles noticeably, or you have to hold the cable at a specific angle to get any charging at all, the port itself may need to be resoldered or replaced. This is a repair shop job for most people, it typically costs $80-$150 depending on the laptop model and whether the port is on its own board or soldered to the motherboard.
Step 6: Check your power settings and battery-saving modes
Operating systems have built-in features designed to extend battery lifespan by intentionally capping the charge rate or the maximum charge level. These are genuinely useful features, but they can catch you off guard if you didn't realize they were enabled.
On Windows 11, go to Settings > System > Power & Battery. Look for a "Battery saver" toggle and make sure it's off while the laptop is plugged in. Some laptop manufacturers, Lenovo, Dell, and Asus in particular, also include their own battery management apps (Lenovo Vantage, Dell Power Manager, Asus Battery Health Charging) that let you cap charging at 60%, 80%, or 100%. If your Dell is set to stop charging at 80% for longevity reasons, it will seem like it's charging slowly because it's refusing to push past that threshold. Check those manufacturer apps and temporarily set them to full charge mode to see whether that changes things.
On Mac, go to System Settings > Battery and look for "Optimized Battery Charging." This feature uses machine learning to predict your usage patterns and will deliberately pause charging at 80% until shortly before it expects you to unplug. It's a smart feature for daily use, but if you're trying to charge up quickly before heading out, you can turn it off temporarily by clicking the info icon next to the option.
When it's time to call in help
If you've worked through all six steps and the laptop still charges at a crawl, there are a few less common causes worth knowing about. A failing DC power jack (the internal connector the charging port plugs into) can deliver inconsistent power even when the port looks fine externally. A faulty battery management IC on the motherboard can misread battery levels and artificially throttle charging. These are both hardware-level issues that require a proper diagnosis from a repair technician.
Before spending money on repairs, get a quote and compare it to the cost of a new or refurbished laptop. If your machine is five or more years old and repairs are going to run over $200, it's worth doing that math honestly.
Quick reference: most likely causes by symptom
| What you're seeing | Most likely cause |
|---|---|
| Charges fine when idle, slow during use | Charger wattage too low |
| Stuck at 80% and won't go higher | Battery charge cap enabled in software |
| Very slow regardless of what's running | Degraded battery or weak charger |
| Only charges at a specific cable angle | Damaged or loose charging port |
| Charging stopped entirely | Port debris, failed charger, or hardware fault |
Work through the steps above methodically, and you'll almost certainly find the answer before you get to the end. Most slow-charging problems are completely fixable without spending a cent, and the ones that do require a purchase are usually a $30 replacement charger or a $100 battery swap, not a new laptop.
Computer acting up? Get a real diagnosis.
Fix My PC Store has repaired thousands of machines across West Palm Beach. Free diagnostics, honest pricing, no upsell games.