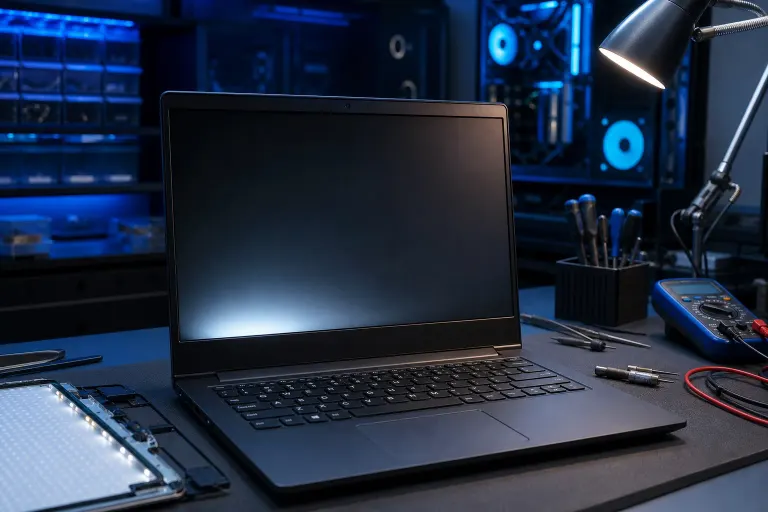
How to Tell If Your Laptop Screen or Backlight Is Failing
TL;DR: Shine a flashlight at a dark laptop screen to check for a backlight failure versus a dead panel. External monitor output is the most reliable first test. Most backlight and screen failures are hardware problems that require part replacement, but the diagnosis is something you can do yourself in about five minutes.
What you need
- A working external monitor or TV with HDMI or DisplayPort input
- An HDMI or appropriate cable for your laptop
- A flashlight (phone torch works fine)
- A second device to look up display driver settings if needed
1. Eliminate software and brightness first
Before assuming hardware failure, rule out the obvious.
- Press the brightness keys (usually Fn + up/down or F1/F2) and watch for any change.
- Boot into the BIOS or UEFI setup screen. If the display looks normal there, the problem is likely software or driver-related, not hardware.
- If you recently updated Windows, a corrupted display driver can cause dimming or flickering. Roll back the driver in Device Manager under Display Adapters.
If the screen is dark or distorted in BIOS too, the problem is hardware. Move to step 2.
2. Plug in an external monitor
This is the single most useful test in the sequence.
- Connect a monitor or TV via HDMI (or USB-C to HDMI adapter if your laptop uses USB-C).
- Power on the laptop and press the display toggle key (commonly Fn + F4, F5, or F8 depending on make).
- Observe the external screen.
What the result tells you:
| External screen shows image | Laptop screen is... | Likely cause |
|---|---|---|
| Yes, clear image | Blank or dim | Backlight, display cable, or panel |
| Yes, clear image | Flickering or distorted | Display cable or panel |
| No image either | Both dark | GPU, motherboard, or system-level fault |
If the external monitor works perfectly and the laptop screen does not, the fault is isolated to the display assembly or its connection to the motherboard. That is useful to know.
3. The flashlight test for backlight failure
This test distinguishes a dead backlight from a completely dead panel.
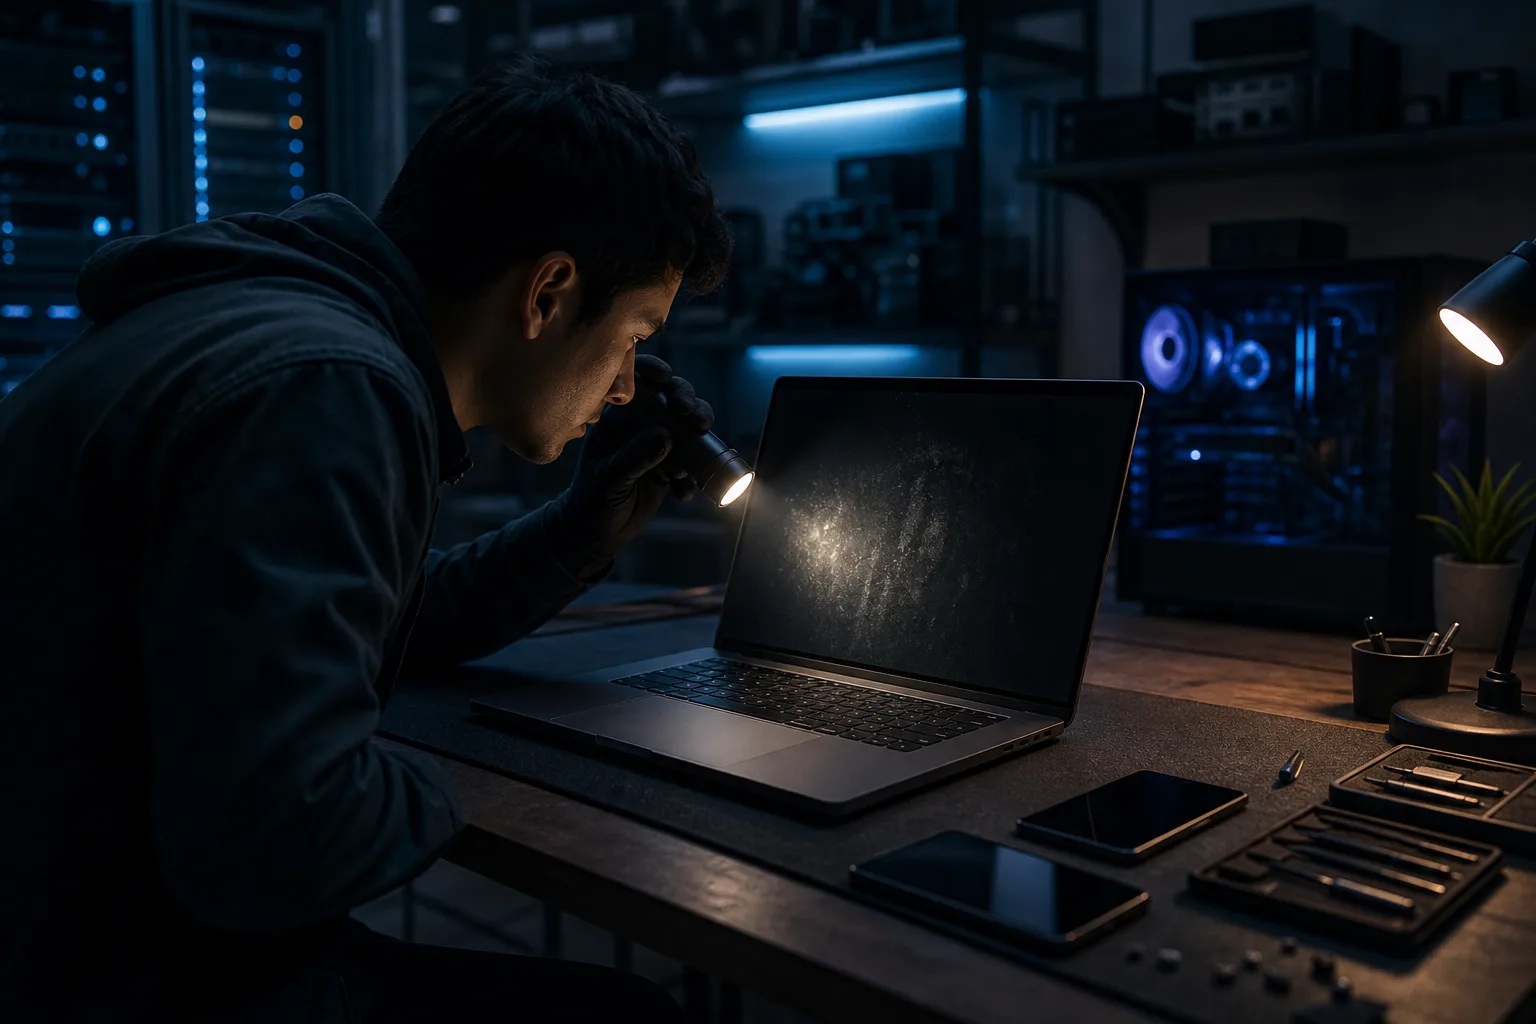
- Power on the laptop in a dim room.
- Shine a bright flashlight at the screen at a close angle.
- Look carefully for a very faint image, icons, or text.
If you can see a ghost image under the flashlight, the panel itself is working. The backlight, or more specifically the inverter (on older CCFL screens) or the LED driver circuit, has failed. The display is producing an image but there is no light to make it visible.
No image even with the flashlight means the panel may be dead, or the video cable connecting the motherboard to the display is damaged.
Computer acting up? Get a real diagnosis. Book a free diagnostic
4. Check for physical damage and connection issues
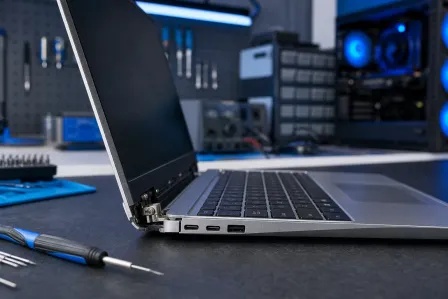
Laptop hinges stress the display cable every time you open and close the lid. Over time this causes intermittent failures.
- Open and close the lid slowly while the laptop is on. If the image flickers or cuts out at a certain angle, the cable is likely damaged or has a loose connector.
- Inspect the screen edges and corners for cracks or pressure marks. Physical damage to the panel usually shows as a spreading ink blot or spiderweb pattern from the impact point.
- Check for lines or columns of stuck pixels. Vertical color lines across the full screen typically indicate a failed panel or a damaged ribbon connector, not a backlight problem.
5. Note the failure pattern
How the screen fails tells you a lot.
- Gradual dimming over months: Backlight degradation. LED backlights dim slowly as they age. Normal on older machines.
- Instant black on startup: Power supply to backlight, inverter failure (older machines), or driver board issue.
- Flickering at random: Loose video cable or failing LED driver. Sometimes reproduces by pressing lightly on the bezel.
- Color bleed or clouding: Panel delamination or backlight bleed. Common on cheaper IPS panels under pressure.
- Pink or purple tint with dimming: Often a sign the CCFL tube is at end of life (rare on modern machines built after roughly 2015, which use LED backlights).
Common mistakes
- Assuming the worst before testing the external monitor. A dark screen with a working GPU is a much cheaper fix than a dead motherboard.
- Pressing hard on the screen to test for flicker. You can crack the panel. Gentle pressure near the bezel edge is enough.
- Ordering a replacement panel before confirming the cable is not the problem. A new screen on a damaged cable will show the same symptoms.
- Ignoring hinge condition. A stiff or broken hinge accelerates cable wear. Replacing the screen without addressing the hinge leads to a repeat failure.
- Confusing driver issues with hardware failure. If a display driver update or rollback fixes the problem, no part replacement is needed.
Bottom line
The diagnostic sequence is: rule out software, test an external monitor, run the flashlight test, then watch the failure pattern. Each step narrows the cause to backlight, cable, panel, or GPU.
If the external monitor confirms a display assembly problem, replacement is usually straightforward on most consumer laptops. However, display cables and panels vary significantly by model, and the job involves disassembling the lid assembly, which carries real risk if you have not done it before.
If you are in West Palm Beach or South Florida and want a professional assessment before ordering parts, the team at Fix My PC Store can diagnose and repair laptop screens from the Okeechobee Boulevard location. Book a laptop repair appointment or contact us to confirm parts availability for your model first.
Computer acting up? Get a real diagnosis.
Fix My PC Store has repaired thousands of machines across West Palm Beach. Free diagnostics, honest pricing, no upsell games.