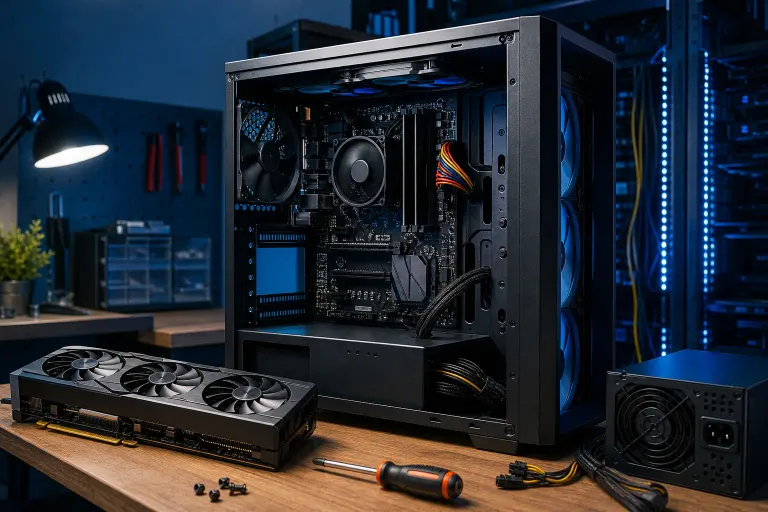
Gaming PC Won’t Boot After a New GPU? Check Compatibility
TL;DR: A gaming PC that will not boot after a GPU swap usually has a loose PCIe connection, missing GPU power lead, incompatible or overloaded power supply, BIOS setting issue, or a display cable plugged into the wrong port. Shut down safely, return to a known-good configuration if needed, and test one compatibility checkpoint at a time.
Do not keep hammering the power button or force connectors. A high-end graphics card can pull serious power, and one overlooked cable can turn a sweet FPS upgrade into a no-POST nightmare.
What you need
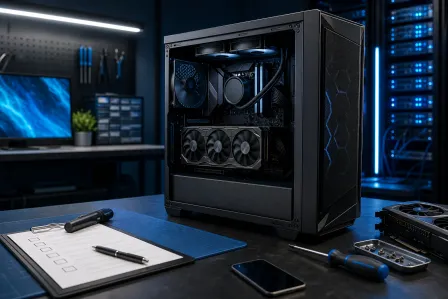
Before opening the case, gather a Phillips screwdriver, a flashlight, your GPU and power supply manuals if available, and a clean non-metal surface for holding the card. A second monitor cable or monitor is helpful, but not mandatory.
You also need patience. Leave the PC connected to a grounded outlet only when you are ready to test it. For every install or reseat step, switch off the PSU, unplug the wall cable, then press the case power button for several seconds to discharge residual power.
If you still have your old GPU, keep it nearby. It is your best troubleshooting tool because it tells you whether the new card, its power requirements, or the rest of the system is the problem.
1. Identify what “won’t boot” actually means
“Won’t boot” gets used for several different failures, and the symptom changes the suspect list fast.
If absolutely nothing happens when you press power, no fans, no lights, no click, start with the PSU switch, wall power, front-panel power button connection, and motherboard power cables. The GPU may be unrelated, although a short or improperly seated card can still prevent startup.
If fans and RGB light up but the monitor stays black, the system may be powering on without completing POST, the motherboard’s startup hardware check. This is the classic post-GPU-upgrade scenario. Look for motherboard debug LEDs, beep codes if your board has a speaker, or a diagnostic code display.
If you see the motherboard logo or Windows loading screen and then lose video, you are likely past the core hardware compatibility stage. That points more toward display output selection, driver cleanup, Windows settings, or a GPU that becomes unstable under load.
Pay attention to the motherboard’s VGA debug LED if it has one. A lit VGA light strongly suggests the board is not detecting or initializing the graphics card. It is not a final diagnosis, but it tells you where to aim.
2. Confirm the GPU physically fits the case and motherboard
Start with mechanical fitment. Remove the side panel and inspect the card with the PC powered down and unplugged.
The graphics card should sit level in the top full-length PCIe x16 slot, which is usually the reinforced slot closest to the CPU. That slot is normally wired for the best available bandwidth. A GPU may work in a lower physical x16 slot, but those slots can have fewer PCIe lanes or share lanes with storage and other devices depending on the motherboard.
Push the card straight into the slot until the PCIe retention clip locks into place. Do not rely on the rear case bracket screws to pull a card into position. The card must be fully seated before you secure it to the case.
Check these physical compatibility troublemakers:
- The rear expansion-slot bracket is not blocking the card from sitting flush.
- The PCIe slot latch is fully engaged around the connector.
- The card is secured with the proper screws so it cannot sag or back out.
- Thick front radiators, drive cages, or cable bundles are not pressing against the card.
- The case side panel does not crush the GPU power connector or bend the cable sharply.
A massive triple-slot GPU can fit on paper and still create a problem in a compact case. Clearance at the card’s front edge is only half the story. You also need room above or beside the power connector for a safe cable bend. If the connector is under constant sideways tension, reseat it and reroute the cable before testing again.
3. Check every GPU power connection, not just one
This is the big one. Many modern graphics cards will spin their fans or light up even when their external PCIe power is incomplete. Lights do not equal a properly powered GPU.
Read the connector labels on the card and use only the matching PCIe or VGA cables from your current power supply. Never use a CPU or EPS cable in a GPU socket. They may look similar at a glance, but their pinouts are different. Forcing the wrong connector can damage hardware.
If your GPU uses traditional 6-pin or 8-pin PCIe connectors, make sure every required socket is populated and fully clicked in. For a card needing two or three 8-pin connections, use separate PSU cables where the power supply manufacturer recommends it, especially for power-hungry cards. A single daisy-chained cable can be acceptable on some builds, but it is not automatically the best choice for a high-draw GPU.
If the card uses a newer high-power 16-pin connector, insert it fully with no visible gap between the plug and socket. Avoid a tight bend immediately next to the connector. Follow the GPU and PSU manufacturer’s cable guidance, because connector and adapter requirements vary by model.
Important cable rule: modular PSU cables are not universal. If you replaced the power supply, use the cables that came with that exact PSU. Do not reuse modular cables from an older unit just because they fit physically. The wiring at the PSU end may differ.
Also inspect the power supply itself. Is its rear switch set to the line symbol, not the circle? Did a newly installed GPU bump loose the motherboard’s 24-pin cable or the CPU EPS cable near the top of the board? It happens more than gamers want to admit.
4. Verify that the PSU can support the upgrade
A GPU upgrade can expose a borderline power supply fast. The issue is not only advertised wattage. Quality, age, available PCIe connectors, and the total hardware load matter too.
Check the GPU maker’s recommended PSU capacity for your exact model, then compare it with your PSU’s model and rating. Add context: a high-wattage CPU, aggressive overclock, multiple drives, pumps, fans, and RGB hubs all draw power. Your rig does not need to look like a Las Vegas LAN party to create a real power budget.
A weak or failing PSU can cause no display, repeated startup loops, random shutoffs, or a PC that boots at idle but crashes the moment a game starts. A good unit with enough dedicated GPU outputs matters more than chasing a giant wattage number from an unknown brand.
Do not use cheap SATA-to-PCIe or Molex-to-PCIe adapters as a casual fix for a missing GPU power connector. Those adapters can create a serious safety risk when asked to feed a modern gaming GPU. If your power supply lacks the correct native connections, the smarter move is a compatible PSU upgrade.
Building around a GPU, CPU, and power supply that all match is way more fun than debugging a power-starved frame monster. If you are planning a clean, balanced rig instead of patching an old one, our custom gaming PC builder can help map out compatible parts.
Ready to build a rig that actually rips? Start your build
5. Plug the monitor into the new GPU, then test the basics
After a GPU swap, it is shockingly easy to leave the HDMI or DisplayPort cable connected to the motherboard video output. If your CPU has no integrated graphics, that motherboard port will show nothing. Even if integrated graphics are available, your PC may default differently after the hardware change.
Connect the monitor directly to a port on the new graphics card. Then confirm the monitor is switched to the correct input. Try another output on the card and another cable type if you have one. DisplayPort handshakes can occasionally be stubborn, so HDMI is a useful temporary test when available.
Use one monitor only for initial troubleshooting. Disconnect extra displays, VR headsets, capture cards, and unusual adapters. You are trying to reduce variables, not set up a battlestation tour.
If the PC starts and you can see video only through the motherboard port, enter BIOS or UEFI setup and look for a setting such as Primary Display, Initial Display Output, or PCIe Graphics. Set the preferred graphics device to PCIe or PEG if your board provides that option. Names vary by motherboard manufacturer.
6. Reset BIOS settings and check for firmware support
A motherboard BIOS or UEFI setting can block a new GPU from initializing properly, particularly when moving between older and newer hardware generations.
First, clear CMOS. With the PC off, unplugged, and discharged, use the motherboard’s clear-CMOS button or jumper according to its manual. If neither is available, some boards allow a CMOS battery removal procedure, but follow the manufacturer instructions carefully. Resetting CMOS returns BIOS settings to defaults, so you may need to re-enable memory profiles, fan settings, boot order, or custom tuning later.
After the reset, boot with the new GPU installed. If you get video, enter BIOS and load optimized defaults if appropriate. Confirm the boot drive is still selected, then save and restart.
If the motherboard is older than the GPU, check the board manufacturer’s CPU support and BIOS download pages from another device. A BIOS update may improve GPU compatibility, but do not update firmware blindly when the system is unstable. Use the old GPU or integrated graphics to establish a reliable display first, and follow the board maker’s exact update procedure.
Settings such as Compatibility Support Module, commonly called CSM, Secure Boot, Resizable BAR, and PCIe link speed can affect initialization. There is no one magic setting for every board and GPU. Start with BIOS defaults. If the GPU is still not detected, consult the motherboard and GPU documentation before changing one setting at a time.
For a new build or an upgrade with a complicated BIOS mismatch, hands-on computer repair can save you from random setting roulette. That is especially true if debug LEDs indicate a VGA fault even after reseating and resetting.
7. Test with the old GPU or integrated graphics
This is the cleanest way to isolate the fault. Remove the new card and reinstall the old, known-good GPU. Connect its required power cables, connect the monitor directly to it, and boot.
If the old GPU works normally, the motherboard, CPU, memory, boot drive, and basic power delivery are probably okay. Now focus on the new card’s seating, cable requirements, BIOS compatibility, and possible defect.
If your processor includes integrated graphics, you can remove the new GPU and connect your monitor to the motherboard output instead. Once you have a stable desktop, check for BIOS updates, inspect Windows device detection, and remove old display drivers before reinstalling the new card.
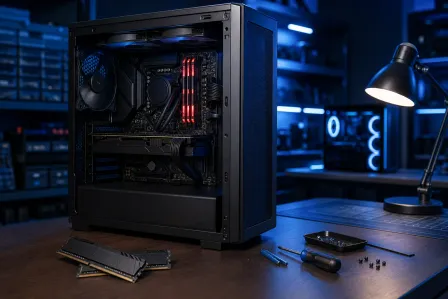
If neither the old GPU nor integrated graphics provides video after the swap, revisit the basics. Reseat RAM. Verify the 24-pin motherboard connector and CPU EPS connector. Clear CMOS again. The act of installing a large GPU can flex a motherboard or disturb nearby components, especially in tight cases.
Avoid repeatedly swapping cards while power is connected. Shut down, switch off the PSU, unplug, and discharge every time. GPUs are expensive loot. Treat the PCIe slot with respect.
8. Clean up drivers only after the PC can display video
Drivers rarely cause a complete no-power condition, so do not start here if you cannot reach BIOS or see a startup screen. Hardware detection comes first.
Once the PC reliably reaches Windows, install the current driver directly from the GPU manufacturer. If you switched GPU brands or Windows is crashing, showing artifacts, or refusing to load properly, remove the previous driver using the vendor’s recommended method and then install the new one.
Use Windows Update and the GPU manufacturer’s official driver page, not random driver-download sites. NVIDIA provides official driver downloads through its driver download page, and AMD provides its support and drivers page. Choose the exact GPU family and your Windows version.
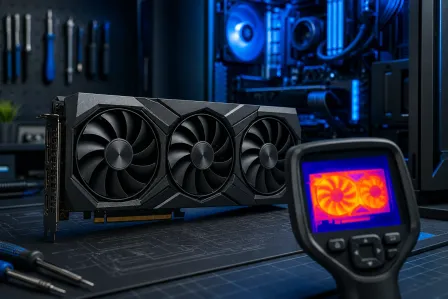
After drivers are installed, confirm the GPU appears correctly in Device Manager and test with a lightweight game or benchmark first. Watch temperatures, fan behavior, clock stability, and power draw. Then crank up the settings and enjoy the FPS bump.
If the system boots but crashes after an overclock, return the GPU and CPU to stock settings. New hardware changes the stability equation. That spicy memory tune that survived your old GPU may need fresh testing with the new load profile.
Common mistakes
The most common mistake is assuming the GPU is dead because the screen is black. A black screen often comes from a monitor plugged into the motherboard, a loose PCIe power lead, or a card that is one millimeter short of fully seated. Check the simple stuff first.
Another classic fail is mixing modular PSU cables. Never do it. Even if the connectors click, the internal wiring may not match. Use only the cables supplied with the installed PSU.
Do not confuse CPU power with GPU power. CPU/EPS connectors usually plug into the motherboard near the CPU socket. PCIe/VGA connectors feed the graphics card. Read the labels and do not force anything.
Do not test a new GPU with every accessory attached. Multiple monitors, riser cables, vertical mounts, adapters, RGB controllers, USB devices, and capture gear can hide the real cause. Test the bare essentials first: motherboard, CPU, one RAM configuration known to work, boot drive, GPU, and one monitor.
Avoid judging power supply compatibility only by wattage. A PSU may have a big number on its label but lack enough native PCIe connectors or deliver poor power under load. Quality and correct cabling are part of compatibility.
Finally, do not keep reseating a card by grabbing its fans or yanking on a connector. Hold the PCB edges or shroud carefully, support the card’s weight, and use the PCIe latch when removing it.
Bottom line
A new graphics card that leaves your gaming PC black-screened is usually a compatibility or installation issue, not instant GPU doom. Work in order: physical seating, correct dedicated power, PSU capability, monitor output, BIOS reset and support, then old-GPU testing and drivers.
Once the card posts, you are back on the fun path. More settings cranked, cleaner frame times, and the RGB glow earned the right way. If your West Palm Beach or South Florida rig still will not POST after these checks, bring it in or schedule a repair. We can test the GPU, PSU, motherboard slot, and firmware setup without turning your upgrade into a parts cannon.
Ready to build a rig that actually rips?
Custom gaming PCs built and tuned by people who game. Tell us your budget and target frame rate.