Gaming PC Parts Compatibility: What Must Match
TL;DR
CPU socket, RAM type, PSU wattage, GPU length, and case clearance all have to line up or your build just doesn't happen. Skip one check and you're stuck with a $2,000 pile of parts that won't POST. Here's the full list, in the order you should actually check it.
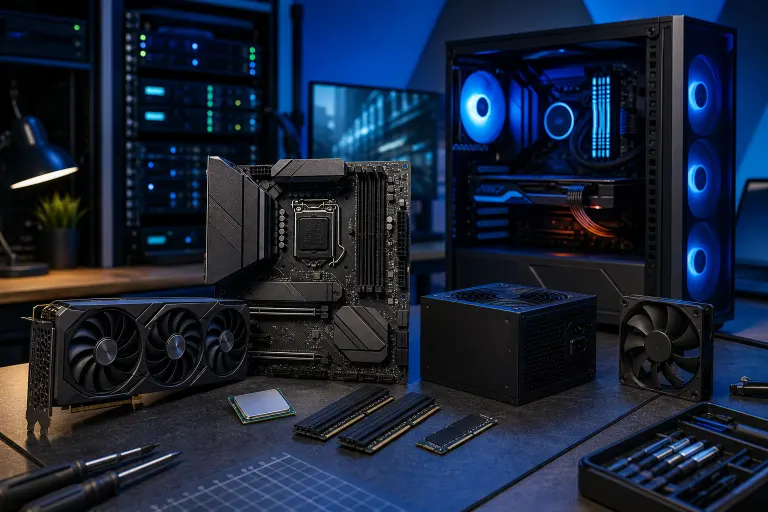
Alright, let's talk about the moment that separates a smooth build from a rage-quit before you even hit the power button. You've got the parts on the bench, RGB fans staring at you, and then... the CPU cooler doesn't fit the case. Or the GPU is longer than your case allows. Or worse, the CPU just physically does not fit the socket because you grabbed the wrong generation motherboard. Painful. Avoidable. Let's make sure it never happens to you.
Compatibility isn't glamorous. Nobody brags about "I checked my RAM's XMP profile" on stream. But it's the difference between a rig that boots first try and one that turns into a three-week email chain with a retailer's return department. If you'd rather skip the spreadsheet entirely, our custom gaming PC builder handles all of this for you, but if you're doing it yourself, here's every match-up that actually matters.
1. CPU and Motherboard Socket
This is the big one. Your processor plugs into a specific socket type, and that socket only exists on certain motherboard chipsets. AMD and Intel don't share sockets, and even within one brand, sockets change between generations. Grab a current-gen Intel chip and an older motherboard and it simply will not seat. Not "it'll work but slower." Won't fit. Period.
To put that in concrete terms: AMD's Ryzen 7000 series uses the AM5 socket, while Ryzen 5000 chips use AM4. Those two sockets are physically different and entirely incompatible with each other's boards, even though both say "AMD" on the box. On the Intel side, 12th, 13th, and 14th Gen Core processors all share the LGA1700 socket, but Intel's upcoming Arrow Lake generation moved to LGA1851, meaning a brand-new board purchase is required even if you already own a Z790 motherboard. These aren't edge cases, they're the kind of mismatch that catches experienced builders off guard when a new generation drops.
Before you buy either part, confirm the exact socket name (not just "AMD" or "Intel") and cross-reference it against the motherboard's spec sheet. Manufacturer QVL (Qualified Vendor List) pages and the CPU maker's own compatibility tool are your best friends here. Check Intel's official specs or AMD's product pages directly rather than trusting a random forum post from two years ago, because chipset support changes with BIOS updates.
Speaking of BIOS: sometimes a board technically supports a newer CPU but needs a BIOS update first, and that update sometimes requires an older CPU to even boot and apply it. If you're buying a brand new Ryzen 7000 chip for a budget B650 board that's been sitting on a shelf for a year, check whether the board shipped with firmware recent enough to support your specific CPU stepping. Many B650 and X670 boards needed BIOS updates to fully support later Ryzen 7000 series SKUs like the Ryzen 9 7950X3D. If the board doesn't have a BIOS flashback button and you don't have an older compatible chip lying around, you may be stuck before you even get to the Windows installer. Always verify the board's BIOS version requirements against your CPU on the manufacturer's support page before the parts ever leave the warehouse.
WANT the FPS payoff without the socket headache? That's literally what we sort out before we ever order a single part.
2. RAM Type, Speed, and Motherboard Support
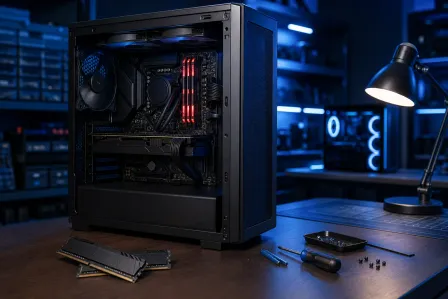
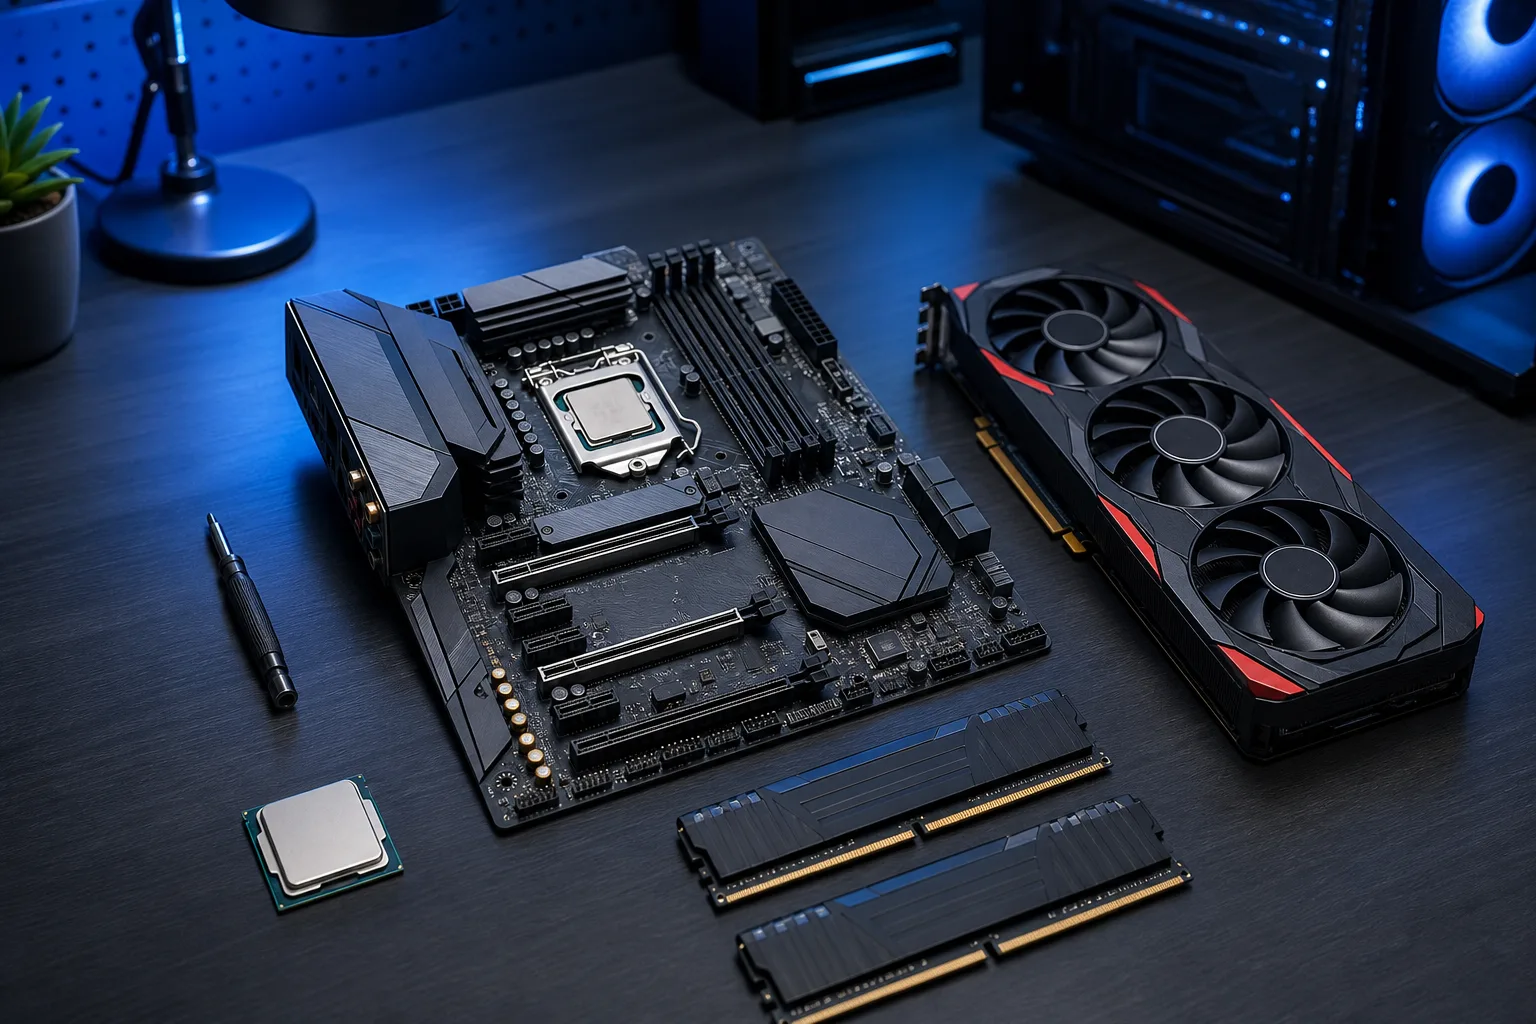
DDR4 and DDR5 are not interchangeable, and they're not even the same physical shape, so you can't force it. Your motherboard supports one or the other, never both. Check the board's spec sheet for supported RAM type first. This sounds obvious until you realize that some CPU generations launched alongside platforms that supported both DDR4 and DDR5, Intel's 12th Gen Alder Lake being the most prominent example, meaning two different Z690 motherboards sitting next to each other on a shelf might require completely different RAM. Always check the specific board, not just the chipset.
Once you know the type, speed matters too. Motherboards list a maximum supported RAM speed (in MHz or MT/s), but hitting that speed usually depends on enabling XMP or EXPO in the BIOS, Intel and AMD's respective names for the memory overclocking profile stored on the RAM stick. A DDR5-6000 kit dropped into an older B660 board that tops out at DDR5-4800 will train down to the board's maximum supported speed automatically. You won't get an error, and the system will boot fine, but you've effectively paid for a faster kit than you can actually use. Meanwhile, on AMD's AM5 platform, DDR5-6000 has become something of a sweet spot because it aligns with the Ryzen 7000 series' Infinity Fabric clock, offering measurably better gaming performance than slower kits at the same price point.
Also check the maximum capacity per slot and total slots. A board might support 128GB total but only if you're running four sticks at 32GB each, and some budget boards cap single-slot capacity at 16GB regardless of what the total spec says. This matters particularly if you're building a dual-purpose machine for gaming and content creation, video editors and 3D artists frequently need 64GB or more, and discovering mid-build that your board can't address more than 32GB is a costly surprise. Read the fine print, check the board's memory support list, and when in doubt, cross-reference the exact RAM kit's part number against the QVL.
3. GPU Length, Width, and Case Clearance
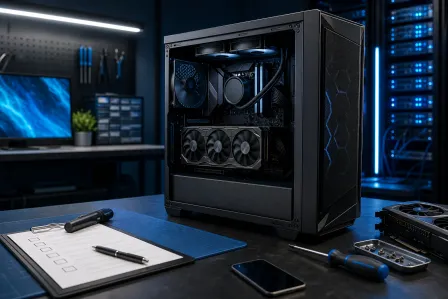
Modern graphics cards are chunky. Some of today's flagship cards stretch well past 300mm and take up three or even four expansion slots worth of thickness. The NVIDIA RTX 4090 in certain third-party configurations from ASUS or MSI measures over 336mm in length and occupies nearly four slots in height. Your case has a maximum GPU length spec, usually listed in the product details, and if you skip checking it, you'll be staring at a card that physically bumps into your front fan mounts, hard drive cage, or even the power supply shroud.
Measure twice. Check the case manufacturer's listed max GPU length, then check the actual dimensions of the specific card you want, not just the model name, since different brand versions of the same GPU can vary dramatically in length and thickness. An RTX 4070 from one manufacturer might be 280mm while another brand's version of the exact same chip stretches to 320mm. ASUS ROG, MSI MEG, and Gigabyte AORUS cards tend to run longer and thicker than reference-style designs from PNY or Zotac. If you're building in a compact mid-tower or any ITX chassis, this becomes even more critical. Cases like the NZXT H510 list a 381mm max GPU length, which sounds generous until you realize that number assumes you've removed a drive cage that ships installed by default.
Width, meaning how many PCIe slots the card occupies, is equally important if you're planning to use other expansion cards. A 4-slot GPU on a board with slots spaced tightly together will physically cover your second PCIe slot, making it impossible to add a Wi-Fi card or capture card later. Check both clearance dimensions and plan your expansion slots before finalizing your case and GPU pairing.
Ready to build a rig that actually rips? Start your build
4. CPU Cooler: TDP, Socket Compatibility, and Case Height Clearance
Coolers have two compatibility requirements that both need to pass independently: they have to mount to your CPU's socket, and they have to fit inside your case. Fail either one and you're either running a system that thermally throttles under load or one that simply won't close.
On the mounting side, most coolers ship with brackets for multiple sockets, but always verify. An AM4 cooler mounting kit is not the same as AM5, and while some manufacturers offer free upgrade kits, you have to actually request one and wait for it to ship, not ideal when your build is already spread across the desk. Tower coolers like the Noctua NH-D15 or be quiet! Dark Rock Pro 4 are exceptional performers but stand 165mm or taller, and many popular mid-tower cases cap CPU cooler height at 155–160mm. Check your case's listed cooler height clearance against the cooler's spec sheet before you assume a well-reviewed air cooler will drop right in.
For AIO liquid coolers, the radiator size has to match available mounting positions in your case. A 360mm radiator won't fit in a case with only a 240mm top mount. Some cases support top and front mounting but at different maximum radiator sizes, so verify both the radiator dimensions and the specific mounting location you plan to use.
5. Power Supply Wattage and Connector Requirements
Underpowering a system is one of the most common and most frustrating mistakes in a PC build, because the symptoms, random crashes, failure to POST under load, unexpected shutdowns, mimic other hardware problems and send you down the wrong troubleshooting path. The rule of thumb is to total up the TDP of your CPU and GPU, add roughly 100–150W for the rest of the system, and then choose a PSU rated at least 20–30% above that number to give yourself headroom and efficiency room.
A system built around a Ryzen 9 7900X and an RTX 4080 might draw around 450W at full load. Technically a 550W PSU could power it, but you'd be running the PSU near its ceiling constantly, reducing efficiency and lifespan. A 750W or 850W unit hits a better efficiency sweet spot and gives you room to add drives or upgrade the GPU later without swapping the PSU.
Beyond wattage, check the physical connectors. High-end NVIDIA RTX 4000 series cards use the 16-pin 12VHPWR connector. Some PSUs ship with a native 12VHPWR cable; others require an adapter from four 8-pin connectors. Using adapters isn't inherently dangerous if done correctly, but you need to confirm your PSU has enough 8-pin PCIe outputs to support the adapter without daisy-chaining cables in ways the manufacturer doesn't recommend. Always use the cables that came with your PSU, mixing cables from different PSU models is a fire risk, full stop.
6. Storage Interface: M.2 Generation and Lane Availability
Not all M.2 slots are created equal. An M.2 slot on a budget B-series motherboard might run at PCIe 3.0 x4 speeds, while a premium slot on a high-end board runs at PCIe 5.0 x4, and a PCIe 5.0 NVMe drive dropped into a PCIe 3.0 slot will work, but only at PCIe 3.0 speeds. You won't brick anything, but you may have spent significantly more on a drive whose performance ceiling you can't reach.
Also watch for shared bandwidth situations. On many mid-range boards, enabling certain M.2 slots disables SATA ports because they share controller lanes. If you're planning a build with both NVMe and SATA storage, check the motherboard manual's slot configuration table, which usually lives in an early chapter and shows exactly which ports disable which when used simultaneously. Missing this detail means you might install everything, go to assign drive letters in Windows, and find that your SATA SSD simply doesn't appear.
The Bottom Line
Compatibility checking isn't a single box to tick, it's a chain where every link has to hold. CPU to socket, socket to RAM type, RAM type to speed support, GPU to case clearance, cooler to socket and case height, PSU to total load and connectors, storage to slot generation and lane availability. Miss one and the rest of your meticulous choices don't matter.
Work through the list in this order before anything gets ordered, not after. Cross-reference spec sheets from the manufacturer directly, not third-party listings that may be out of date. And if you'd rather hand the whole puzzle to someone who does this daily, our custom gaming PC builder runs every one of these checks automatically so you can skip straight to the fun part, actually playing games on the machine you built.
Ready to build a rig that actually rips?
Custom gaming PCs built and tuned by people who game. Tell us your budget and target frame rate.