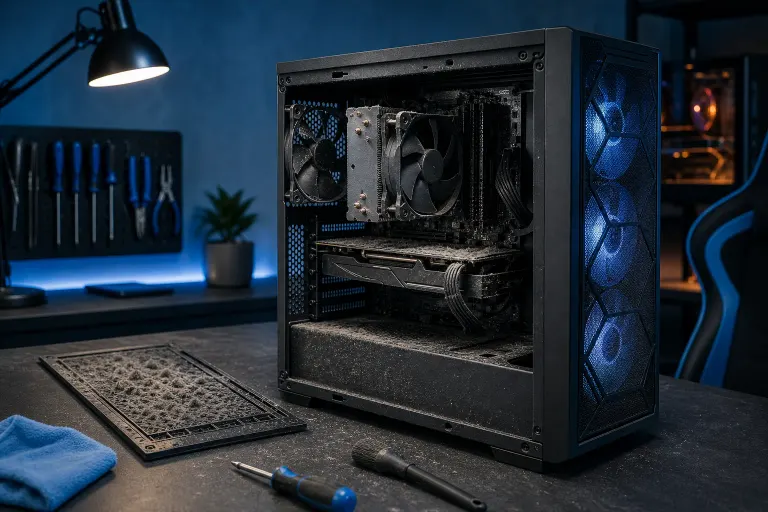
Why Is My Gaming PC Louder After Cleaning It?
TL;DR: A gaming PC that gets louder after cleaning almost always has one of three causes: a fan seated or spinning incorrectly, disturbed thermal paste driving up temperatures, or a loose component rattling against the case. Work through the checklist below in order and you will track it down fast.
What You Need
- A Phillips-head screwdriver
- Fresh thermal paste (Arctic MX-4 or similar)
- Isopropyl alcohol (90%+ concentration) and lint-free swabs for paste removal
- A can of compressed air
- A free temp-monitoring app such as HWiNFO64 or MSI Afterburner
- Good lighting and a few minutes of patience
Step 1: Check Fan Orientation and Seating
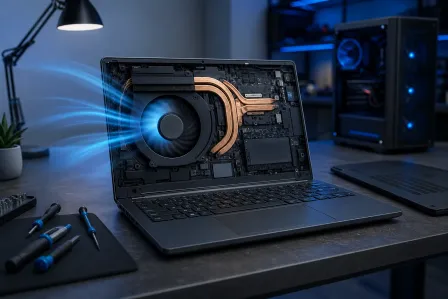
This is the number-one culprit. When you reinstall a fan backward, it still spins, but it fights the intended airflow path. The result is turbulence, reduced cooling efficiency, and a louder overall system because every fan has to work harder to compensate.
Look for the small arrow printed on the fan frame. One arrow shows rotation direction, the other shows airflow direction. Intake fans at the front or bottom should pull air IN. Exhaust fans at the rear or top should push air OUT.
Also press gently on each fan to confirm it is fully seated on its mount. A fan that is even slightly cocked can vibrate against the bracket and produce a low drone or rattle.
Step 2: Listen for Rattles and Locate Loose Parts
Compressed air is powerful enough to dislodge screws, cable ties, and even small rubber fan mounts. Run the PC for two minutes with the side panel off and slowly move your hand near different areas while listening.
Common rattle sources after a clean:
- A loose side panel screw vibrating in its hole
- A cable tie that broke free and is now sitting against a spinning fan blade
- Rubber fan gaskets that were knocked out of position
- An optical drive tray or loose HDD bracket
Secure anything that moves. Replace any missing rubber standoffs, since those are what dampen fan vibration in the first place.
Step 3: Check Temperatures Under Load
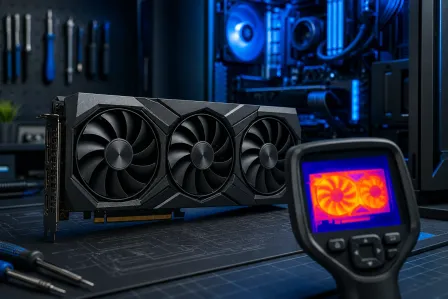
Open HWiNFO64 or MSI Afterburner and run a GPU benchmark or a demanding game for ten minutes. Watch CPU and GPU temperatures.
If temps are running noticeably higher than before you cleaned, the fan speed curve is reacting correctly. The system is just hotter, so fans spin faster. That means thermal paste is the real problem, not the fans themselves.
Typical signs thermal paste was disturbed:
- CPU temps 15+ degrees higher than your previous baseline
- Fans ramp to full speed within a minute of load
- The system throttles or crashes under sustained stress
If temps look normal but noise is still elevated, skip to Step 5.
Ready to build a rig that actually rips? Start your build
Step 4: Reapply Thermal Paste (If Temps Are High)
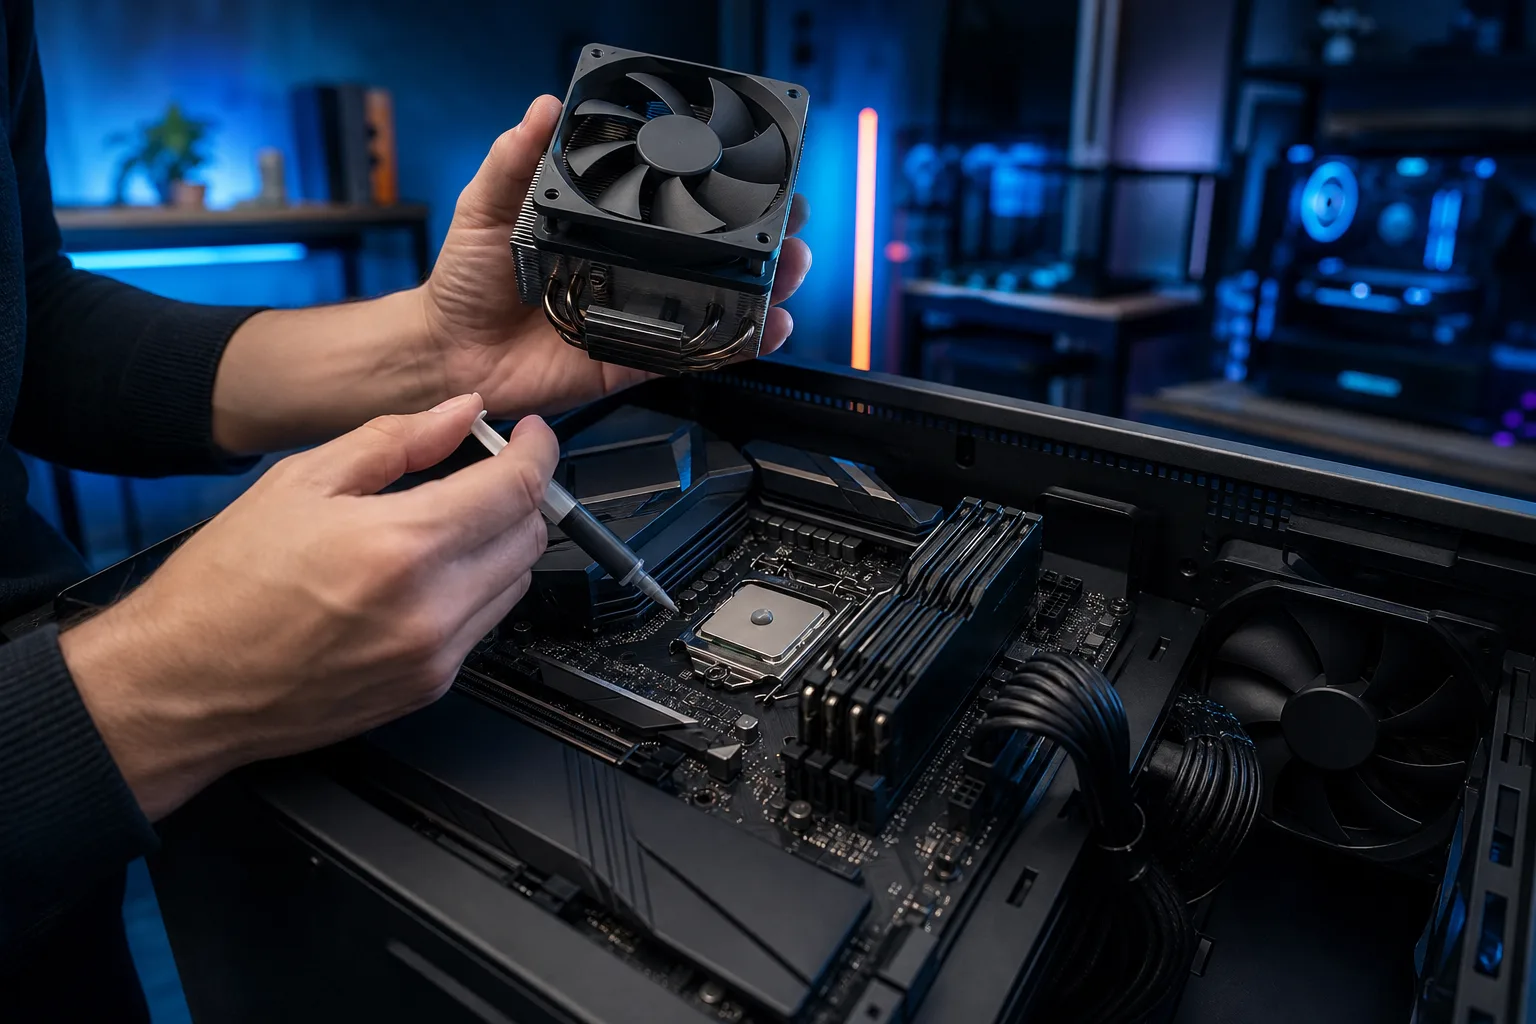
Removing a CPU cooler during cleaning, even accidentally bumping it hard enough to break the seal, ruins the thermal interface. Air pockets replace the paste's contact, and heat transfer tanks.
- Power down completely and unplug from the wall.
- Remove the cooler.
- Clean off old paste from both the CPU IHS and the cooler base using isopropyl alcohol and a lint-free swab.
- Apply a pea-sized dot of fresh paste to the center of the CPU IHS. Do not spread it manually; the cooler pressure distributes it.
- Reinstall the cooler using a cross-tightening pattern to seat it evenly.
- Reboot, monitor temps. You should see a meaningful drop within one to two thermal cycles.
For most modern desktop CPUs, fresh paste alone can drop idle temps by 5 to 15 degrees and load temps by a similar margin, which directly translates to fewer FPS-robbing thermal throttle events and quieter fans.
Step 5: Inspect the Radiator or Heatsink Fins
If you used compressed air at close range or at a steep angle, you may have bent the aluminum fins on your CPU heatsink or AIO radiator. Bent fins restrict airflow, which raises temps even if the paste is perfect.
Hold the heatsink up to a light source and look through the fins from one end. They should be straight and evenly spaced. Minor bends can be carefully straightened with a thin flathead screwdriver or a purpose-made fin comb. Severe damage is harder to reverse and may need a replacement cooler.
Step 6: Restore Proper Cable Management
A cleaning session is a great excuse to pull cables out and blow dust everywhere, but cables dropped back in carelessly can block intake fans or choke exhaust paths. Even a single thick cable bundle draped in front of a 120mm intake fan can cut airflow significantly, forcing fans higher on their speed curves.
Route cables behind the motherboard tray where possible. Use zip ties or Velcro straps to keep them away from fan blades and airflow lanes. Confirm no cables are sagging into the GPU fans on the bottom.
Common Mistakes
- Spraying compressed air without holding the fan still. Fans are not designed to be spun far beyond their rated speed. Free-spinning them with compressed air can damage the bearing, which causes a grinding or rattling noise that persists even after the dust is gone. Always stick a finger or a pencil between the blades to stop them.
- Skipping re-seating the cooler after bumping it. Even a nudge can crack the thermal paste layer. If you touched the cooler at all, it is worth reseating it.
- Reassembling too fast. A panel not fully latched, or a thumbscrew only halfway in, will rattle under vibration at full fan speed.
- Using too much thermal paste. A blob larger than a pea can ooze onto the motherboard socket under pressure. More paste does not mean better cooling.
Bottom Line
Louder after a clean almost always means a fan is backward, a component is loose, or thermals spiked because the cooler was disturbed. Work through the steps above in order and you will nail the cause without guessing.
If temps are sky-high and you are not confident reapplying paste on an expensive CPU, or if a fan sounds like it is grinding after a compressed-air blast, bring it in. Fix My PC Store is at 10140 Okeechobee Blvd, Suite B, West Palm Beach, serving West Palm Beach, Royal Palm Beach, and Wellington. Initial checks are free for most standard in-store repairs. Book a time or ask a question at /contact, or check out the custom gaming PC builder if this whole ordeal has you thinking about a fresh build instead.
Ready to build a rig that actually rips?
Custom gaming PCs built and tuned by people who game. Tell us your budget and target frame rate.