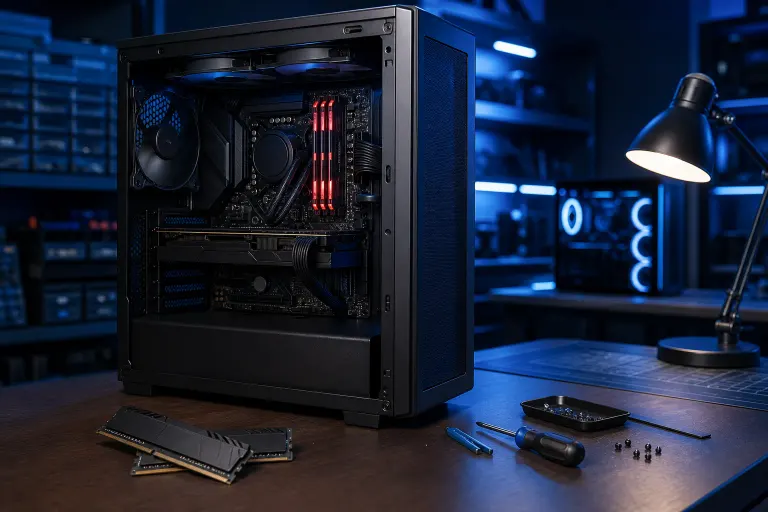
Why Does My Gaming PC Crash With a New RAM Kit Installed?
TL;DR: A gaming PC crashing after a RAM install usually comes down to three things: XMP/EXPO profile not enabled in BIOS, RAM not seated fully, or a voltage or frequency your motherboard can't run reliably. Work through the checklist below in order and you'll almost certainly pin it down without touching a screwdriver more than once.
What You Need
- Your motherboard manual (or its model number so you can pull the manual online)
- Access to your UEFI/BIOS (press Delete or F2 at boot, varies by board)
- CPU-Z (free utility, cpuid.com) for reading actual RAM frequency and timings
- MemTest86 (free, memtest86.com) for a proper RAM stress test
- Optional: Windows Event Viewer to read crash codes
Step 1: Check Your Slot Population
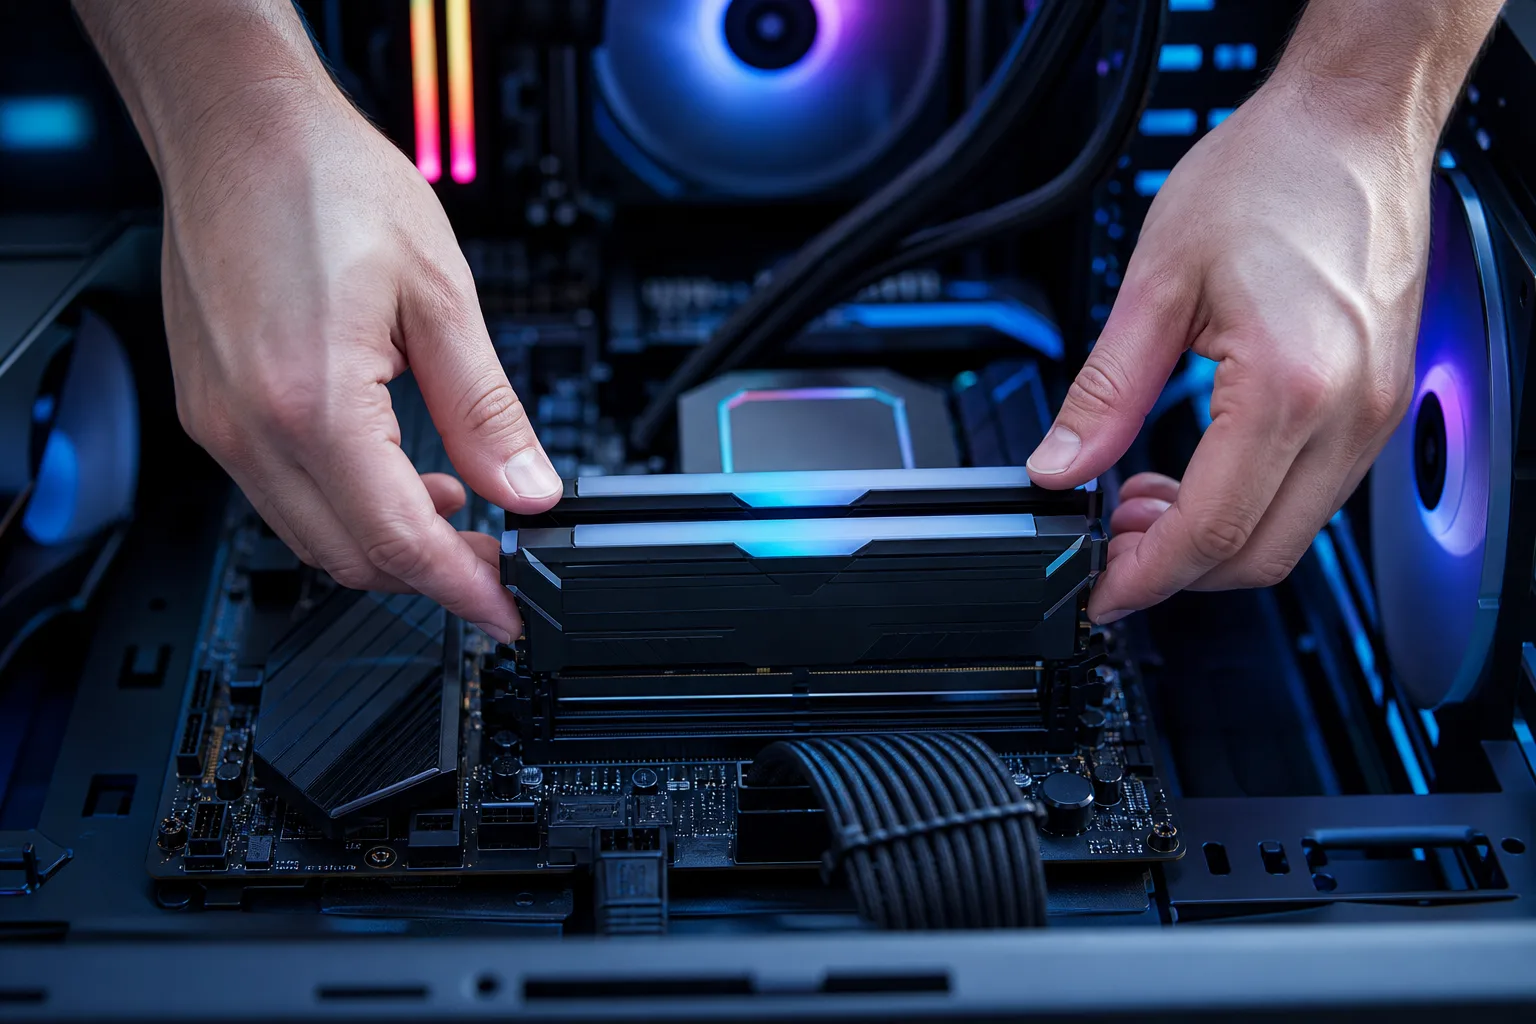
This trips up more builders than anything else. Most dual-channel motherboards want sticks in specific slots, usually A2 and B2 (the second and fourth slots), NOT A1 and B1 right next to the CPU.
Check your motherboard manual for the exact recommended slots for your kit size. Installing in the wrong slots can cause instability or prevent POST entirely. Reseat the sticks in the correct slots before doing anything else.
Step 2: Enable XMP or EXPO in BIOS
Here's the thing everyone skips. When you install a new DDR4 or DDR5 kit rated at 3600 MHz, 6000 MHz, or whatever speed is on the box, your system does NOT run it at that speed by default. It boots at the JEDEC baseline, usually 2133 or 2400 MHz, and waits for you to turn on the performance profile.
- XMP (Extreme Memory Profile) is Intel's standard, used on most kits.
- EXPO (Extended Profiles for Overclocking) is AMD's equivalent, found on kits optimized for AM5 platforms.
Boot into BIOS, find the memory or OC section, and enable XMP or EXPO. Save and reboot. Confirm the frequency in CPU-Z under the Memory tab (multiply the displayed number by 2 for DDR speeds).
This single step fixes the majority of post-install instability.
Step 3: Verify Voltage and Frequency Compatibility
Not every motherboard can run every RAM spec. A kit rated at DDR5-7200 might need 1.45 V and aggressive sub-timings that a budget B650 board simply can't sustain. Check two things:
Motherboard QVL (Qualified Vendor List). This is a list of tested RAM kits published by your board manufacturer. If your exact part number is on it, you're in good shape. If it isn't, that doesn't guarantee failure, but it means you're in unsupported territory.
Max supported frequency. Your CPU and board each have a rated maximum memory speed. Running above it requires overclocking that may not be stable on your specific silicon.
If you're above the board's rated spec, try dropping the XMP profile one tier or manually setting a lower frequency (e.g., from 6400 to 6000 MHz) and see if crashes stop.
Ready to build a rig that actually rips? Start your build
Step 4: Run MemTest86 for at Least Two Passes
If seating and XMP are confirmed correct and crashes continue, you need to know whether the RAM itself is defective. MemTest86 runs from a bootable USB outside of Windows, so it tests the hardware directly without OS interference.
Boot from the USB, let it run a minimum of two full passes. One pass takes 30 to 90 minutes depending on kit size. Any errors at all mean bad RAM. Zero errors after two passes means the sticks themselves are healthy and the problem is elsewhere (BIOS settings, power, or another component).
Step 5: Test Sticks One at a Time
If MemTest86 throws errors, isolate which stick is the problem. Pull one out, run MemTest again. Swap which stick is installed, run it again. This tells you whether one stick is defective or both are.
It also rules out a bad slot on the motherboard. If a stick passes in one slot but fails in another, the issue is the motherboard slot, not the RAM.
Step 6: Update BIOS Firmware
Motherboard manufacturers push BIOS updates that add new RAM SKUs to the compatibility list and improve training stability, especially on AM5 and newer Intel platforms. If your board shipped a year or more before your RAM kit launched, there's a real chance a BIOS update resolves it.
Flash the latest stable BIOS version from your manufacturer's support page. Re-enable XMP/EXPO after updating since a BIOS flash often resets settings to default.
Common Mistakes
- Assuming faster is always compatible. A 7200 MHz kit in a board spec'd for 6000 MHz will often crash or refuse to POST on XMP.
- Mixing kits. Two sticks from one purchase and two from another, even the same model number, can have different die batches and fail to run at the same speed and timings together. Always buy a matched kit.
- Skipping MemTest and blaming other components. Faulty RAM mimics GPU crashes, OS corruption, and even CPU instability. Don't reinstall Windows or replace a GPU before you've ruled out the RAM.
- Running XMP on a platform that calls it EXPO. On AMD AM5 boards, look for EXPO specifically. Some boards show both; enable the profile that matches your kit's label.
- Not reseating the CPU cooler after adding tall RAM. Tall heat spreaders on some kits physically interfere with large air coolers. If the cooler shifted during install, that's a separate thermal problem that looks like random crashes.
Bottom Line
New RAM crashes almost always come down to: wrong slots, XMP/EXPO not enabled, or a frequency the board can't sustain. Work through the steps above in order and you'll know the answer within an hour. If MemTest86 is throwing errors on both sticks in multiple slots, the kit is defective and needs to go back under warranty.
If you've run through all of this and you're still getting BSODs or the system refuses to POST reliably, that's the point where a second pair of eyes helps. The team at Fix My PC Store on Okeechobee Blvd in West Palm Beach can run diagnostics and tell you exactly what's failing. Initial checks for standard in-store repairs are free, and you'll know the scope and cost before any work starts. Call 561-819-9999 or book a time online.
Building something from scratch and want it done right the first time? Check out the custom gaming PC builder to spec a rig with components that are tested to work together.
Ready to build a rig that actually rips?
Custom gaming PCs built and tuned by people who game. Tell us your budget and target frame rate.