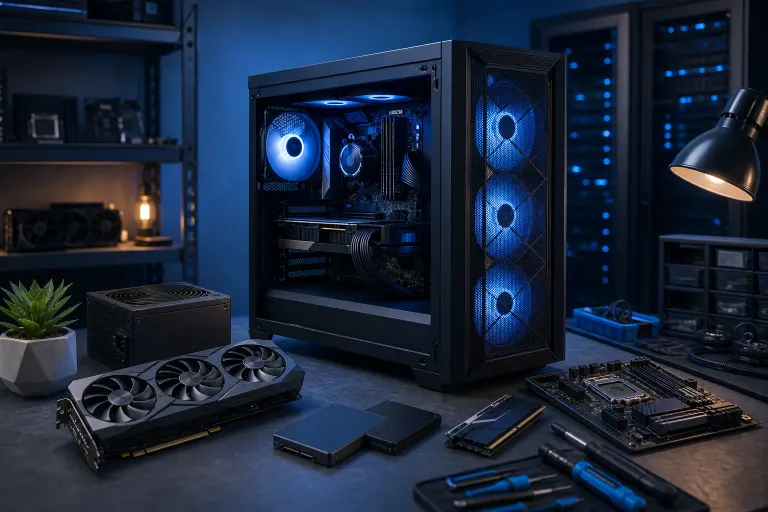
Gaming PC Build Budget: Where to Spend and Save
TL;DR: Put the biggest share of a gaming PC budget into the graphics card, then pair it with a CPU that will not hold it back at your target resolution and refresh rate. Do not cheap out on the power supply, motherboard basics, cooling airflow, or storage capacity you will actually use. Save on cosmetic extras, oversized coolers, excessive RAM, and parts that do not improve your real-world FPS.
A balanced build beats a spec-sheet flex every time. Whether you are chasing competitive frames, clean 1440p visuals, or a 4K couch setup, the goal is simple: spend where performance and reliability live, then trim the stuff that only looks cool in a product listing.
What you need
Before buying a single part, get these details straight:
- A total budget that includes the tower, Windows if needed, tax, shipping, and any assembly tools or service.
- The games you actually play, plus the games you expect to play over the next few years.
- Your target resolution and refresh rate. A PC for 1080p esports has different priorities than one built for 1440p ultra settings or 4K ray tracing.
- A monitor you already own, or a monitor budget. There is no point building a monster GPU rig if your display cannot show the frames it produces.
- A realistic upgrade plan. “I might upgrade someday” is not a plan. Decide whether you expect a GPU, CPU, or storage upgrade within the next two to four years.
- A screwdriver, a clean workspace, and a way to verify part compatibility. If you want a second set of eyes before buying, use our custom gaming PC builder to map out a build around your goals.
South Florida adds one important wrinkle: heat and humidity. Your gaming room is not a refrigerated data center, especially in a West Palm Beach summer. Good case airflow, sensible fan placement, and quality components are not optional fluff. They protect performance when the room gets toasty.
1. Set the FPS target before setting the budget
Start with the experience, not the component list. Ask: what does “good” mean for this build?
For competitive games, you may value high, stable frame rates at 1080p or 1440p. That usually means prioritizing a fast CPU and GPU combination, then using settings that favor consistency over maxed-out eye candy. For big single-player games, higher detail settings, ray tracing, and resolution may matter more. That shifts more budget toward the GPU.
Your monitor sets the finish line. A 60 Hz display cannot show 180 unique frames per second, though higher FPS can still improve input response in some situations. A high-refresh monitor, on the other hand, makes CPU and GPU balance much more important. If you are aiming at 144 Hz, 165 Hz, or beyond, do not build around average FPS alone. Look for stable lows too, because those are the stutters you actually feel mid-fight.
Write down your target like this: “1440p, high settings, smooth performance in the games I play.” That sentence will stop you from overspending on the wrong hardware.
2. Spend the largest share on the graphics card
For most gaming builds, the graphics card is the FPS boss. It has the largest impact on gaming performance, especially at 1440p and 4K. If the budget is tight, it is usually smarter to choose a slightly more modest CPU and put the saved money into a stronger GPU.
A sensible rough approach is to let the GPU consume the largest single share of the tower budget. The exact percentage changes by price tier and current hardware availability, so do not treat any one formula as law. The principle is what matters: a weak graphics card paired with premium everything else is a lopsided build.
Spend more on the GPU when:
- You play demanding new games at 1440p or 4K.
- You want higher graphics settings, ray tracing, or upscaling features.
- You use a high-refresh monitor and play games that can take advantage of it.
- You edit video, render 3D scenes, or stream using GPU-assisted encoding.
Save on the GPU when:
- Your target is 1080p and your game library is mostly esports, indie, or older titles.
- You are comfortable adjusting a few heavy settings, such as shadows or ray tracing.
- You plan to upgrade the GPU later and need a functional starter rig now.
Do not buy based on a model number alone. Check the card’s physical length, thickness, power connector needs, and recommended power capacity. A huge card that barely fits the case, bends its cable sharply, or runs hot because it cannot breathe is not a win. RGB looks sick, but FPS is the real glow-up.
3. Match the CPU to your resolution and games
The CPU handles game logic, physics, simulation, background tasks, and feeding data to the graphics card. It matters a ton, but spending blindly at the top of the CPU stack can rob your GPU budget without improving the experience you wanted.
At higher resolutions, the GPU is often the limiting factor. At lower resolutions and very high refresh rates, the CPU becomes more important because the graphics card can finish frames faster and waits for the processor. That is why a competitive 1080p build may justify a stronger gaming CPU than a casual 4K build with the same total budget.
Spend more on the CPU when:
- You chase very high FPS in CPU-heavy or competitive games.
- You play simulation, strategy, large open-world, or heavily modded games.
- You stream, record, compile code, or run demanding tasks while gaming.
- You expect to keep the same GPU through a future CPU upgrade cycle.
Save on the CPU when:
- The budget needs a better graphics card for your target resolution.
- You mostly play GPU-heavy games at 1440p or 4K.
- You do not need heavy multitasking or productivity horsepower.
Avoid pairing a bargain-bin CPU with a high-end GPU if your goal is high-refresh gaming. But also avoid buying a flagship processor “just because” while settling for a midrange graphics card. That setup has big benchmark vibes and smaller actual FPS payoff.
4. Buy a capable motherboard, not a luxury motherboard
A motherboard does not usually add FPS by itself. Its job is to support the CPU, RAM, storage, expansion, networking, and power delivery reliably. Think of it as the build’s infrastructure. You need solid infrastructure. You do not need to fund a spaceship control panel.
Spend enough for a board that has:
- The correct socket and chipset for your CPU.
- Reliable power delivery suited to that CPU.
- Enough M.2 slots and SATA connections for your storage plan.
- The USB ports, audio, networking, and Wi-Fi support you need.
- BIOS support for the selected processor, or a straightforward way to update it.
- Room for the RAM capacity and expansion cards you may actually add.
Save by skipping premium extras you will not use. Extreme overclocking controls, decorative armor, extra PCIe slots, and a pile of high-speed ports are cool only if they serve a real purpose. For a normal gaming build, put that money toward the GPU, a better power supply, or a larger SSD.
If you are overclocking, understand the full package. The motherboard, CPU cooler, case airflow, power supply, and your willingness to tune and test all matter. A quick automatic setting is not the same as a stable, validated overclock. Curious whether the effort is worth it? Check out our overclocking video before buying parts around that plan.
5. Get the right amount of RAM, then stop spending
RAM is a classic budget trap. Too little can cause stutters, slow loading, and painful multitasking. Too much can leave money on the table that should have gone to the graphics card.
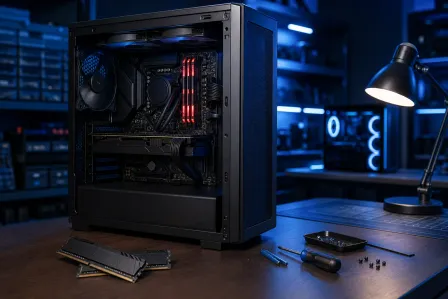
For a modern gaming PC, 16 GB is generally the practical floor for a budget-conscious build. It can work well for gaming, especially if you close background apps. For many new builds, 32 GB is the more comfortable target because games, browsers, voice chat, launchers, recording tools, and background tasks can pile up fast.
Spend more on RAM when you:
- Keep lots of browser tabs and apps open while gaming.
- Stream, edit, mod games heavily, or run virtual machines.
- Work with large creative files in addition to gaming.
Save on RAM when the choice is between excessive capacity and a stronger GPU. Do not buy huge amounts of memory just for the flex. You will not gain meaningful FPS from RAM capacity you never use.
Use a matched kit, follow the motherboard’s recommended slots, and enable the correct memory profile in BIOS after assembly. Buying fast RAM and leaving it at default settings is like installing a turbo and never stepping on the gas.
Ready to build a rig that actually rips? Start your build
6. Prioritize fast, sufficient storage over unnecessary storage tricks
An SSD should be non-negotiable for the operating system and games. It improves boot time, load times, updates, and overall responsiveness. A hard drive can still make sense for cheap bulk storage, but it should not be your primary game-drive choice for a modern build.
Spend more for:
- Enough SSD capacity to avoid constantly uninstalling games.
- A reputable drive with the performance and endurance appropriate for your use.
- At least one available expansion slot if you expect your game library to grow.
Save by avoiding the most expensive speed tier if your use does not benefit from it. Extremely fast storage can be excellent for certain work, but the difference in game FPS is typically not the reason to buy it. Load behavior can vary by game, while a faster GPU affects the gameplay you see every second.
Capacity is the sleeper stat here. New games can be massive. A too-small drive turns a sweet rig into an uninstall-manager simulator. Start with a reasonable primary SSD, then choose a motherboard and case that make adding storage later painless.
7. Do not cheap out on the power supply or cooling
Here is where smart builders protect the whole investment. A power supply does not raise frame rates directly, and a case fan does not appear in a benchmark chart. But unstable power and weak cooling can cause crashes, thermal throttling, noise, and shortened component life. That is not savings. That is a side quest nobody asked for.
Choose a quality power supply with sufficient headroom for your CPU, GPU, storage, fans, and future upgrades. Confirm it has the proper connectors for the graphics card. Use the manufacturer-provided cables that came with that exact power supply. Never mix modular cables from different PSU models, even when they look like they fit. Pinouts can differ, and the result can be catastrophic.
Spend more on cooling when:
- You have a higher-power CPU or GPU.
- Your room runs warm, which is common in South Florida.
- You want quieter operation under load.
- You plan to tune power limits or overclock.
Save by choosing an air cooler that matches the CPU rather than buying a giant liquid cooler for a modest chip. A good air cooler plus a well-ventilated case can be excellent. Liquid cooling can also be great, but it is not automatic FPS. It is a thermal and noise decision first.
For safety basics, the U.S. Consumer Product Safety Commission offers general consumer electrical safety information. The key build rule is simpler: use quality parts, do not overload questionable power strips, and keep cables and airflow clean.
8. Save on the case, but never sacrifice airflow and fit
Cases range from plain black boxes to tempered-glass RGB aquariums. Pick the one that makes you grin, but do not let the shell eat your performance budget.
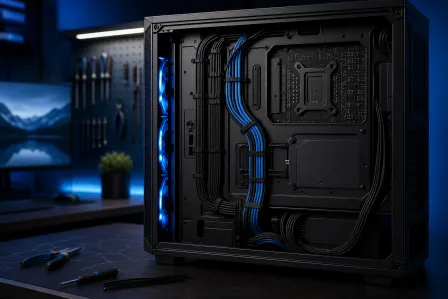
A good value case should fit your motherboard, GPU, CPU cooler, power supply, and planned fans. It should have unobstructed intake and exhaust paths, decent dust filtering, and enough room to route cables without crushing them against the side panel.
Spend more on a case if it materially improves airflow, build quality, acoustics, or installation access. Save on gimmicky panels, rare materials, and included accessories you do not need. A clean front mesh setup with properly placed fans can outperform a prettier closed-front case when your hardware is working hard.
For a basic layout, use front or bottom fans as intake and rear or top fans as exhaust, depending on the case design. Aim for a sensible airflow path across the GPU and CPU cooler. Keep the case off carpet when possible, especially if it has a bottom intake.
9. Cut RGB and accessories last, not performance first
I love RGB. A properly synced lighting setup makes a build feel legendary. But lighting does not buy frames. If the budget is tight, build the performance core first: GPU, CPU, RAM, SSD, power supply, cooling, and airflow.
You can add lighting strips, custom cables, premium fans, decorative panels, and a fancier keyboard later. These upgrades are easy to make after the PC is running. Replacing an underpowered graphics card because you spent too much on aesthetic accessories is way more expensive.
The same goes for peripherals. A reliable keyboard, mouse, and headset matter, but they should fit your play style. Do not drain the tower budget on boutique gear before you have a PC capable of delivering the frames your monitor wants.
10. Build in upgrade paths, then validate every part list
The strongest budget decision is often leaving yourself options. Choose a motherboard with the storage and connectivity you need. Pick a PSU with practical headroom. Use a case that can accept a future GPU or cooler. Buy a platform that makes sense for your likely upgrade horizon.
But do not overpay for theoretical upgrades you may never make. Planning for one additional SSD is practical. Paying extra for a pile of unused expansion slots, extreme power delivery, and premium features “just in case” may not be.
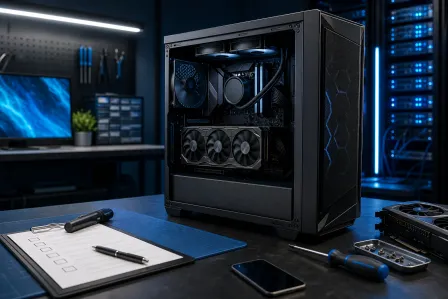
Before ordering, validate:
- CPU socket and BIOS compatibility.
- RAM type and motherboard support.
- GPU length, height, thickness, and power cable clearance.
- CPU cooler height or radiator compatibility.
- PSU wattage, quality, and connector requirements.
- M.2 slot sharing rules and storage lane limitations.
- Case fan locations and airflow direction.
- Your total cost after every required part is included.
If you would rather skip the compatibility spreadsheets and cable-management boss fight, our West Palm Beach team can help with a custom gaming PC build. You still get a machine built around your games and budget, not a random shelf configuration.
Common mistakes
Buying the CPU before choosing the GPU. This often produces a build that looks premium but cannot hit the desired resolution or settings. Pick the graphics target first, then select a CPU that supports it well.
Using the cheapest available power supply. Wattage printed on the box is not the whole story. Quality, protections, connectors, and long-term reliability matter. This is one part where a few saved dollars can create a very expensive problem.
Overspending on RGB before performance. Make it glow after the frame-rate foundation is in place. The cleanest build in the lobby is still rough if it cannot hold smooth frames in the match.
Ignoring case dimensions and cable clearance. Check GPU dimensions and power connector bend space, not just whether the card technically fits. Tight clearances can make installation miserable and restrict airflow.
Buying more RAM than your workload needs. Move from 16 GB to 32 GB when the budget allows and your usage supports it. Beyond that, make sure the added capacity is solving a real problem.
Forgetting the monitor in the budget. The display is where you experience every upgrade. A balanced PC and monitor pairing beats a huge GPU connected to an old, limiting screen.
Skipping stress tests and temperature checks. After the build, update drivers, monitor temperatures, test games, and listen for unusual fan behavior. If your new machine crashes, throttles, or refuses to boot, do not keep forcing it. Book computer repair and diagnostics before a small setup issue turns into damaged hardware.
Bottom line
Spend the most on the GPU, choose a CPU that matches your target FPS, and build the rest of the system around stability, airflow, and usable capacity. A quality power supply, sensible cooling, enough RAM, and a roomy SSD are the parts that keep the build feeling fast after the first hype wave fades.
Save on excessive motherboard features, decorative extras, oversized cooling, and RAM capacity you will never touch. The best gaming PC budget is not the one with the most expensive parts. It is the one that puts every dollar where it produces smoother gameplay, better visuals, and more FPS when the action gets wild.
Ready to build a rig that actually rips?
Custom gaming PCs built and tuned by people who game. Tell us your budget and target frame rate.