Gaming PC Airflow: Intake and Exhaust Fans Explained
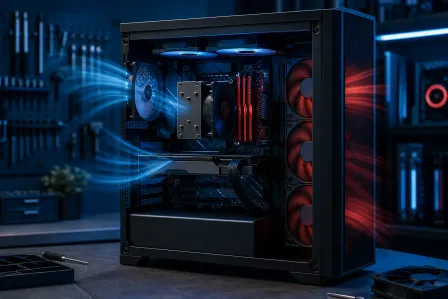
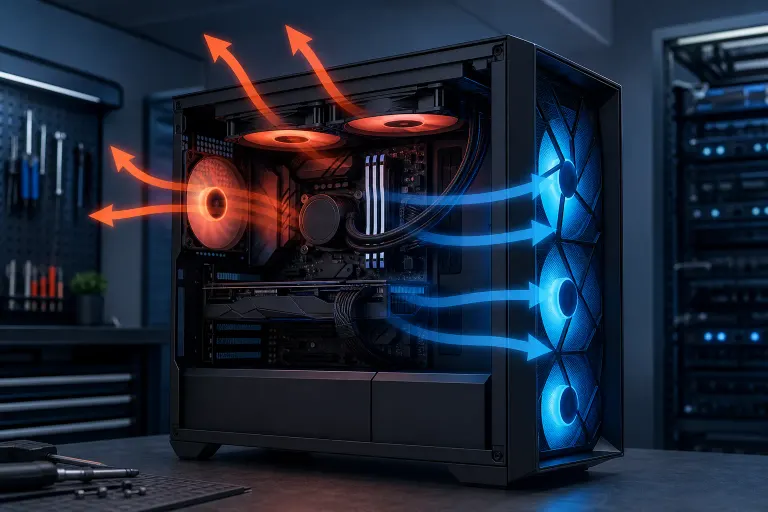
TL;DR: Point intake fans toward the front and bottom of the case pulling cool air in, and exhaust fans toward the rear and top pushing hot air out. More intake than exhaust (positive pressure) keeps dust out better. Get that right and your thermals, and your FPS stability, will thank you.
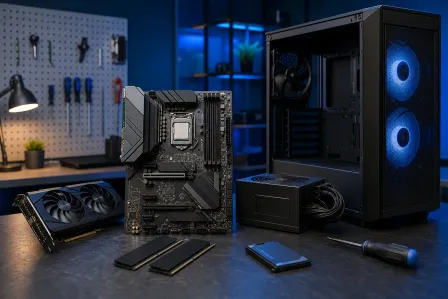
What You Need
- At least two case fans (three or more recommended)
- A case with good ventilation and removable dust filters
- Access to your motherboard fan headers or a fan controller
- Optional: a thermal monitoring tool like HWiNFO64 or MSI Afterburner to verify temps before and after
Step 1: Understand How Heat Moves Inside a PC
Heat rises. That is not just a physics class fact, it is your airflow bible.
Your GPU and CPU generate the most heat. Hot air naturally wants to travel upward and toward the rear of the case. Your fan layout should work with that movement, not against it.
Imagine the case as a wind tunnel. You want a clear, consistent path: cold air enters at the front or bottom, sweeps past components, and exits at the top or rear. Any fan that fights this flow creates turbulence, dead zones, and heat spikes.
Step 2: Determine Fan Direction
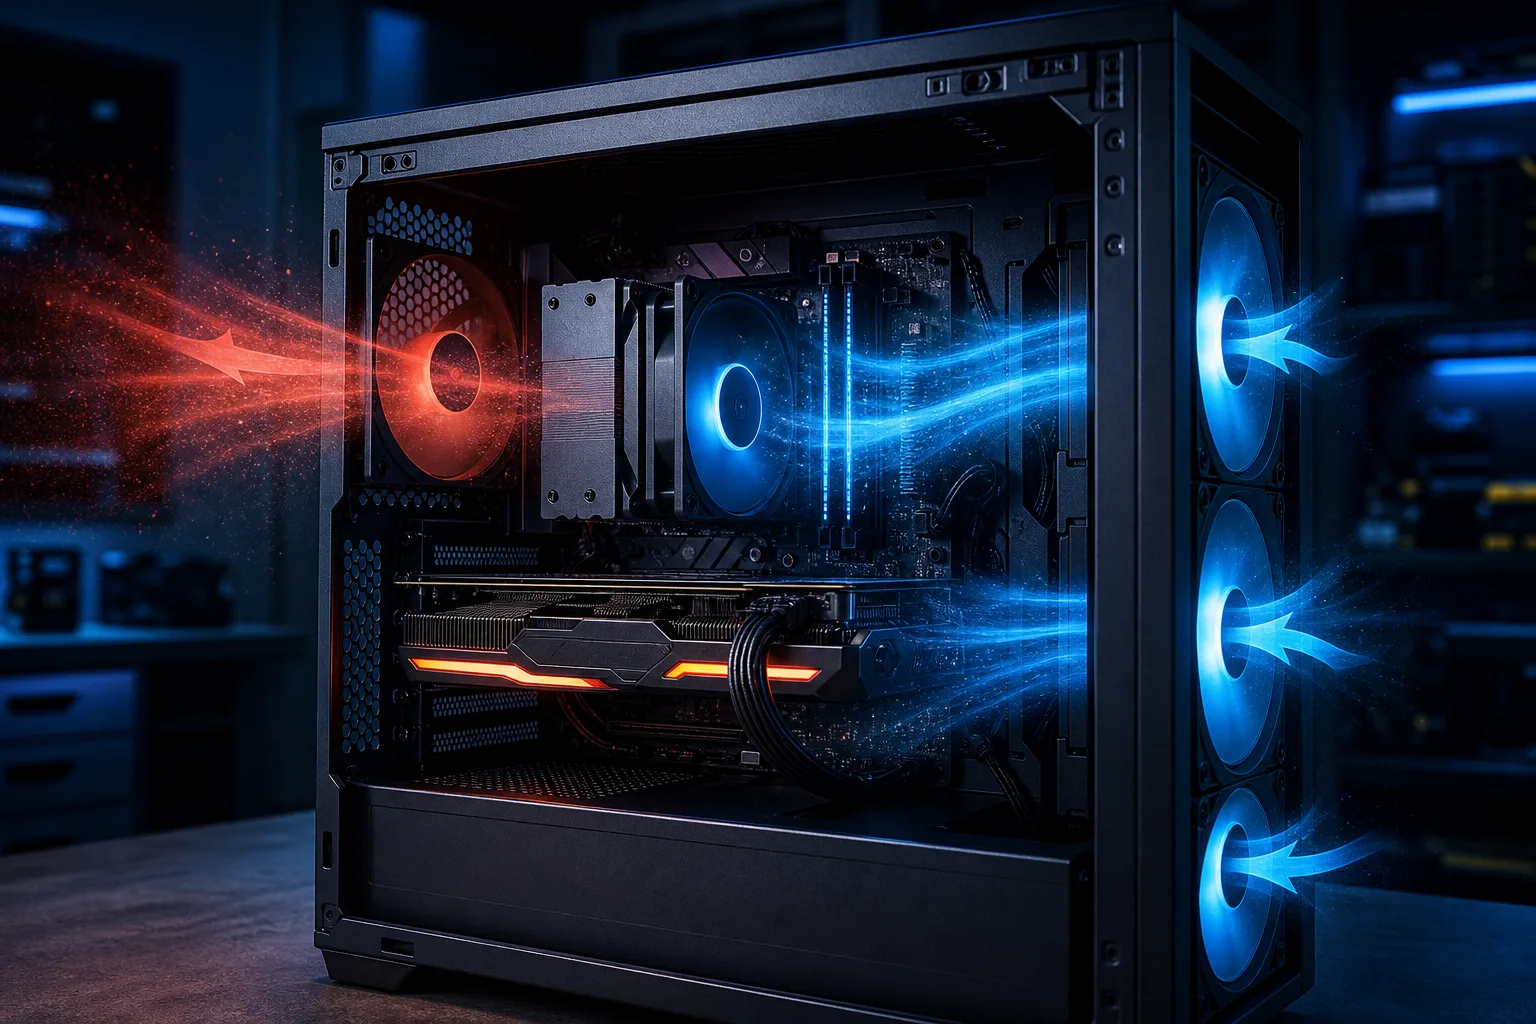
Every fan has two sides. The side with the visible frame struts (the "spider") is the exhaust side, this is where air blows out. Air is drawn IN from the sticker side (the hub side).
Here is the cheat sheet:
| Position | Direction | Role |
|---|---|---|
| Front of case | Pulling IN (intake) | Brings cool air across GPU and CPU |
| Bottom of case | Pulling IN (intake) | Feeds cool air upward |
| Rear of case | Pushing OUT (exhaust) | Removes hot air from CPU cooler zone |
| Top of case | Pushing OUT (exhaust) | Vents rising hot air |
| Side panel | Pulling IN (intake) | Supplements GPU cooling if positioned right |
When in doubt: if the fan label faces outside the case, it is intaking (drawing air in from outside). If the label faces inside the case, it is exhausting (pushing air out).
Step 3: Choose Positive, Negative, or Balanced Pressure
This is where most builds either win or lose.
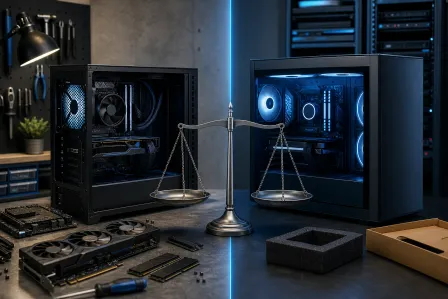
Positive pressure means more intake CFM (cubic feet per minute) than exhaust. Air finds its own path out through gaps. Result: less dust infiltration and longer filter life, since all incoming air is pushed through filtered intakes.
Negative pressure means more exhaust than intake. Air gets sucked in through every crack and unfiltered gap. Result: potentially faster cooling in some configurations but more dust buildup on components.
Balanced is equal intake and exhaust. Works well in cases with good sealing.
For most gaming builds, light positive pressure (one extra intake fan) is the practical sweet spot. You get solid temps without turning your GPU into a dust magnet.
Ready to build a rig that actually rips? Start your build
Step 4: Match Fan Type to Position
Not all fans are equal. Two main types:
High airflow fans move a lot of air with low resistance. Best for front intakes and top exhausts where air flows freely.
High static pressure fans push air through tight spots. Best for radiators, CPU coolers, and dusty filters that restrict airflow.
Using a high airflow fan on a radiator is one of the most common underperformance mistakes. The fan spins hard but barely moves air through the fins. Spend the extra few dollars on the right type for each position.
Step 5: Set Fan Curves in BIOS or Software
RPM matters as much as placement. A fan running at max speed 24/7 is noisy, wears out bearings faster, and is usually overkill at idle.
Most modern motherboards let you set custom fan curves in BIOS. A good baseline:
- Below 50°C CPU temp: fans at 30-40% RPM (nearly silent)
- 50-70°C: ramp to 60-70% RPM
- Above 70°C: full speed
Use a monitoring tool while gaming for 20-30 minutes to see your real peak temps, then tune from there. GPU fans are usually controlled by the card itself via Afterburner or the GPU driver.
Step 6: Manage Cables and Internal Obstructions
Even perfect fan placement fails if a cable bundle is blocking the airflow path to your GPU.
Route cables behind the motherboard tray when possible. Use zip ties or Velcro straps to keep loose cables from sagging into the main airflow channel. A modular power supply makes this dramatically easier.
This single step can drop GPU temps by several degrees with zero additional hardware.
Common Mistakes
All fans exhausting. Looks impressive on a fan ad but creates massive negative pressure. Dust gets everywhere, temps suffer.
Mixing up fan direction. Extremely common with first builds. Always check which side the frame struts face before mounting, that is the exhaust side.
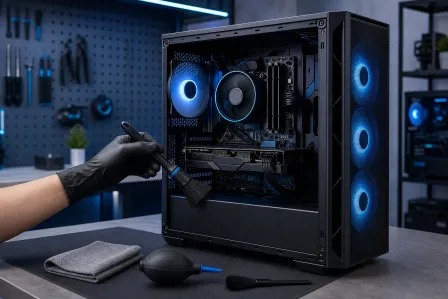
Skipping dust filters. If your case has filter slots, use them. Clean them every 4-6 weeks in South Florida. The humidity and indoor particulates here are real.
Mounting a radiator with fans in the wrong orientation for the position. The correct fan direction depends on where the radiator is mounted. For a front-mounted radiator, fans typically push air through the radiator into the case (intake). For a rear or top-mounted radiator, fans typically pull air through the radiator and out of the case (exhaust). The goal in either case is to move cool air through the radiator fins, not recirculate already-heated case air through them.
Ignoring cable management. A clean-looking build is not just aesthetic. It is functional airflow engineering.
Bottom Line
Get your intake fans at the front and bottom, exhausts at the rear and top, run slightly positive pressure, match fan type to position, and manage your cables. That is the whole system. Thermals stay low, clocks stay boosted, and frames stay smooth.
If you are planning a new build from scratch or want to know what fans and layout fit your specific case and components, check out the custom gaming PC builder at Fix My PC Store. And if a build has already gone sideways and temps are out of control, the team on Okeechobee Boulevard can diagnose and fix it at the shop.
Ready to build a rig that actually rips?
Custom gaming PCs built and tuned by people who game. Tell us your budget and target frame rate.