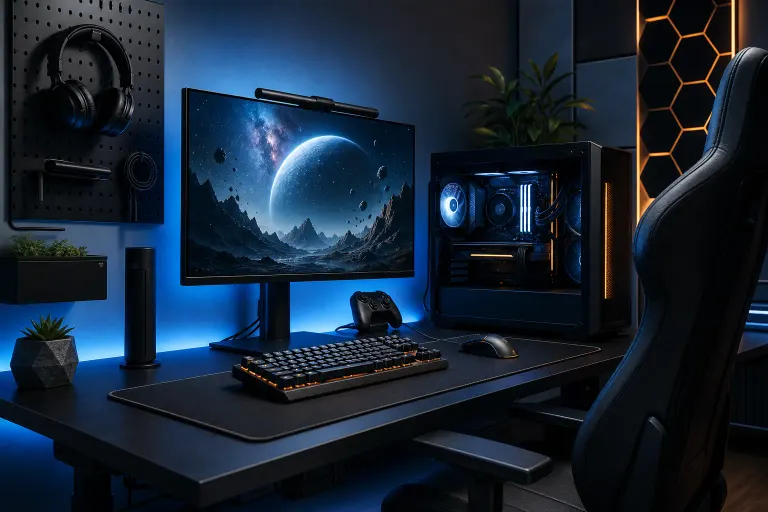
Gaming PC Desk Setup: Monitor, Peripherals, Cables
TL;DR: A great gaming PC deserves a setup that doesn't sabotage it. Get your monitor at the right height and distance, position your peripherals for speed, and manage your cables so airflow (and your sanity) stays intact. Fifteen minutes of setup work now saves you neck pain, dropped frames from overheating, and a rat's nest under your desk later.
You dropped serious cash on a rig that pushes triple-digit frame rates. Maybe you built it yourself, maybe you had it built through something like a custom gaming PC, either way, that GPU is a beast. So why is your monitor sitting on a stack of textbooks and your mouse cord snagging on a water bottle mid-clutch? Let's fix that.
A proper desk setup isn't just about looking clean for your Discord friends on stream. It affects your reaction time, your comfort during six-hour raid nights, and even your thermals. Cables jammed against your intake fans? That's airflow you're choking off for no reason. Let's build this thing right.
What you need
You don't need to drop another grand to get this right. Here's the gear list:
- A monitor arm or a sturdy stand (arm strongly recommended)
- Your keyboard and mouse, plus a mousepad big enough for your actual swipe distance
- Velcro cable ties or reusable zip ties (skip the one-time-use plastic ones, you'll want to adjust later)
- A cable sleeve or cable raceway/tray if you want the fully clean look
- A power strip or surge protector with enough spaced-out outlets for chunky power bricks
- Optional but clutch: a headset stand, a desk mat, and under-desk cable trays or clips
- A tape measure or just your own two hands for eyeballing distances
That's it. Most of this runs you under $100 total, and it's the cheapest FPS-adjacent upgrade you'll make all year. Not literal frames per second, but it removes the friction that makes you miss shots and rage quit early.
Step 1: Get your monitor height and distance dialed in
Here's the deal. Your eyes should hit the top third of the screen when you're sitting up straight, not looking down at it like it's a laptop. If you're hunched forward or craning your neck up, you're going to feel it after a three-hour session, and that fatigue absolutely affects your reaction time in fast-paced games.
General rule: sit about an arm's length away from the screen (roughly 20 to 28 inches for most monitor sizes), with the top edge of the display at or just below eye level. If your monitor's built-in stand won't let you get that low, that's exactly what a monitor arm fixes. Arms also let you tilt and swivel on the fly, which matters more than people think when you're leaning in for a headshot check or leaning back to relax between rounds.
Running a multi-monitor setup for sim racing or flight sims? Angle your side monitors slightly inward so your peripheral vision picks up movement without needing a full head turn. That little adjustment genuinely helps in competitive shooters too.
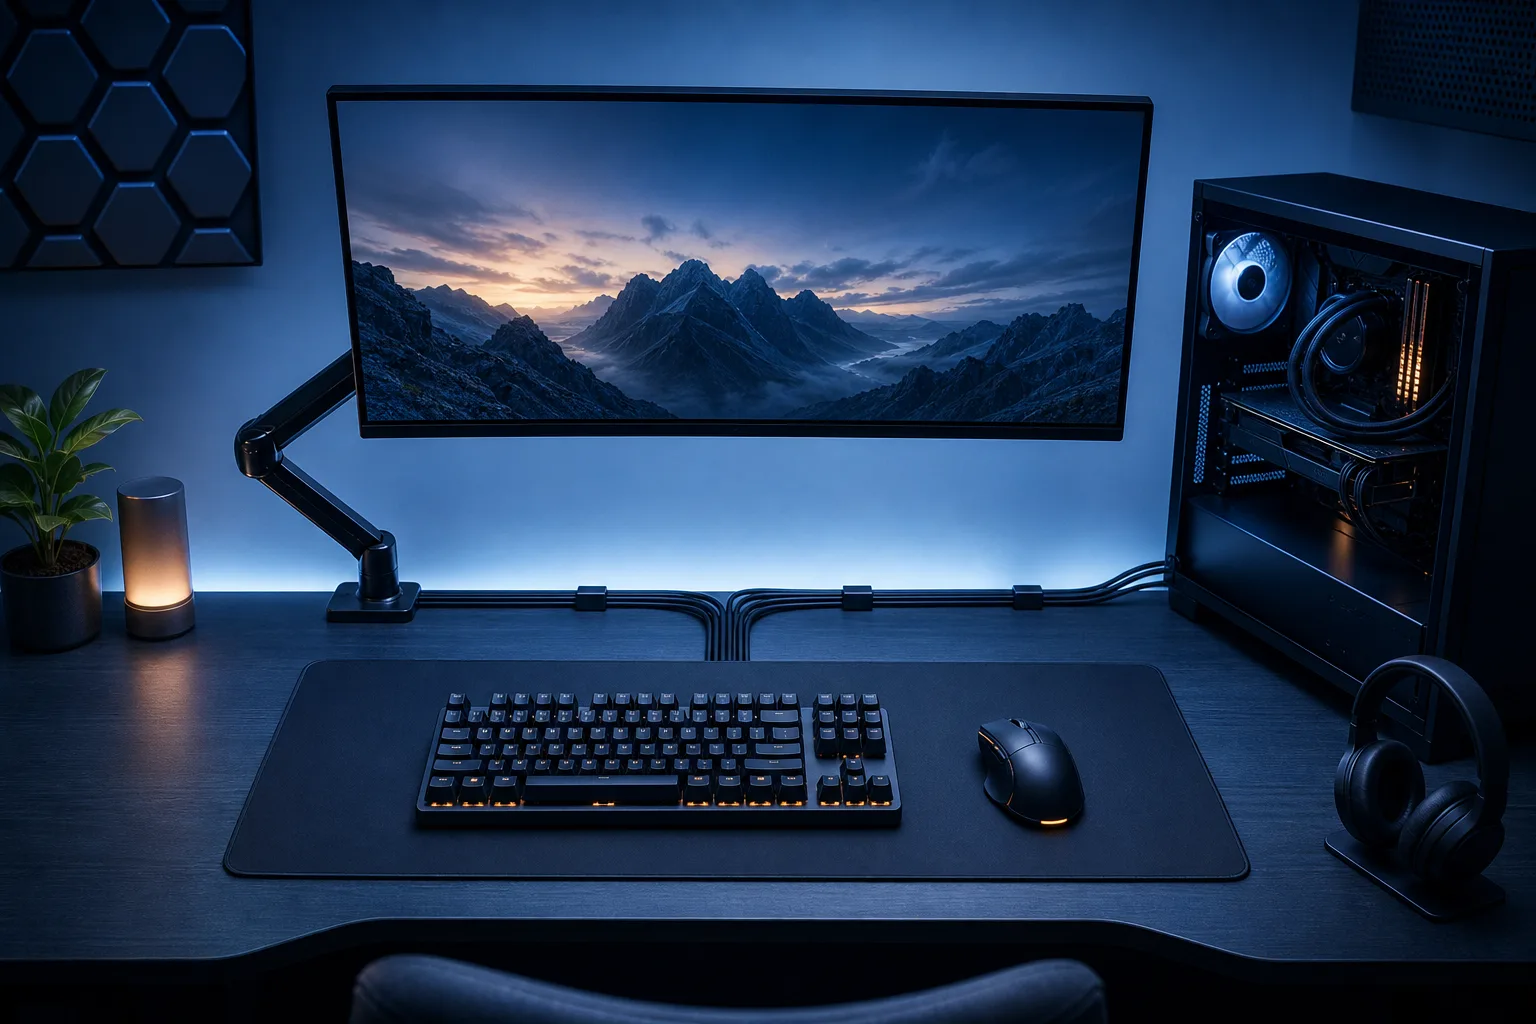
Step 2: Position your peripherals for speed, not just looks
Your mouse and keyboard placement is doing more work than you realize. Keep your elbows at roughly 90 degrees and your wrists neutral, not bent up or down. A wrist rest helps here, but don't rest your wrist on it while actively moving the mouse, that actually slows your flick shots down. Use it during breaks instead.
Mousepad size matters more than people admit. If you're playing at a low DPI (common for FPS players who want precision), you need real estate to swipe across. Measure your typical swipe distance and get a pad that's at least a few inches bigger in every direction. Running out of pad mid-swing is a self-inflicted wound.
Keyboard placement should let your hands fall naturally onto WASD or your home row without stretching. If you're rocking a mechanical keyboard with a steep typing angle, test a flatter angle for gaming, it reduces wrist strain during long sessions.
Headset stand or hook nearby? Non-negotiable. Every second spent digging around for your headset while your team's calling out enemy positions is a second you're not reacting.
Computer acting up? Get a real diagnosis. Book a free diagnostic
Step 3: Map your cable routes before you plug anything in
Before you start zip-tying things down, take five minutes to actually plan the route. Where's your power strip? Where's the PC case? Which way do your monitor, keyboard, mouse, and headset cables need to travel to get there without crossing paths or stretching tight?
General routing logic:
- Power cables run together, away from data cables and audio cables to avoid interference (rare with modern gear, but still good practice)
- Monitor and USB cables should run along the back edge of the desk, then drop down through a grommet hole or over the back edge to the floor
- Keep enough slack that you can still adjust your monitor arm or slide your keyboard tray without yanking a cord loose
If your desk doesn't have a built-in cable management hole, a simple binder clip or adhesive cable clip on the underside of the desk works fine. You're not building a museum piece, you're keeping cables from becoming a hazard.
Step 4: Bundle and secure everything with ties or sleeves
Once your cables have a route, group them. Velcro ties are the move here because you WILL be adding or swapping peripherals eventually, and ripping through a permanent zip tie every time gets old fast. Bundle your under-desk cables into one or two thick runs, secure them along your desk legs or the wall, and leave a little drop loop before they hit the power strip so nothing's pulling taut.
If you want the full clean aesthetic (the kind you see in those insane RGB battlestation builds), a cable sleeve or a desk-mounted cable tray hides everything behind a single channel. It's a bit more work upfront but it turns a jungle of wires into basically nothing visible. Worth it if your setup's on camera for streaming or content.
Don't forget the back of your PC case itself. Route your internal cables (if you're comfortable popping the side panel) away from your intake fans. A case stuffed with cables blocking airflow can bump your GPU and CPU temps a few degrees, and on a hot Florida day with the AC working overtime, every degree counts toward keeping your clocks stable under load.
Step 5: Test airflow and ergonomics before you call it done
This step gets skipped constantly. Once everything's tied down, actually sit at your desk and game for twenty minutes. Check three things:
- Comfort: Are your wrists, neck, and shoulders relaxed? If not, adjust monitor height or arm reach.
- Cable interference: Does anything catch when you reach for your mouse at full extension or lean back?
- Thermals: Pull up your GPU and CPU temps in an overlay (MSI Afterburner or similar) and compare to before you touched anything. If temps climbed, something's blocking airflow, usually a cable bundle sitting too close to an intake or exhaust fan.
If your case runs hot no matter what you do with cables, that might point to a bigger issue like dust buildup or a fan curve that needs tuning, and that's worth a proper diagnostic rather than guessing.
Common mistakes
Mounting the monitor too high. People overcorrect for
Computer acting up? Get a real diagnosis.
Fix My PC Store has repaired thousands of machines across West Palm Beach. Free diagnostics, honest pricing, no upsell games.