
How to Safely Clean Dust Out of Your Desktop or Laptop
Dust buildup is one of the most preventable causes of overheating, throttling, and premature hardware failure. This guide walks you through the correct tools, steps, and order of operations to clean your desktop or laptop safely, without breaking anything in the process.
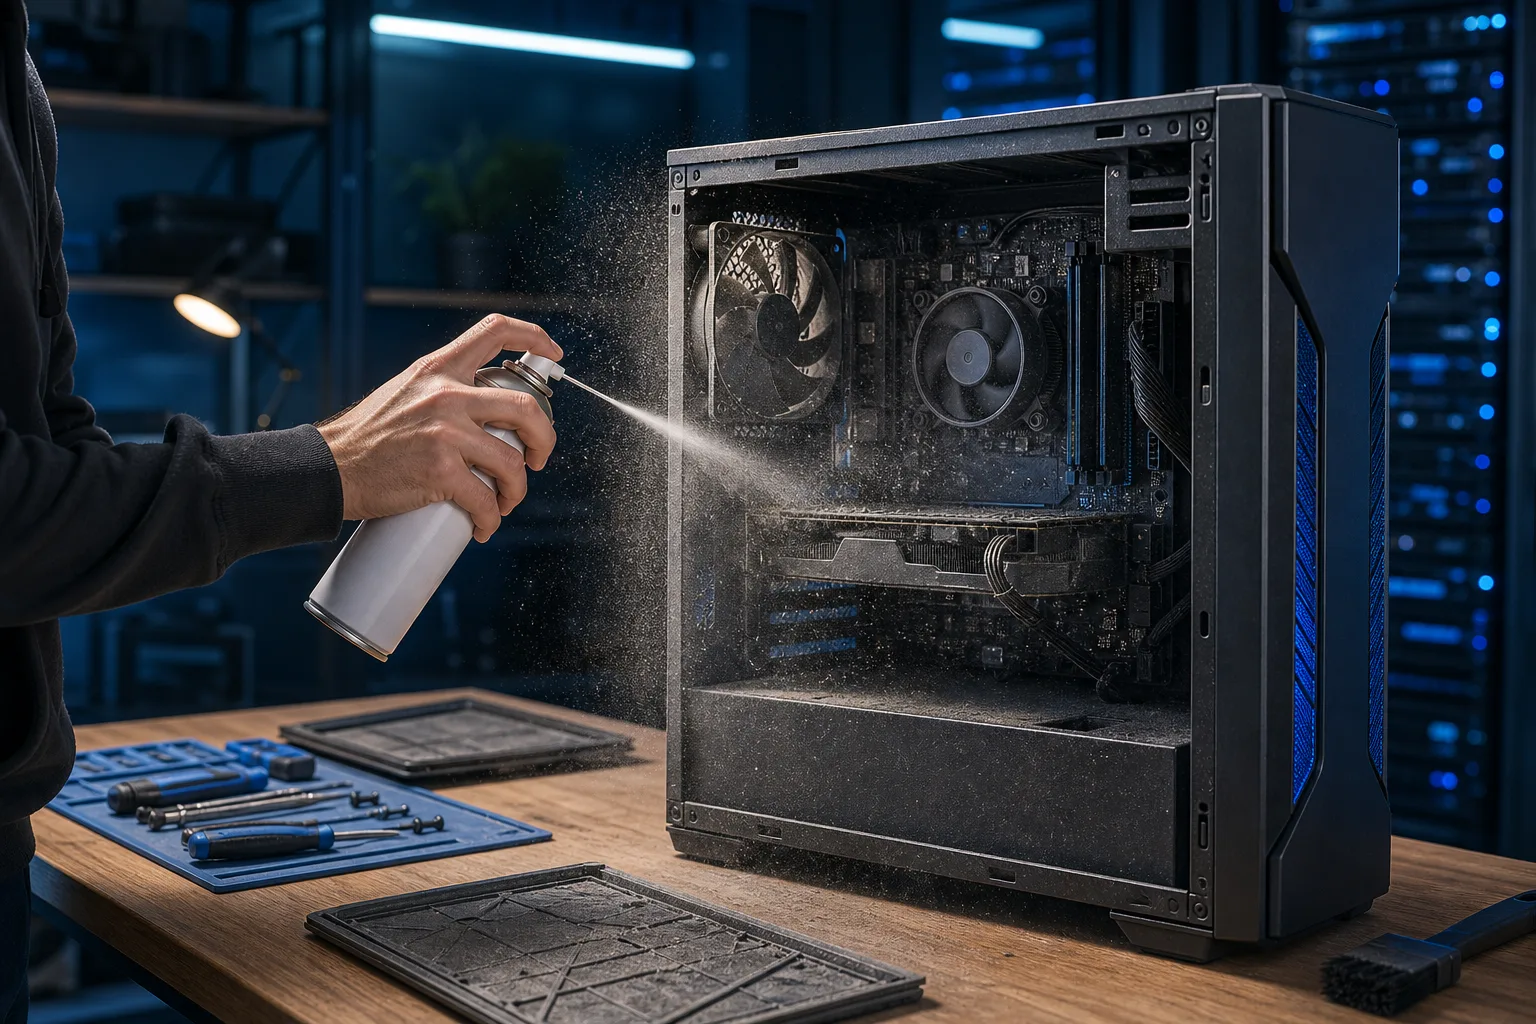
TL;DR: Dust is a slow killer. A can of compressed air and 20 minutes twice a year will prevent most heat-related performance problems. Do it wrong and you can damage fans, discharge static into your board, or snap a connector. This guide covers how to do it right.
What You Need
Before you touch anything, gather your supplies. Improvising with whatever is nearby is how people break things.
- Compressed air canister (the kind sold for electronics, not a shop compressor). Brand does not matter much, but make sure it is labeled for electronics use.
- Soft anti-static brush (optional but useful for stubborn clumps near heatsinks)
- Microfiber cloth (for external surfaces and vents)
- Phillips-head screwdriver (usually #2 for desktops, #00 for many laptops)
- Anti-static wrist strap (recommended, especially in dry conditions or carpeted rooms)
- Isopropyl alcohol, 90% or higher (for thermal paste removal only, covered in the advanced section below)
- Thermal paste (only needed if you are removing the heatsink)
- A well-lit workspace away from carpet
You do not need a vacuum cleaner. Standard vacuums generate static and can discharge into your components. Purpose-built electronics vacuums exist, but most people do not own one, and compressed air handles 95% of what you need.
Step 1: Power Down Completely and Unplug Everything
This sounds obvious. It is still the step most people rush.
Shut down the operating system fully. Do not just close the lid or put it to sleep. On a desktop, flip the switch on the power supply to the off position after shutting down, then unplug the power cable from the wall. On a laptop, shut down and remove the battery if it is removable.
Wait two to three minutes. Capacitors inside the power supply hold charge briefly after power is cut. There is no reason to rush.
Unplug all peripherals: monitors, USB devices, ethernet, everything. You want a clean, uncluttered machine before you open it.
Step 2: Move to a Hard, Non-Carpeted Surface
Carpet is a static electricity generator. Even shuffling your feet slightly can build up enough charge to damage sensitive components.
Work on a hard table or workbench. If you only have carpet available, put down a large anti-static mat or even a sheet of cardboard, and clip on your anti-static wrist strap before touching any internal components.
Good lighting matters too. You need to see what you are doing inside the case.
Step 3: Open the Case
Desktop
Most modern desktop cases use thumbscrews on the rear panel. Remove them, slide the side panel off, and set it aside. Some cases have panels on both sides; you usually only need the left panel (the one facing you when the ports are on the right).
If you have an older case with standard Phillips screws, use your #2 driver. Do not force anything. If a panel is not moving, there is likely a screw you missed.
Laptop
Laptop disassembly varies significantly by make and model. Most modern laptops have a bottom panel held by Phillips screws, sometimes hidden under rubber feet. A few use Torx or tri-wing screws.
Look up your specific model before opening it. iFixit maintains a large repair database with step-by-step guides for hundreds of laptops. If your laptop is still under warranty, check whether opening it voids the warranty first.
If you are not comfortable opening your laptop, this is a reasonable point to hand it off. Our team handles this regularly at the shop, and a cleaning visit is straightforward to schedule.
Step 4: Assess Before You Blast
Take a look before you reach for the compressed air. Note:
- Where the heaviest dust accumulation is (usually intake vents, fans, and heatsink fins)
- Whether any cables are loose or already disconnected
- Any visible damage: bulging capacitors, burn marks, cracked solder joints
If you see damage before you have done anything, stop. You have found something that was already a problem. Document it with your phone camera and consider having a technician look at it. We see machines come in for cleaning that turn out to have more serious underlying issues, and the dust was just obscuring them.
Also note the direction of airflow in your desktop. Most systems pull cool air in through the front and bottom and exhaust hot air out the rear and top. You will want to blow dust out in the direction it came in, not deeper into the system.
Step 5: Clean the Fans First
Fans are the biggest dust magnets and the most important to address.
Hold each fan blade still before spraying. If a fan spins freely under compressed air, it can spin faster than its rated RPM and damage the bearing. Use a finger, a pencil, or your anti-static brush to hold the blades in place.
Spray in short bursts, two to three seconds each. Sustained blasting causes the compressed air to release propellant liquid, which can damage components. Keep the can upright.
Work through each fan in the system:
- CPU cooler fan
- Case intake and exhaust fans
- GPU fan or fans
- PSU fan (blow from outside the PSU, do not disassemble it)
- Laptop cooling fan (accessible once the bottom panel is removed)
Computer acting up? Get a real diagnosis. Book a free diagnostic
Step 6: Clean the Heatsink Fins
Heatsink fins, those thin metal rows that sit above the CPU or GPU, collect dense packed dust that restricts airflow dramatically.
Blow through the fins from the side, parallel to the channels. Blowing straight down compresses the dust further into the fins rather than clearing it. Use short bursts. If the dust is packed tightly, use your anti-static brush to gently loosen it first, then follow with air.
For laptops, the heatsink is usually a flat copper plate and pipe assembly sitting over the CPU and sometimes the GPU. Clean the vent openings at the edges of the chassis first, then address the fan.
Step 7: Clean the Rest of the Interior
With fans and heatsinks addressed, work through the remaining areas:
- RAM slots: Short bursts, holding the can at an angle
- PCIe slots and GPU: Short bursts along the slot and around the card
- Motherboard surface: Light passes, nothing aggressive
- Power supply (exterior only): Blow through the intake grill. Never open a PSU.
- Drive bays: Wipe with a microfiber cloth if dusty
- Case interior walls: Wipe with a dry microfiber cloth
For the exterior vents on either a desktop or laptop, follow up with a microfiber cloth to wipe any remaining debris that settled on surfaces.
Step 8: Reassemble and Test
Once you are satisfied with the cleaning, reassemble in reverse order. On a desktop, reinstall the side panel and snug down the thumbscrews. On a laptop, seat the bottom panel carefully before threading any screws, since misaligned panels can crack plastic clips.
Reconnect all cables and power. Boot the machine and monitor temperatures for 10 to 15 minutes under normal use. If you have monitoring software installed, check CPU and GPU temps. On a properly cleaned machine, you should see noticeably lower idle and load temperatures compared to before, especially if the machine was heavily clogged.
If temperatures are still high after cleaning, the thermal paste between the CPU and heatsink may be degraded. That is a separate service, but worth considering if the machine is three or more years old. You can read more about general hardware diagnostics on our computer repair service page.
Common Mistakes
1. Using a household vacuum. Static discharge is a real risk. Stick to compressed air.
2. Spinning fans freely. Always hold fan blades stationary before spraying. Bearing damage is silent and cumulative.
3. Tilting the compressed air can. Tilting releases liquid propellant onto components. Keep the can upright and use short bursts.
4. Opening the power supply. PSUs contain capacitors that can hold lethal charge even when unplugged. Clean the exterior grill only.
5. Skipping the anti-static strap. In Florida's humidity this is less critical than in dry climates, but it is still a good habit, especially in air-conditioned rooms that can be quite dry.
6. Waiting too long between cleanings. Desktops in dusty environments or homes with pets may need cleaning every three to four months. Laptops that live on carpeted surfaces accumulate dust faster than most people expect. If your machine is running hot or the fans are audibly louder than they used to be, do not wait for the next scheduled cleaning.
7. Forcing panel clips on laptops. Laptop plastics crack easily. If something does not move freely, find the screw you missed before applying force.
When to Let a Technician Handle It
Cleaning is one of the most DIY-friendly maintenance tasks on a computer. But there are situations where professional service makes more sense:
- The machine is a thin laptop with complex disassembly (many ultrabooks fall into this category)
- You find damage inside when you open it
- Temperatures are still high after cleaning, suggesting degraded thermal paste or a failing fan
- The machine is under warranty and opening it yourself would void coverage
- You are not confident and do not want the risk
If any of those apply, book a cleaning or diagnostic with us. It is a quick turnaround service for most machines. We also see a fair number of laptops that come in for other issues, like laptop repairs or Mac repairs, where the dust situation is genuinely severe and clearly contributing to the problem.
For business owners managing multiple machines, keeping up with preventive maintenance across a fleet is exactly the kind of thing a managed IT arrangement is built for.
Bottom Line
Dust accumulation is preventable. A twice-yearly cleaning with compressed air costs almost nothing and extends the useful life of your hardware meaningfully. The steps are not complicated, but the sequence and technique matter. Hold the fans, keep the can upright, work from the intake side, and do not force anything.
If you find yourself looking at a machine that is already throttling, shutting down from heat, or making unusual fan noise, cleaning is the right first step. But those symptoms can also point to thermal paste failure, a dying fan, or something more serious. When in doubt, get a second opinion from someone who works on these machines every day.
Computer acting up? Get a real diagnosis.
Fix My PC Store has repaired thousands of machines across West Palm Beach. Free diagnostics, honest pricing, no upsell games.
Frequently asked questions
How often should I clean the dust out of my computer?
For most desktop computers in a typical home or office, every six months is a reasonable interval. If you have pets, live in a dusty environment, or keep your desktop on the floor, every three to four months is better. Laptops that sit on soft surfaces like beds or carpet clog faster and may need attention more frequently.
Can I use a vacuum cleaner instead of compressed air to clean my PC?
Standard household vacuums are not recommended. They generate static electricity that can discharge into sensitive components and cause damage that is not always immediately obvious. Compressed air canisters labeled for electronics use are the right tool. If you want a vacuum option, look specifically for purpose-built electronics vacuums with anti-static certification.
Will cleaning dust out of my computer make it faster?
Not directly, but it removes the conditions that make it slower. Heavily clogged machines throttle their CPU and GPU clock speeds to prevent overheating, which causes noticeable slowdowns under load. Cleaning restores normal airflow and allows the processor to run at its intended speeds. If your machine has been running sluggishly and hot, a cleaning often produces a real improvement.
Is it safe to clean the inside of a laptop myself?
It depends on the laptop. Many mid-range and older laptops have straightforward bottom panels that are easy to remove safely. Thin ultrabooks and some premium models have complex disassembly that risks cracking plastic clips or damaging ribbon cables if you are not experienced. Look up your specific model on iFixit before attempting it, and if the disassembly looks complicated, professional service is a reasonable call.
My computer is still running hot after I cleaned it. What is wrong?
The most common cause is degraded thermal paste between the CPU and its heatsink. Thermal paste dries out over time, usually after three to five years, and loses its ability to transfer heat effectively. Cleaning the fans and heatsink helps, but if the paste is the problem, temperatures will remain elevated until it is replaced. A technician can diagnose this quickly during a service visit.
Can dust actually damage my computer permanently?
Yes, over time. Sustained high temperatures from poor airflow accelerate wear on capacitors, solder joints, and the CPU itself. Hard drives are also sensitive to heat. In severe cases, a machine that has been running hot for months or years may have already sustained damage that cleaning alone will not fix. Prevention is significantly cheaper than the repairs that result from ignoring it.