Why Does My Laptop Overheat and How Do I Stop It?
TL;DR: Laptop overheating is caused by one or more of four things: clogged airflow, a failing fan, dried-out thermal paste, or software pushing your CPU and GPU harder than they should run. Catch it early, address the root cause, and you avoid a much more expensive repair later.
What You Need
Before you start, gather the following:
- A can of compressed air (electronics-grade, not the cheap hardware-store stuff)
- A clean, flat, hard surface to work on, never a bed or couch cushion
- A free CPU temperature monitor: HWMonitor for Windows, or the built-in Activity Monitor plus a free tool like Stats for Mac
- A small Phillips-head screwdriver if you plan to open the bottom panel
- Isopropyl alcohol (90% or higher) and thermal paste if you are replacing the old compound
- About 30-60 minutes, depending on how far you need to go
If your laptop is still under manufacturer warranty, check the terms before opening anything. On some models, cracking the bottom panel voids coverage.
Step 1: Confirm You Actually Have an Overheating Problem
Feeling warm air from the vents is normal. Thermal shutdown, throttled performance, unexpected restarts, or a fan that screams continuously are not.
Install HWMonitor (Windows) or a stats utility (Mac) and run your usual workload for 15-20 minutes. Note the peak CPU and GPU temperatures.
General safe ranges at load:
- CPU: below 90°C is acceptable; above 95°C is a problem
- GPU (if discrete): below 85°C is fine; above 90°C sustained is a concern
- Idle temps above 60°C are a red flag even before you open a browser
Write those numbers down. You will use them again after each step to confirm progress.
Step 2: Fix Your Surface and Placement First
This is the easiest fix and the one people most consistently skip.
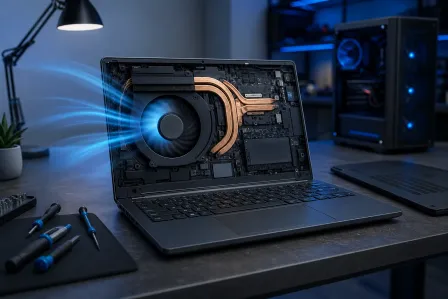
Laptops pull cool air through bottom vents and exhaust hot air from the sides or rear. When you set a laptop on a blanket, your lap, or a pillow, you block those intake vents completely. The thermal load the fan is trying to move has nowhere to go.
What to do:
- Move the laptop to a hard, flat surface: a desk, a table, a lap desk with a rigid surface.
- If you work in a hot room, consider a simple USB-powered cooling pad. They are not magic, but a cooling pad can drop intake air temperature by a few degrees, which matters when ambient temperatures in West Palm Beach and the Treasure Coast already run high.
- Keep the laptop out of direct sunlight. This sounds obvious until you realize how many people work on screened-in patios in South Florida.
Recheck your temperatures. If they dropped meaningfully, you found a big part of the problem.
Step 3: Clear the Dust from Vents and Fans
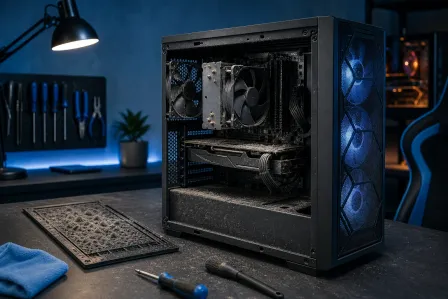
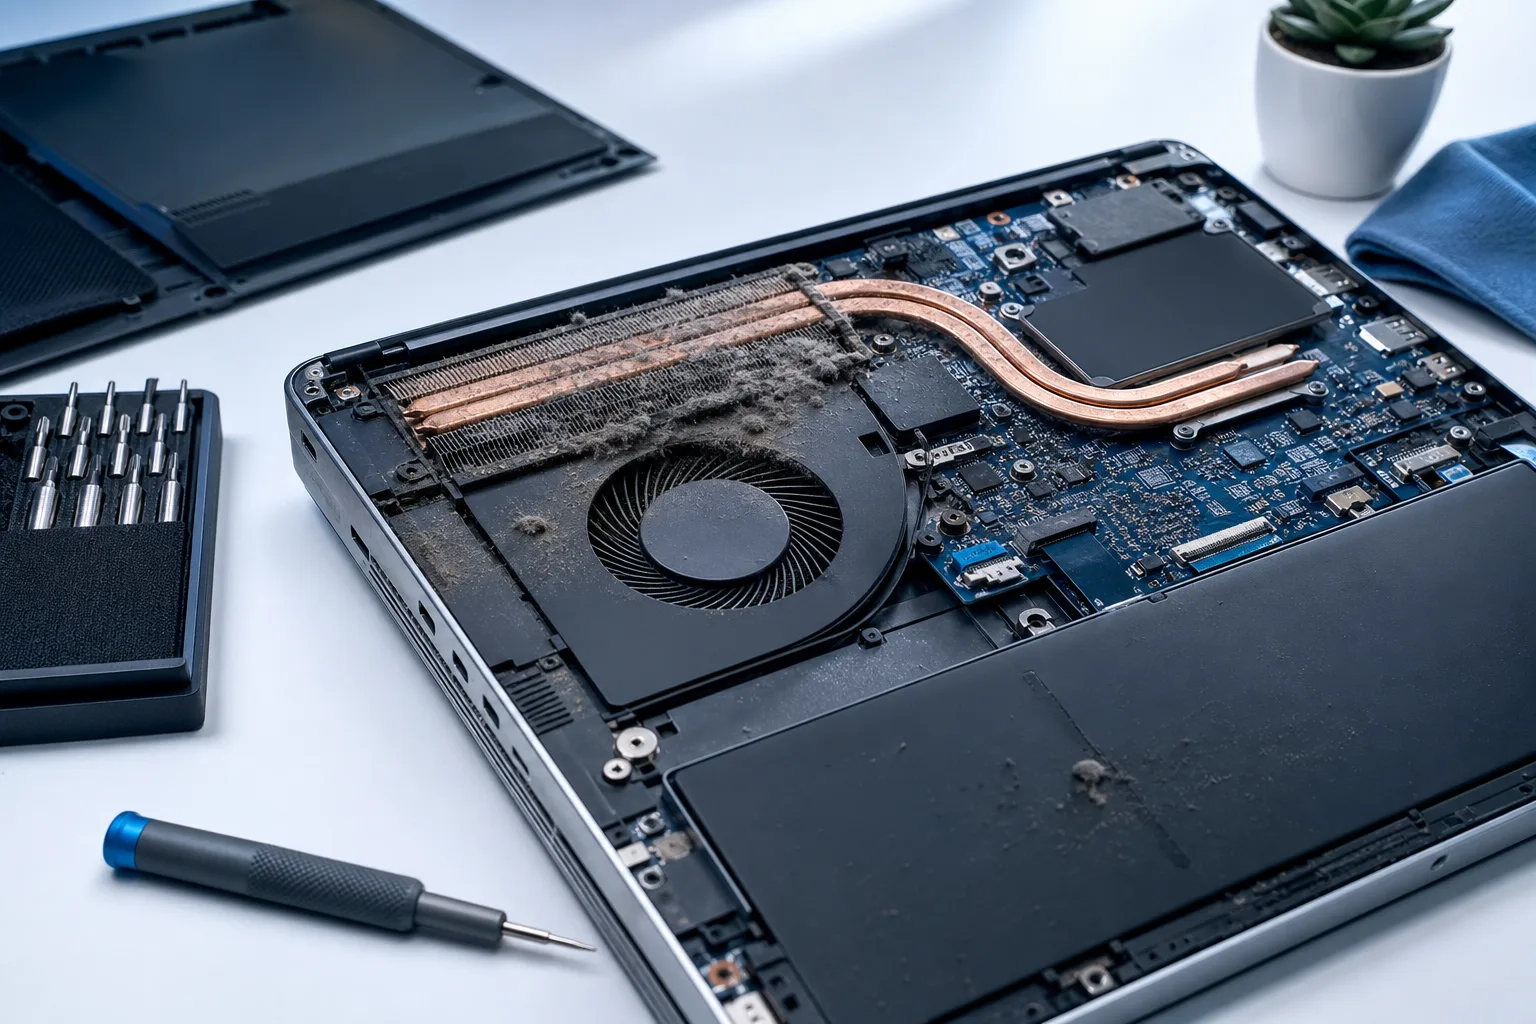
Dust is the primary overheating culprit in laptops that are more than a year old. Compressed air from a can cannot fully dislodge packed dust inside a fan assembly, but it removes loose accumulation from vents and can extend time between full cleanings.
Surface cleaning with compressed air:
- Power off the laptop completely and unplug it.
- Hold the can upright to avoid liquid propellant discharge.
- Blow short bursts into the exhaust vents. You are trying to dislodge dust toward the outside, not push it deeper in.
- Do the same at the intake vents on the bottom.
- Power on and check temps.
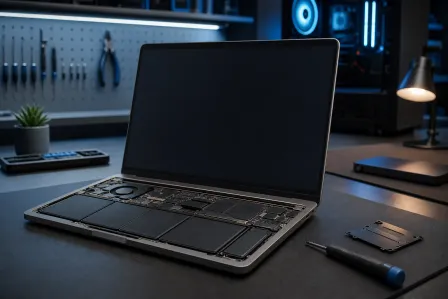
If temperatures are still high, the dust is packed deeper. At that point you need to open the bottom panel, locate the fan, and blow dust out of the heatsink fins directly. This is where a Phillips-head screwdriver comes in.
If you are not comfortable with that, or if the screws are unusual (Torx, pentalobe), this is a reasonable job to hand off. Our laptop repair team does this routinely and can usually turn it around quickly. A proper internal cleaning takes longer than a compressed-air pass but addresses the actual problem.
Computer acting up? Get a real diagnosis. Book a diagnostic
Step 4: Check and Replace the Thermal Paste
Thermal paste is the compound between your CPU (and sometimes GPU) die and the copper heatsink that sits on top of it. It fills microscopic gaps and transfers heat efficiently. Over three to five years, most stock thermal paste dries out, cracks, or pulls away from the contact surfaces. When that happens, heat transfer drops sharply and temperatures climb even if airflow is perfect.
Signs thermal paste is overdue:
- Laptop is clean inside but still running hot
- You have owned or used the laptop for four or more years without a repaste
- Temperatures improved only slightly after cleaning
Replacing thermal paste:
- Remove the bottom panel and locate the heatsink screws. There will typically be two to four screws holding the heatsink down over the CPU.
- Remove the screws in an X-pattern to avoid warping the heatsink.
- Lift the heatsink straight up.
- Use a lint-free cloth lightly dampened with 90%+ isopropyl alcohol to clean the old paste from both the CPU die and the heatsink contact surface. Take your time. Residue left behind degrades the new compound's performance.
- Apply a small amount of fresh thermal paste, roughly the size of a grain of rice, centered on the CPU die. You do not need to spread it; clamping pressure from the heatsink does that.
- Reattach the heatsink in X-pattern order, snug but not over-torqued.
- Reassemble, power on, and recheck temperatures.
A proper repaste on a laptop that was heat-throttling can drop peak CPU temperatures by 15 to 25 degrees Celsius in some cases. That is not a small number.
If you are uncertain about this procedure on your specific model, contact us before you start. Some ultrabooks have soldered or stacked components that require a different approach.
Step 5: Identify and Control Software Causing Thermal Spikes
Hardware matters, but software is often an accomplice. A runaway browser tab, a background sync process, or poorly optimized software can peg your CPU at high utilization even when you think you are doing nothing intensive.
On Windows:
- Open Task Manager (Ctrl + Shift + Esc) and click the CPU column to sort by usage.
- Watch for any process consistently above 20-30% when you are not actively using it.
- Common offenders: antivirus scans running mid-session, Windows Update, browser extensions running background scripts, and crypto-mining malware.
On Mac:
- Open Activity Monitor and sort by CPU.
- Watch for processes like
kernel_taskspiking, which is sometimes the system deliberately throttling the CPU to cool it. Ifkernel_taskis high, the Mac is already protecting itself from heat.
What to do about it:
- Schedule heavy background tasks (scans, updates, backups) for times when the machine is idle or plugged in and well-ventilated.
- Close browser tabs and extensions you are not actively using.
- On Windows, check Power Plan settings. High Performance mode keeps the CPU at higher clock speeds even at idle. Balanced mode is usually better for thermal management on a laptop.
- If you suspect something malicious is pushing CPU usage, that is a separate problem worth addressing directly. Our remote support team can check for malware and unwanted processes without you bringing the machine in.
Step 6: Evaluate the Fan Itself
If you have cleaned the dust, replaced the thermal paste, fixed the surface situation, and addressed software, but temperatures are still high or the fan is making grinding or rattling noises, the fan may be failing.
Laptop fans wear out. Bearings degrade. A fan spinning at reduced RPM because of bearing wear will not move enough air regardless of how clean everything else is.
How to tell:
- Temperatures climb rapidly under any load, not just heavy loads
- The fan is audibly struggling, clicking, or grinding
- HWMonitor shows fan RPM that is lower than it used to be, or erratic
Fan replacement is model-specific. Some are a 15-minute job. Others require partial disassembly of the entire laptop. If you are in the West Palm Beach or South Florida area and the fan sounds wrong, bring it in for a diagnosis. Our computer repair team can confirm whether the fan is the problem before ordering parts.
Common Mistakes
Blowing compressed air into intake vents at full force. This can push debris deeper into the fan assembly rather than clearing it. Short bursts at the exhaust vents are more effective.
Using the wrong thermal paste. Conductive pastes are higher performance but a short circuit risk if applied sloppily. For most laptop repairs, a quality non-conductive paste is the safer choice.
Over-tightening heatsink screws. This can crack a CPU die on older hardware. Snug is enough.
Assuming a cooling pad solves everything. A cooling pad reduces intake air temperature. It does not fix clogged fans, dead bearings, or dried thermal paste. It is a supplement, not a solution.
Ignoring the problem because the laptop still boots. Sustained high heat degrades solder joints, capacitors, and storage over time. A laptop that runs hot for six months may fail suddenly and without warning. Prevention is almost always cheaper than the repair it avoids.
Skipping the temperature check after each step. Without measurement, you are guessing. Take readings before and after each intervention so you know what actually helped.
Bottom Line
Laptop overheating is a predictable, preventable failure mode. The causes are almost always the same: blocked airflow, dust-packed fans, degraded thermal paste, or software running harder than it should. Work through the steps in order, measure at each stage, and you will find the problem.
If you get through all of this and temperatures are still climbing, or if you find a failing fan or cracked heatsink, that is the point where a professional repair makes more sense than more DIY time. Bring it to our laptop repair shop in West Palm Beach, or if you just need a quick diagnosis, start with remote support and we can tell you what you are dealing with before you commit to anything.
Computer acting up? Get a real diagnosis.
Fix My PC Store has repaired thousands of machines across West Palm Beach. Honest pricing, no upsell games, and a free diagnostic for new customers with our email coupon.