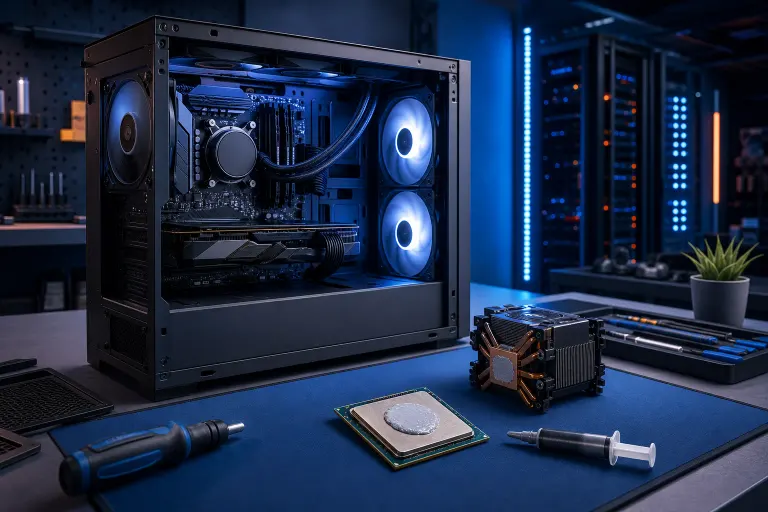
How to Know When Your Gaming PC Needs a Thermal Paste Refresh
TL;DR: Thermal paste dries out and loses effectiveness over time, usually after 2-5 years depending on how hard you push your system. The symptoms are rising idle temps, sudden FPS drops mid-session, and your cooler fan screaming like it owes you money. Reapplying takes about 30 minutes and can drop your CPU temps by 10-20 degrees Celsius.
What You Need
Before you crack open the case, get these on hand:
- A quality thermal compound. Arctic MX-6, Thermal Grizzly Kryonaut, or Noctua NT-H2 are all solid picks. Avoid the cheap stuff that came bundled with a random Amazon cooler.
- Isopropyl alcohol, 90% concentration or higher. This is non-negotiable for cleaning the old paste off.
- Lint-free microfiber cloths or coffee filters. Paper towels leave fibers. Skip them.
- A plastic spudger or old credit card if you need help separating a stubborn cooler.
- A Phillips head screwdriver that fits your cooler's mounting screws.
- Optional but helpful: a temperature monitoring app like HWiNFO64 or Core Temp, which you should already have running if you're a serious gamer.
If you're not comfortable doing this yourself, that's completely fine. You can book a repair appointment and we'll handle the whole thing without drama.
Step 1: Monitor Your Actual Temperatures First
Don't rip your cooler off based on vibes. Get the data first.
Download HWiNFO64 or Core Temp and run a gaming session. Watch your CPU temperature under load. For most modern Intel and AMD desktop CPUs, you want to stay below 85-90 degrees Celsius under a heavy gaming load. If you're hitting 95+ degrees consistently, that's a red flag.
Also check your idle temps. A clean, well-pasted CPU with a decent cooler should idle somewhere in the 30-45 degree range in a properly ventilated case. If you're idling at 60+ degrees, something is wrong, and bad thermal paste is one of the first suspects.
Don't forget to check if thermal throttling is happening. HWiNFO64 shows this directly. When a CPU throttles, it drops its clock speed to protect itself from heat. That's where your FPS disappears to mid-match.
Step 2: Rule Out Other Heat Causes
Thermal paste is a common culprit, but not the only one. Diagnose correctly before you do anything.
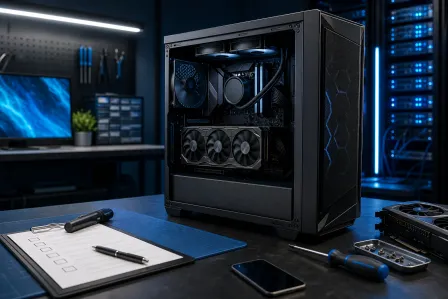
Open your case and look inside. If there's a thick layer of dust on your CPU cooler fins or radiator, clean that out first with compressed air. Dust alone can cause major temperature spikes, and you'd be doing unnecessary work if that's the real problem.
Check your case airflow too. Are your intake and exhaust fans actually spinning? Is hot air being pushed out the back or top? A clogged or unbalanced airflow setup traps heat even with fresh paste. Our computer repair team sees this constantly with South Florida rigs. The humidity and heat here mean dust buildup happens faster than people expect.
Also confirm your cooler is actually seated properly. A mounting bracket that's loose by even one corner can create a massive air gap between the cooler and CPU. That will destroy your thermals regardless of what paste you're using.
If you've ruled out dust and mounting issues and temps are still wild, thermal paste degradation is very likely.
Step 3: Remove the Cooler Correctly
This is where people make expensive mistakes. Go slow.
Shut the system down completely and unplug it from the wall. Wait a few minutes. Then open the case and disconnect the CPU cooler fan header from the motherboard.
For air coolers, you'll typically unscrew four mounting screws in a diagonal pattern (never one side fully first) to release even pressure. For AIO liquid coolers, the pump head usually has a similar four-screw or push-pin mounting system. Check your cooler's manual if you're unsure.
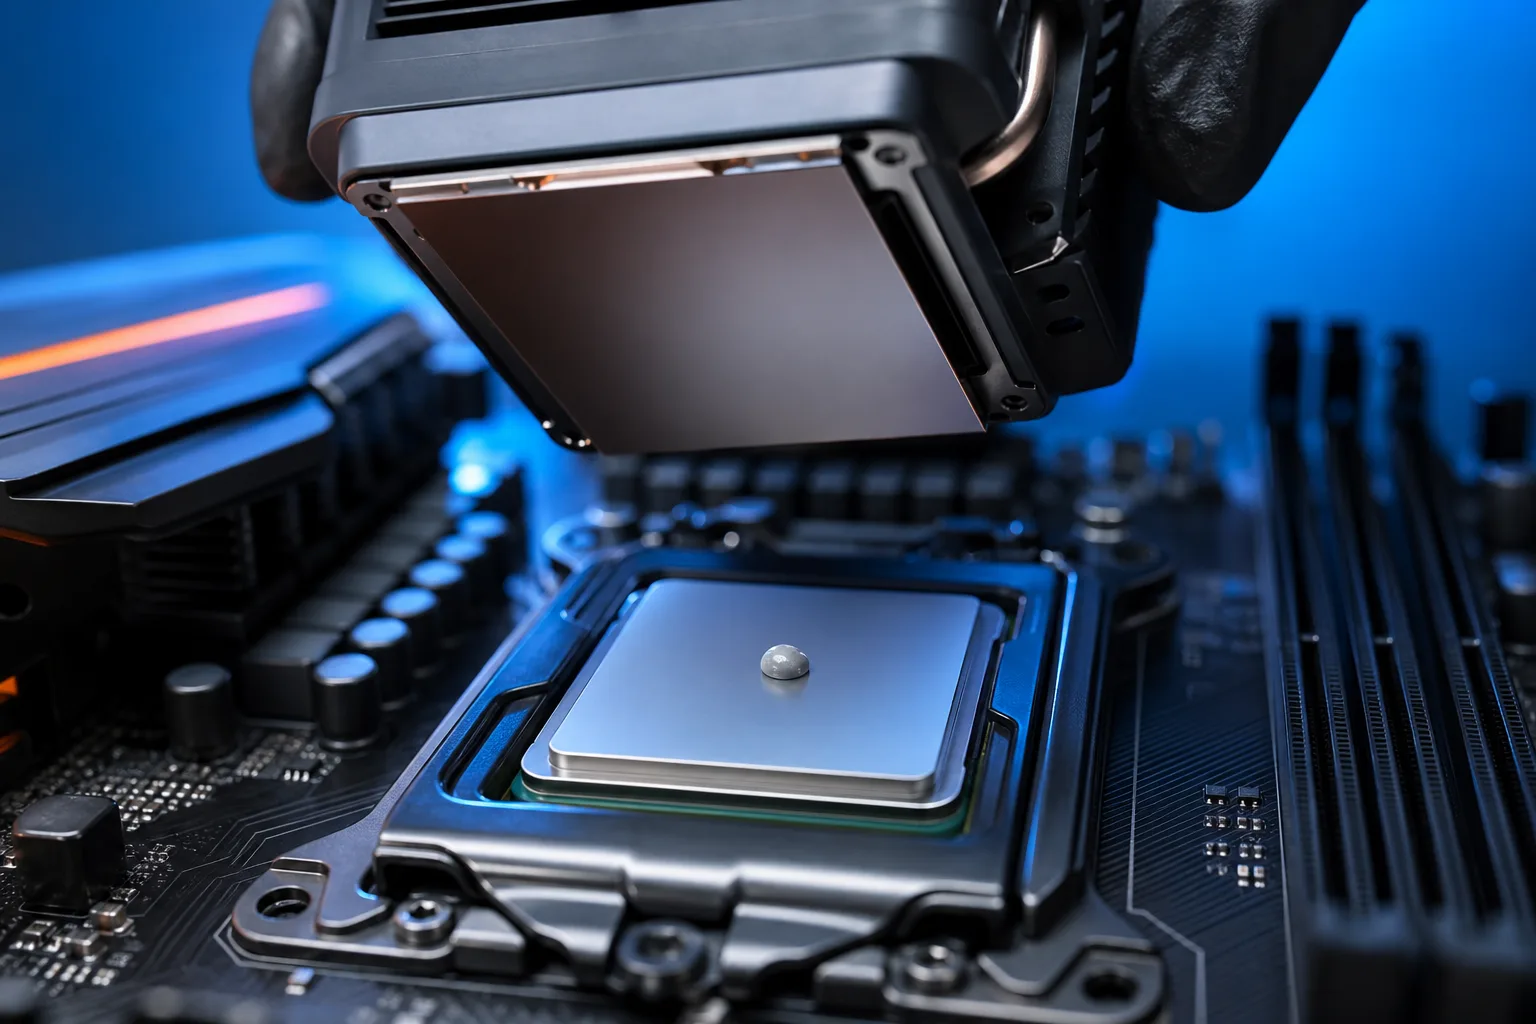
Once the screws are loose, gently twist the cooler block side to side before lifting. DO NOT just yank it straight up. Old dried paste acts like adhesive and you can pull the CPU right out of the socket with the cooler, bending pins on AMD boards or damaging the LGA socket on Intel boards. Twist to break the seal, then lift.
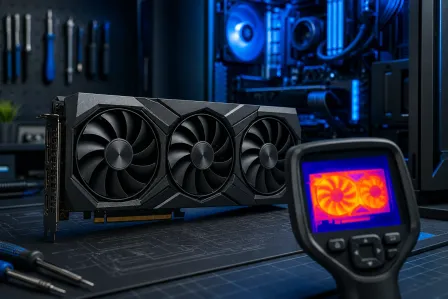
If you're dealing with a GPU that needs a thermal pad swap at the same time, that's a different process and a bit more involved. That's worth checking if your graphics card runs extremely hot, but for this guide we're focused on the CPU.
Ready to build a rig that actually rips? Start your build
Step 4: Clean Off the Old Paste
This step matters more than people think. Slapping new paste on top of old paste is not a thing. Ever.
Use your isopropyl alcohol on a lint-free cloth and wipe the top of the CPU in one direction. Don't scrub in circles. You want to lift the old paste off cleanly without spreading it around. Do the same on the cooler contact plate.
For really dried-out paste that's basically cement at this point, let the IPA sit on it for 20-30 seconds before wiping. It'll loosen up. Repeat until both surfaces look clean and shiny.
Do not touch either surface with your fingers after cleaning. Skin oils contaminate the contact surface and degrade thermal performance.
Step 5: Apply the New Thermal Paste
The eternal internet debate: pea method, X pattern, thin spread. Here's the reality. For most desktop CPUs, a small pea-sized dot in the center works perfectly fine. The pressure of mounting the cooler will spread it.
For larger CPUs like AMD's Threadripper or Intel's HEDT chips with huge IHS surfaces, a thin X pattern or cross makes more sense to ensure coverage. For standard gaming CPUs like a Ryzen 7 or Core i7, just do the pea. Don't overthink it.
Avoid the temptation to use too much. Excess paste that squeezes out the sides doesn't help and can make a mess. More is not better here.
Step 6: Remount the Cooler and Verify
Line up your cooler carefully, make sure it's centered over the CPU, and hand-tighten the screws in a diagonal pattern. Snug, not gorilla-tight. You want even pressure across the surface without cracking anything.
Reconnect your fan header, close the case, and boot the system. Go straight into your temperature monitoring software.
Let the system idle for 10 minutes and note the temps. Then run a CPU stress test for 15-20 minutes using something like Prime95 or Cinebench and watch your peak temperatures. Compare those numbers to what you logged in Step 1.
If you did everything right, you should see a meaningful drop. On a system that needed this badly, 10-20 degree Celsius drops are completely realistic. Your FPS in CPU-heavy games should stabilize, and the cooler fan should stop hitting those panic RPMs.
Want to see how builds come together at a professional level? Check out some of our custom gaming build videos to get a feel for how the process works.
Common Mistakes
Using too much paste. A blob the size of a dime is not a pea. Excess paste can creep toward capacitors on the motherboard and cause problems. Use less than you think you need.
Not cleaning the surface fully. Leftover residue creates uneven contact. That thin grey smear you think doesn't matter, does.
Skipping the diagonal screw pattern. Tightening one side fully before the other warps the pressure distribution and leaves part of the CPU with poor contact. Diagonal, alternating, gradual.
Pulling the cooler straight up. Already mentioned this, but worth repeating because it can genuinely destroy a CPU socket.
Using low-quality paste. Generic white paste from a no-name brand doesn't perform the same as quality compound. The price difference between bad paste and great paste is maybe five dollars. Spend the five dollars.
Not checking results. Don't just assume it worked. Monitor your temps after the job. If numbers didn't improve much and paste was applied correctly, there may be another problem worth diagnosing. Our remote support team can help walk through diagnostics remotely if you need a second set of eyes.
Forgetting this needs to be done again. Thermal paste is not a one-and-done thing on a rig you've been running hard for four years. Plan to check it every 2-3 years on a high-use gaming system.
If you built something serious using our custom gaming PC builder or you're planning a new build, factor maintenance into your long-term plan from day one.
Bottom Line
Thermal paste degradation is one of the most overlooked reasons a gaming PC starts performing worse over time. The fix is cheap, the process is straightforward, and the payoff in lower temps and stable frame rates is real.
Watch your temperatures with actual software. Rule out dust and airflow problems first. If temps are high and everything else checks out, pull the cooler, clean both surfaces properly, apply quality paste, and remount with even pressure.
If something goes sideways or you'd rather have a pro handle it, bring it in or schedule a repair. We do this stuff every week in West Palm Beach and we're not going to make you feel bad for not wanting to dig inside your own machine.
Ready to build a rig that actually rips?
Custom gaming PCs built and tuned by people who game. Tell us your budget and target frame rate.