Custom Gaming PC Build: What Every First-Timer Should Know
TL;DR: Pick your parts around your GPU first, then match everything else to it. Build in a logical order, ground yourself constantly, and do NOT skip the test boot outside the case. Do those three things and your first build will go smoother than 90% of first builds do.
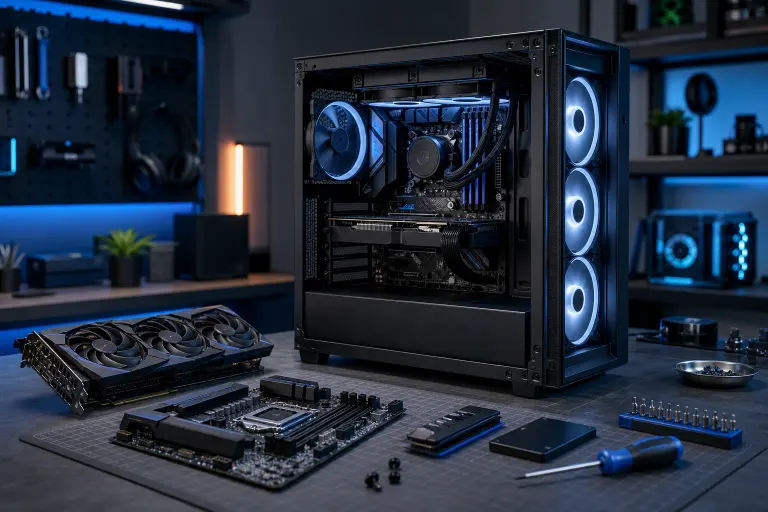
What You Need
Before a single screw turns, you need the right parts AND the right tools. Let's run through both.
The Core Components
GPU (Graphics Card). This is the single most important decision you'll make. Every frame you see on screen runs through this chip. Budget here first, then build around it.
CPU (Processor). Your CPU needs to keep up with your GPU or you'll bottleneck yourself. Pairing a high-end GPU with a weak CPU is like bolting a turbo onto a lawnmower engine.
Motherboard. Must be compatible with your CPU socket. AMD Ryzen uses AM5 (current gen) or AM4. Intel 12th/13th/14th gen uses LGA1700. Don't mix these up, it is a very expensive mistake.
RAM. 16GB is the current floor for gaming. 32GB is where you want to be if you run anything in the background. Make sure the speed is supported by your motherboard's XMP or EXPO profile.
Storage. Get an NVMe M.2 SSD as your primary drive. Load times on a modern NVMe versus an old spinning hard drive are night and day. Aim for at least 1TB.
PSU (Power Supply). Underrated. A cheap PSU can kill every other component in your build. Buy from a reputable tier list. 80+ Gold rating minimum.
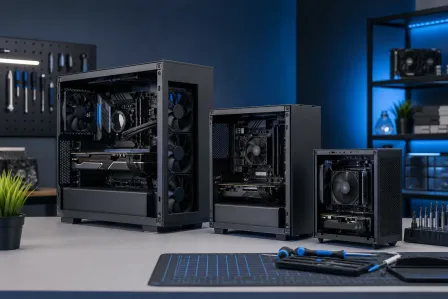
Case. Airflow matters more than looks. Tempered glass looks incredible with RGB, but make sure the case you pick has enough intake and exhaust to move air past your components.
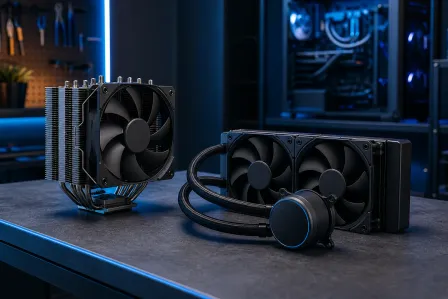
CPU Cooler. Unless your CPU comes with a cooler in the box (and most performance-tier chips don't), you need an aftermarket air cooler or an AIO liquid cooler.
Tools You Actually Need
- A magnetic-tip Phillips head screwdriver (size #2 for most screws, #1 for smaller ones)
- Anti-static wrist strap, or at minimum touch a grounded metal surface constantly
- Zip ties for cable management
- Thermal paste if your cooler doesn't include it
- Good lighting, a phone flashlight counts
- Patience. Seriously, set aside a full afternoon
If you want help spec'ing out a build before you buy anything, check out our custom gaming PC builder. It walks you through compatible combinations so you're not guessing.
Step 1: Plan and Price Out Your Build Before Buying
Don't buy parts one at a time as payday hits. Prices fluctuate, parts go out of stock, and you might end up with a GPU that your chosen PSU can't handle.
Build your full parts list on PCPartPicker first. It checks compatibility automatically and flags issues like CPU-motherboard socket mismatches or insufficient PSU wattage. That site has saved countless first-timers from expensive mistakes.
Set a realistic budget. Know which parts you'll splurge on (GPU, cooling) and which you can save on (case, fans). A $150 case does not make your games run faster.
Step 2: Install the CPU Into the Motherboard
Do this BEFORE the motherboard goes in the case. Way more room to work.
AMD AM5 uses an LGA-style socket, the pins are on the motherboard, not the CPU. Carefully align the golden triangle on the corner of the chip with the triangle marked on the socket, then lower the CPU straight down without any lateral sliding. Even small sideways movement can damage the socket pins on the motherboard. Close the latch. Done.
Intel LGA1700 uses the same general principle. The pins are on the motherboard, not the chip. Lower the chip in, close the load plate, and the motherboard protection bracket will pop off automatically. Keep that bracket, some RMA processes need it.
NEVER touch the gold contacts on the CPU or the pins in the socket. One bent pin can mean a dead motherboard.
Step 3: Install RAM
Check your motherboard manual for which slots to use first. Most boards want you to populate slots 2 and 4 for dual-channel, not 1 and 2. Getting this wrong won't break anything, but you'll leave performance on the table.
Push the RAM stick in until both clips snap. It takes more force than you think it should. If you're not hearing a click, it is not seated.
Remember to enable XMP or EXPO in BIOS after your first boot. Your RAM probably defaults to a slower JEDEC standard speed than it's rated for without it.
Step 4: Mount the CPU Cooler
Apply thermal paste if your cooler doesn't come with a pre-applied pad. A pea-sized dot in the center of the CPU lid is enough. The cooler mounting pressure spreads it. Do not go rogue and do a smiley face or try to spread it manually.
Follow your cooler's specific mounting instructions. Different sockets need different backplates and standoff configurations. This is where most first-timers spend the most time.
For AIO liquid coolers, mount the radiator in the case first, then wire everything up after the motherboard is inside.
Step 5: Install M.2 SSDs Into the Motherboard
Do this before the motherboard goes in the case. M.2 slots are often under heatsinks that require a screwdriver to remove. Sliding in an M.2 card while the board is mounted vertically in a case is a frustrating experience.
Insert the drive at a slight angle, push it flat against the board, and secure it with the small M.2 screw. Some newer motherboards use a tool-less latch. Check your manual.
Ready to build a rig that actually rips? Start your build
Step 6: Install the Motherboard Into the Case
Fit the I/O shield into the back of the case first. It snaps in from inside the case pushing out. Most modern boards have the I/O shield integrated, so check if you even need a separate one.
Line up the standoffs in the case with the mounting holes on your motherboard. Motherboard sizes matter here. ATX, Micro-ATX, and Mini-ITX all have different hole patterns. Screw the board in finger-tight first, then go back with the screwdriver. Don't overtighten.
Step 7: Install the GPU
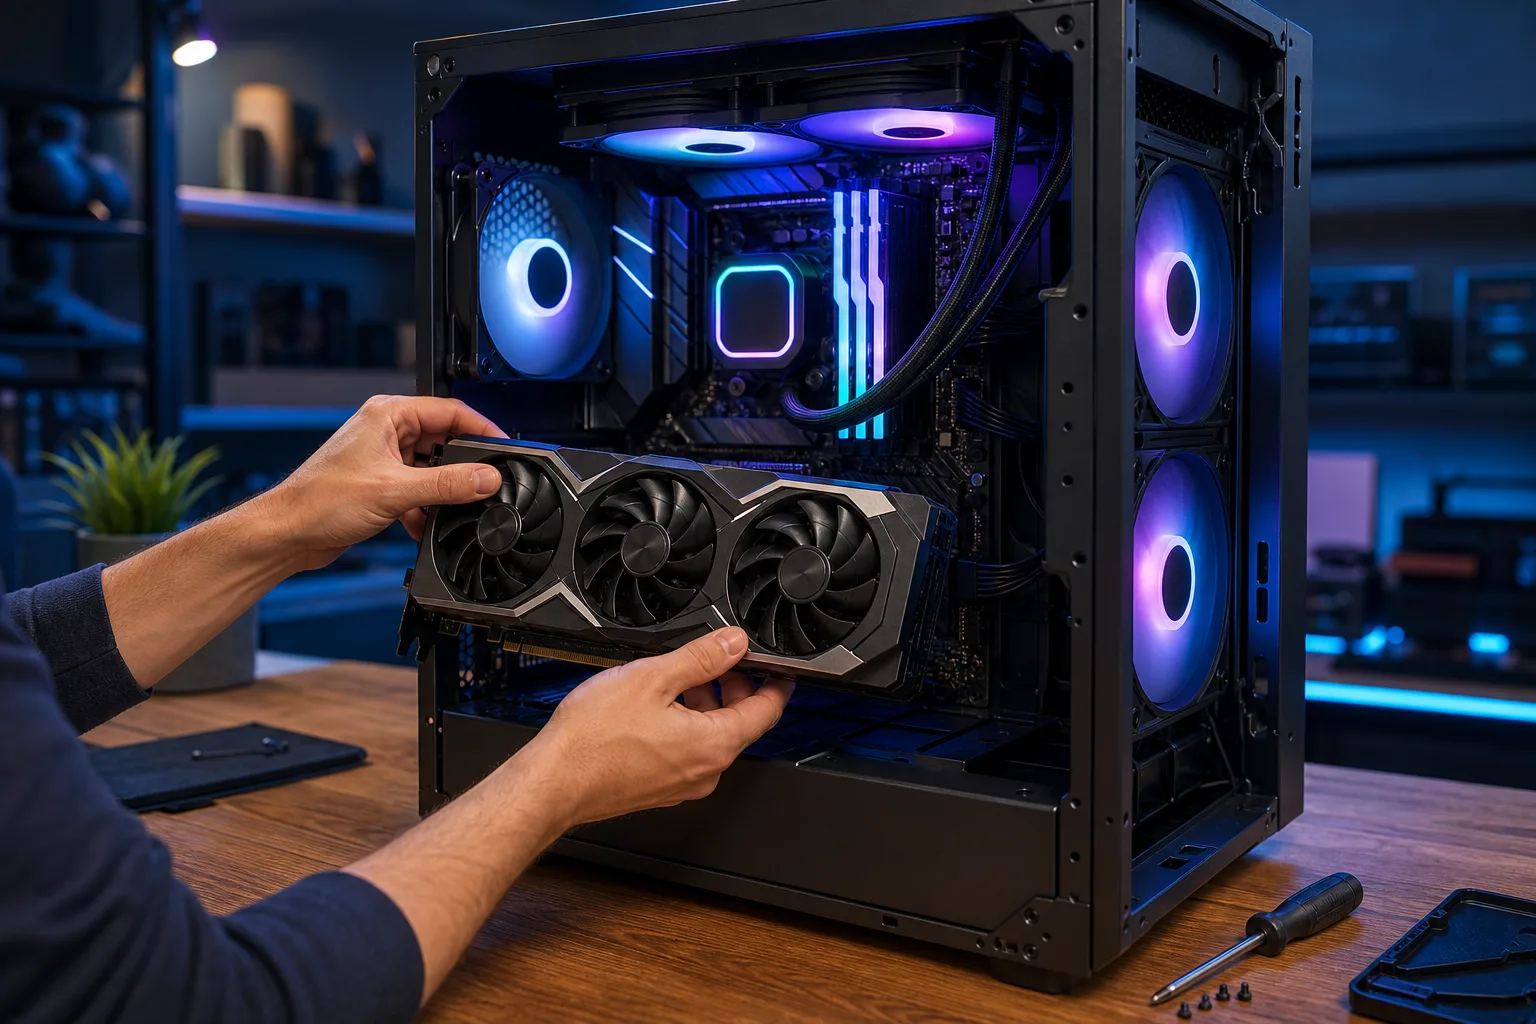
Seat it in the top PCIe x16 slot (the long one closest to the CPU). Push until the latch on the slot clicks. Connect the PCIe power cables from your PSU. Some GPUs need one 8-pin connector, some need two, and higher-end cards may use a 16-pin connector. Don't boot without these plugged in.
If you want to see what a fully built RGB beast looks like in practice, we've documented some wild builds on the build videos section, including the Ryzen 9 9950X RGB Monster and a Times Square Gaming PC that has to be seen to be believed.
Step 8: Connect All Power and Front Panel Cables
This is the least fun part. Run your PSU cables through the cable management routing in the case before plugging them in. 24-pin ATX to the motherboard, CPU power (4+4 or 8-pin) to the top-left of the board, PCIe power to the GPU.
Front panel connectors (power button, reset button, power LED, HDD LED) are tiny and color-coded. Your motherboard manual has a diagram showing exactly where each one goes. Use the diagram. Don't guess.
Also connect your case fans to the fan headers on the motherboard. These usually label as CHA_FAN or SYS_FAN.
Step 9: Test Boot Outside the Case
Before you button everything up, do a test POST with the system outside or with the side panel off. Lay the motherboard on its box, plug in power, GPU, one stick of RAM, and your monitor.
Hit the power button. You're looking for the system to POST, which means you'll see a BIOS screen or a loading animation. If it posts, power down, finish cable management, and close the case.
If it doesn't POST, now is the time to troubleshoot, not after you've neatly routed every cable.
Step 10: Install Your OS and Drivers
Windows 11 installs from a USB drive you create with the Media Creation Tool from Microsoft. Boot to USB, follow the steps, and pick the SSD you installed as your destination.
After Windows is up, install GPU drivers directly from NVIDIA or AMD's site, not from Windows Update. Then go into BIOS and enable XMP or EXPO for your RAM.
Run a benchmark. See those frames. FEEL the power.
Common Mistakes to Avoid
Forgetting the CPU power cable. The 24-pin powers the board but the CPU needs its own separate 4+4 or 8-pin connector. Skipping it means no boot and a confusing troubleshooting session.
Not enabling XMP/EXPO. Your DDR5 kit may say 6000MT/s on the box but default to a slower JEDEC standard speed (such as 4800 or 5600MT/s) without XMP or EXPO enabled. Go into BIOS, enable the profile, done. Free performance.
Cheap PSU. A failing power supply can damage your GPU, your motherboard, and your storage. It is not the place to cut corners. Check the Cultists Network PSU tier list before buying.
Skipping the test boot. Cable managing a build and then finding it won't POST means pulling everything apart. Test first, tidy second.
Wrong RAM slots. Read the manual before installing. Dual-channel needs the right slot pair, and it varies by board.
Installing the cooler before the backplate. On some boards the cooler backplate goes on from the back. If you install the board first and then realize the backplate needs to go on, you're removing the motherboard. Not fun.
Bottom Line
Building your own gaming PC is genuinely one of the most satisfying things you can do as a gamer. You know every component, you know where every cable goes, and when it POSTs for the first time the hype is REAL.
Do the planning work upfront. Use PCPartPicker. Buy a quality PSU. Test before you close the case.
If you're based in West Palm Beach or anywhere in South Florida and you want help picking parts or you've hit a wall mid-build, we're right here. You can contact us directly or use our custom gaming PC builder to get a spec list dialed in. And if something goes wrong during a build, our computer repair team has seen every failure mode imaginable and can get you sorted without judgment.
Now go build something.
Ready to build a rig that actually rips?
Custom gaming PCs built and tuned by people who game. Tell us your budget and target frame rate.